Why do different types of steel have such varied properties, and how are they categorized in China? This article breaks down the classification and standards of steel, explaining the systematic methods behind naming and specifying steel types based on their composition and intended use. You’ll learn about the distinct categories such as carbon structural steel, high-quality carbon steel, alloy steel, and more, providing you with a clear understanding of how each type is designated and utilized in various industries.
① The nomenclature for carbon structural steel follows the format: Q + yield strength + quality grade + deoxidation method. The prefix “Q” denotes “Quenching” or yield strength, followed by a number indicating the minimum yield strength in MPa. For instance, Q235 represents carbon structural steel with a minimum yield strength (σy) of 235 MPa.
② Additional symbols may be appended to specify quality grade and deoxidation method. Quality grades are denoted by A, B, C, or D, in ascending order of stringency. Deoxidation methods are indicated as follows: F for rimmed (boiling) steel, b for semi-killed steel, Z for fully killed steel, and TZ for specially killed steel. Fully killed steel (Z) and specially killed steel (TZ) may omit these symbols. For example, Q235-AF designates Grade A rimmed steel with a 235 MPa yield strength.
③ Carbon steels for specialized applications, such as bridge or marine construction, generally follow the carbon structural steel naming convention with an additional letter appended to indicate the specific purpose. For instance, Q345qE might represent a bridge steel grade with enhanced low-temperature toughness.
Note: The yield strength values are typically guaranteed minimums at room temperature. Actual yield strengths may vary based on section thickness and heat treatment. Engineers should consult relevant standards (e.g., ASTM A36, EN 10025) for comprehensive property specifications and allowable tolerances.

① The first two digits in the steel grade designation indicate the carbon content, expressed in hundredths of a percent. For example, steel with an average carbon content of 0.45% is designated as “45” steel. This is not a sequential number, so it should not be interpreted as “number 45 steel”.
② High-quality carbon structural steels with elevated manganese content are denoted by appending the manganese symbol to the grade. For instance, a steel with 0.50% carbon and high manganese would be designated as 50Mn.
③ Specific processing methods or applications are indicated by suffixes in the steel grade designation. For example:
These designations are crucial for specifying the exact composition and processing of the steel, ensuring appropriate material selection for specific engineering applications. It’s important to note that different countries may use varying systems for steel grade designation, so always refer to the relevant national or international standards when interpreting steel grades.
① Carbon tool steels are designated with a prefix “T” to distinguish them from other steel types, ensuring clear identification in industrial applications.
② The numerical designation following “T” represents the carbon content in thousandths of a percent. For instance, “T8” signifies an average carbon content of 0.80%. This precise system allows for quick assessment of the steel’s properties and potential applications.
③ When the manganese content is significantly elevated, “Mn” is appended to the steel designation. For example, “T8Mn” indicates a high-carbon tool steel with increased manganese content, which can enhance hardenability and wear resistance.
④ Premium-grade carbon tool steels, characterized by lower phosphorus and sulfur content compared to standard grades, are denoted by appending “A” to the designation. For instance, “T8MnA” represents a high-carbon, high-manganese tool steel of superior quality with reduced impurities. This classification is crucial for applications demanding exceptional purity and performance, such as precision cutting tools or high-stress components.
① Free-cutting steels are designated with the prefix “Y” to differentiate them from high-quality carbon structural steels. This unique nomenclature reflects their specialized composition and properties optimized for improved machinability.
② The numerical value following the “Y” prefix represents the carbon content, expressed as a percentage in ten-thousandths of the average carbon content. For instance, a free-cutting steel with an average carbon content of 0.30% would be designated as “Y30”. This precise system allows for quick identification of the steel’s carbon content, which is crucial for predicting its mechanical properties and machinability characteristics.
③ For free-cutting steels with elevated manganese levels, the designation includes “Mn” after the grade number. For example, “Y40Mn” indicates a free-cutting steel with approximately 0.40% carbon and a higher manganese content. The increased manganese contributes to improved machinability by forming manganese sulfides, which act as internal lubricants during cutting operations, reducing tool wear and enhancing surface finish quality.
① The first two digits of the steel grade represent the steel’s carbon content, expressed as a percentage in ten-thousands of the average carbon content, such as 40Cr.
② The major alloy elements in the steel, except for a few microalloy elements, are generally represented as a percentage. When the average alloy content is <1.5%, the steel grade typically only marks the element symbol without indicating the content. However, in special cases where confusion may arise, the symbol can be followed by the number “1”, for example, “12CrMoV” and “12Cr1MoV”. The former has a chromium content of 0.4-0.6%, while the latter has a content of 0.9-1.2%, with all other components being the same. When the alloy element’s average content is ≥1.5%, ≥2.5%, ≥3.5%, etc., the content should be indicated after the element symbol, which can be represented as 2, 3, 4, etc. For instance, 18Cr2Ni4WA.
③ The alloy elements in the steel, such as vanadium (V), titanium (Ti), aluminum (Al), boron (B), and rare earth (RE), are all considered microalloy elements. Even though their contents are very low, they should be indicated in the steel grade. For example, in 20MnVB steel, the vanadium content is 0.07-0.12%, and boron is 0.001-0.005%.
④ High-grade quality steel should have an “A” added at the end of the steel grade to distinguish it from general-quality steel.
⑤ For specialized-purpose alloy structural steels, the steel grade should be prefixed (or suffixed) with a symbol representing the steel’s purpose. For example, 30CrMnSi steel specifically used for rivet screws would be denoted as ML30CrMnSi.
① The designation system for low-alloy high-strength steel grades is fundamentally similar to that of alloy structural steels, employing a combination of numerical and alphabetical characters to convey key compositional and property information.
② For specialized applications, additional suffixes are appended to the base steel grade to indicate specific performance characteristics or intended use. For instance:
Spring steel, a specialized category of high-carbon steel, is engineered for applications requiring high elasticity and the ability to return to its original shape after significant deformation. Based on its chemical composition, spring steel can be classified into two main categories: carbon spring steel and alloy spring steel.
Carbon spring steel, typically containing 0.5% to 1.0% carbon, derives its properties primarily from the carbon content. These steels are represented by steel numbers similar to high-quality carbon structural steels. For example, AISI 1060 or 1095 are common carbon spring steel grades.
Alloy spring steel, on the other hand, incorporates additional alloying elements such as silicon, manganese, chromium, or vanadium to enhance specific properties. These alloys are designated by steel numbers analogous to alloy structural steels. Notable examples include AISI 5160 (chromium spring steel) and AISI 6150 (vanadium spring steel).
The choice between carbon and alloy spring steels depends on the specific application requirements, including operating temperature, fatigue resistance, and corrosion resistance. Alloy spring steels generally offer superior performance in more demanding environments but come at a higher cost compared to carbon spring steels.
Key properties of spring steels include:
① Rolling bearing steel grades are denoted by the prefix “G” (derived from “Gudao,” meaning rolling bearing in Chinese), indicating a specialized category of steel engineered for rolling bearing applications.
② High-carbon chromium bearing steel designations omit the carbon content in the steel number, while expressing the chromium content in per mille (tenths of a percent). For instance, GCr15 indicates a bearing steel with approximately 1.5% chromium content. In contrast, carburizing bearing steel designations follow a nomenclature similar to that of alloy structural steels, typically including both carbon and primary alloying element contents.
For example:
This standardized naming convention facilitates quick identification of steel composition and intended application within the bearing industry, enabling engineers and manufacturers to make informed material selections based on specific performance requirements such as wear resistance, load-bearing capacity, and fatigue life.
① In alloy tool steel nomenclature, carbon content ≥1.0% is typically not indicated, while content <1.0% is expressed in per mille. For example, Cr12 (12% chromium), CrWMn (chromium-tungsten-manganese), 9SiCr (0.9% silicon, chromium), and 3Cr2W8V (3% chromium, 2% tungsten, 8% vanadium).
② The representation of alloy elements in tool steels generally follows that of alloy structural steels. However, for alloy tool steels with lower chromium content, the chromium percentage is expressed in per mille, prefixed with “0” to differentiate it from other elements’ percentages. For instance, Cr06 indicates 0.6% chromium.
③ High-speed tool steel designations typically omit carbon content, instead focusing on the average percentages of key alloying elements. For example, “W18Cr4V” denotes a tungsten high-speed steel with 18% tungsten, 4% chromium, and vanadium. Steel numbers prefixed with “C” indicate a higher carbon content compared to their non-prefixed counterparts. This system allows for quick identification of the steel’s primary alloying elements and their relative quantities, facilitating proper selection for specific cutting and forming applications.
① The carbon content in steel is denoted in hundredths of a percent. For instance, “2Cr13” steel has an average carbon content of 0.2%. For steels with very low carbon content, specific prefixes are used:
This precise notation is crucial for distinguishing between various grades of stainless and heat-resistant steels, as carbon content significantly influences their properties and performance.
② The principal alloying elements in steel are represented by their percentage content. For example, in 18Cr-8Ni stainless steel, 18% chromium and 8% nickel are indicated. However, micro-alloying elements such as titanium, niobium, zirconium, and nitrogen are denoted differently:
This standardized nomenclature system enables precise identification of steel compositions, which is essential for selecting appropriate materials for specific applications in corrosive environments or high-temperature operations.
The letter “H” is prefixed to the steel designation number for welding electrode steel to differentiate it from other types of steel. This nomenclature system serves to quickly identify materials specifically designed for welding applications. For instance, stainless steel welding wire is designated as “H2Cr13”, which distinguishes it from the base stainless steel “2Cr13”.
This prefix convention is part of a broader classification system that helps welders, engineers, and metallurgists to:
The “H” prefix typically indicates that the material has been formulated with controlled hydrogen content, which is crucial for preventing hydrogen-induced cracking in welds. For example:
① The designation of electrical silicon steel comprises both letters and numbers. The prefix letters denote the steel’s processing method and intended application:
② The numerical portion following the letters represents the iron loss value multiplied by 100, expressed in watts per kilogram (W/kg).
③ The presence or absence of a suffix “G” indicates the frequency at which the steel is tested:
For example, the designation DW470 indicates a cold-rolled non-oriented silicon steel for electrical use with a maximum iron loss of 4.70 W/kg when tested at 50 Hz.
Note: Electrical silicon steel, also known as electrical steel or silicon electrical steel, is a specialized ferromagnetic material engineered to exhibit specific magnetic properties. Its composition, typically including 0.5% to 3.25% silicon, enhances electrical resistivity and reduces eddy current losses, making it crucial for applications in transformers, electric motors, and generators where energy efficiency is paramount.
Its brand is composed of the letters “DT” and numbers. “DT” stands for electrical pure iron, and the number represents the order number of different brands, such as DT3. The letter added after the number represents the electromagnetic performance: A – advanced, E – special, C – super, such as DT8A.
Introduction to Steel Varieties
Sheets: Cold-rolled coils, cold-rolled plates, hot-rolled coils, hot-rolled plates, color-coated coils, color-coated plates, medium and thick plates
Coating: Hot-dip galvanized coil, electro-galvanized coil, hot-dip tinplate coil, electro-tinplate coil, chrome-plated coil, plastic composite steel, other coated steel coils, tinplate
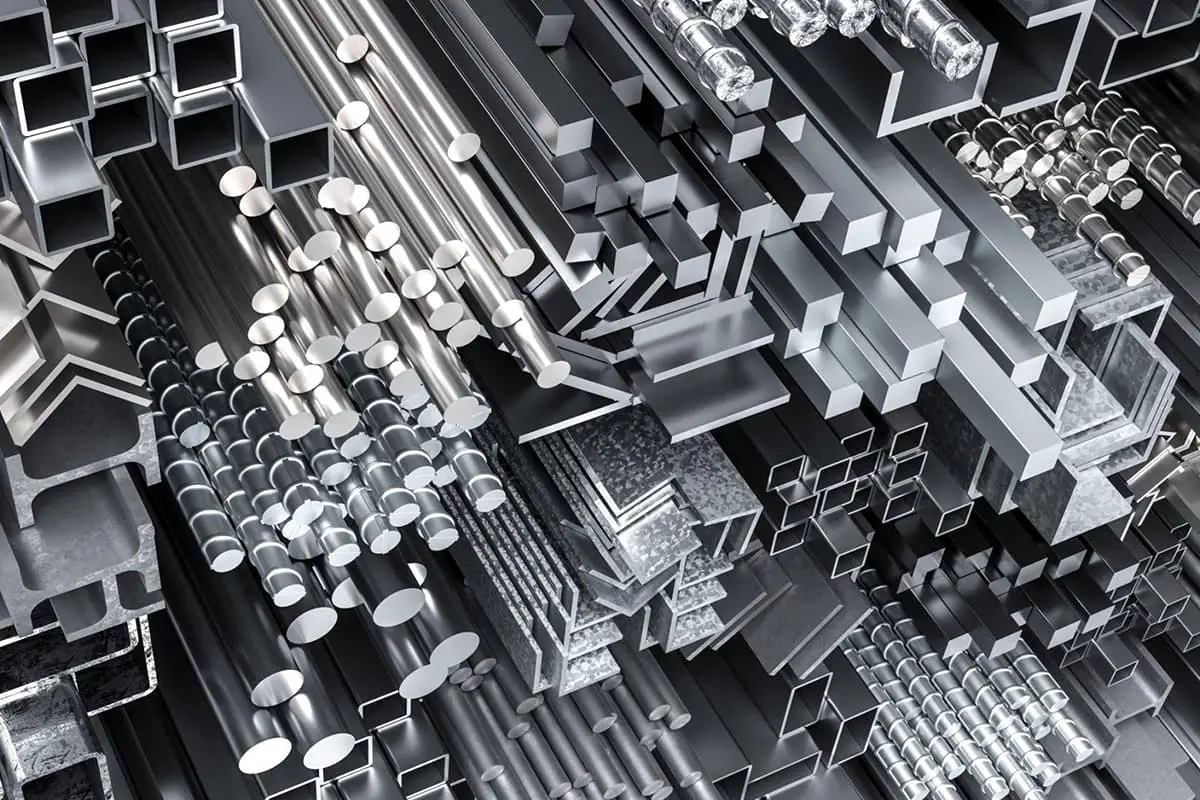
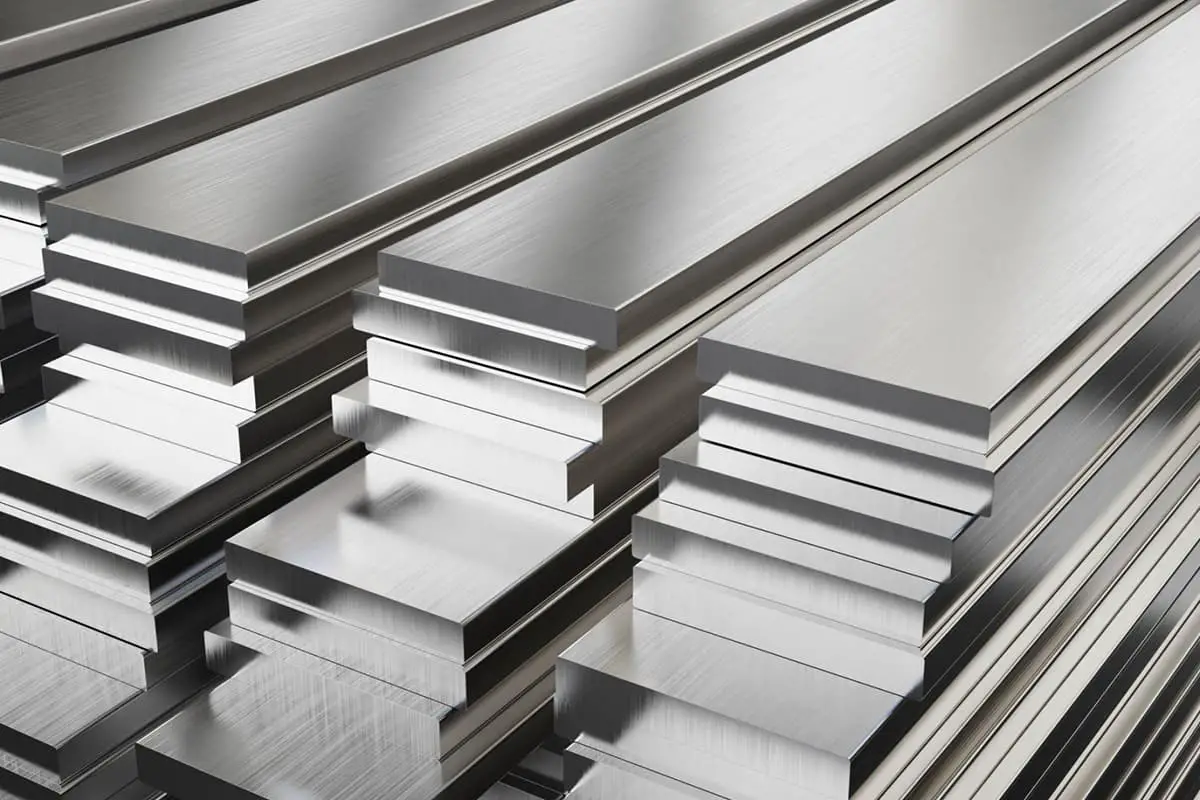
Profiles and Bars: Rebar, wire rod, round bar, angle iron, I-beam, flat bar, H-beam, rails, special profiles, high-quality profiles, other profiles
Stainless Steel: Stainless steel plate, stainless steel coil, stainless steel pipe, stainless steel profile, stainless steel wire, stainless steel billet, stainless steel products, other stainless steel materials
Pipes: Seamless steel pipes, welded steel pipes
Steel Billet: Plate billet, square billet, pipe billet
Ferroalloys: Ferrosilicon, ferromanganese, ferrovanadium, ferrochrome, ferrotitanium
Other Steel: Silicon steel sheet, metal products, others
Steel Billet:
The steel billet is a semi-finished product for steel production and generally cannot be directly used in society. The billet is produced through three process methods: first, direct casting of molten steel into billets using continuous casting equipment in the steelmaking system (see Chapter 4 for details); second, semi-finished steel products processed from steel ingots or continuous casting billets produced by the steelmaking system using the rolling mill system; third, semi-finished products processed from steel ingots produced by the steelmaking system using forging equipment.
Steel Standards
Carbon Structural Steels GB700-88, replacing GB700-79, this standard is adopted in reference to ISO 630 “Structural Steels”.
1. Scope and Content of this Standard
This standard specifies the technical conditions for carbon structural steels.
This standard is applicable to general structural steels and hot-rolled steel plates, steel strips, profiled steel, and rolled steel for engineering purposes. These products can be used for welding, riveting, and bolting components, generally in the supplied state.
The chemical composition specified in this standard applies to steel ingots (including continuously cast slabs), steel billets, and their products.
2. Referenced Standards
GB222 Sampling method for chemical analysis of steel and allowable deviation of finished product chemical composition
GB223 Methods for chemical analysis of iron, steel and alloy
GB228 Metal tensile testing method
GB232 Metal bending testing method
GB247 General provisions for acceptance, packaging, marking, and quality certificates of steel plates and strips
GB2101 General provisions for acceptance, packaging, marking, and quality certificates of profiled steel
GB2106 V-notch Charpy impact test method for metals
GB2975 Sampling provisions for mechanical and process property testing of steel materials
GB4159 Metal low-temperature Charpy impact testing method
GB6397 Metal tensile test specimens
3. Steel Grade Nomenclature, Codes, and Symbols
3.1 Steel Grade Nomenclature
The steel grade is composed sequentially of a letter representing yield strength, a numerical value for yield strength, quality grade symbol, and deoxidation method symbol.
For example: Q235-A·F
3.2 Symbols
Q – First letter of the Chinese Pinyin for the word “yield” in “yield point” for steel;
A, B, C, D – Represent respective quality grades;
F – First letter of the Chinese Pinyin for the word “boiling” in “boiling steel”;
b – First letter of the Chinese Pinyin for the word “semi” in “semi-killed steel”;
Z – First letter of the Chinese Pinyin for the word “killed” in “killed steel”;
TZ – Initial letters of the Chinese Pinyin for the words “special killed” in “special killed steel”.
In the grade nomenclature, the symbols “Z” and “TZ” are omitted.
4. Dimensions, Shape, Weight, and Permissible Deviations
The dimensions, shape, weight, and permissible deviations of steel should conform to the respective standards.
5. Technical Requirements
5.1 Steel Grade and Chemical Composition
5.1.1 The steel grade and chemical composition (melt analysis) should conform to the stipulations of Table 1.
Table 1
| Grade | Level | Chemical Composition, % | Deoxygenation Method | ||||
| C | Mn | Si | S | P | |||
| ≤ | |||||||
| Q195 | – | 0.06~0.12 | 0.25~0.50 | 0.30 | 0.050 | 0.045 | F, b, z |
| Q215 | A | 0.09~0.15 | 0.25~0.55 | 0.30 | 0.050 | 0.045 | F, b, z |
| B | 0.045 | ||||||
| Q235 | A | 0.14~0.22 | 0.3~0.651 | 0.30 | 0.50 | 0.045 | F, b, z |
| B | 0.12~0.20 | 0.3~0.701 | 0.045 | ||||
| C | ≤0.18 | 0.35~0.80 | 0.040 | 0.040 | Z | ||
| D | ≤0.17 | 0.035 | 0.035 | TZ | |||
| Q255 | A | 0.18~0.28 | 0.40~0.70 | 0.30 | 0.050 | 0.045 | F, b, z |
| B | 0.045 | ||||||
| Q275 | – | 0.28~0.38 | 0.50~0.80 | 0.35 | 0.050 | 0.045 | b, z |
Note: For Q235A and B grade boiling steel, the upper limit of Mn content is 0.60%.
5.1.1.1 The silicon content in boiling steel should be ≤0.07%; in semi-killed steel, it should be ≤0.17%, and the lower limit for silicon content in killed steel is 0.12%.
5.1.1.2 D-grade steel should contain sufficient elements to form a fine grain structure, such as an acid-soluble aluminum content of ≥0.015% or total aluminum content of ≥0.020% in the steel.
5.1.1.3 The residual elements chromium, nickel, and copper in the steel should each be ≤0.30%, and the nitrogen content of oxygen converter steel should be ≤0.008%. If the supplier can guarantee this, no analysis is needed. With the necessary agreement, the copper content in A-grade steel can be ≤0.35%. At this time, the supplier should analyze the copper content and note its amount in the quality certificate.
5.1.1.4 The residual arsenic content in steel should be ≤0.08%. Steel refined from pig iron smelted with arsenic-containing ore should have its arsenic content agreed upon by both supplier and recipient. If the raw materials do not contain arsenic, it is not necessary to analyze the arsenic content in the steel.
5.1.1.5 To ensure the mechanical properties of steel meet this standard, the lower limit of carbon, silicon manganese content in Grade A steel, and the lower limit of carbon, manganese content in other grades of steel may not be used as delivery conditions. However, their content (melt analysis) should be specified in the certificate of quality.
5.1.1.6 When supplying commercial steel ingots (including continuous casting blanks) and steel billets, the supplier should ensure that the chemical composition (melt analysis) complies with Table 1, but to ensure that the performance of the rolled steel meets the requirements of this standard, the chemical composition of Grades A and B steel can be adjusted appropriately as per customer requirements, under a separate agreement.
5.1.2 The allowable deviations in chemical composition of finished steel and commercial billets should comply with Table 1 of GB222. No guarantee is given for the deviation in chemical composition of boiling steel finished products and commercial billets.
5.2 Smelting Method
Steel is smelted in an oxygen converter, open-hearth furnace, or electric furnace, unless the customer has special requirements, which should be stated in the contract. The smelting method is usually decided by the supplier.
5.3 Delivery Status
Steel is generally delivered in a hot-rolled (including controlled rolling) condition. Upon the client’s request and by mutual agreement, it can also be delivered in a normalizing treatment condition (excluding Grade A steel).
5.4 Mechanical Properties
5.4.1 The tensile and impact tests of the steel should conform to the specifications in Table 2, and the bending test should conform to the regulations in Table 3.
| σb | Tensile Strength | MPa, N/mm2 |
| σs | Yield Point | MPa, N/mm2 |
| σP | Specified Non-Proportional Elongation Stress | MPa, N/mm2 |
| σP0.2 | The stress is defined at a non-proportional elongation rate of 0.2%. | MPa, N/mm2 |
| δ | Elongation after fracture | % |
| δ5 | Post-break Elongation Rate of Short Proportional Specimens | % |
| δ10 | Post-fracture elongation rate of a long-proportional specimen. | % |
| δxmm | Post-Break Elongation Rate of the Gauge Length Specimen | % |
Table 2: Tensile and Impact Testing of Steel
| Grade | Level | Tensile Testing | Impact Test | |||||||||||||
| Yield Point σs, N/mm2 | Tensile Strengthσb N/ mm2 | Elongation rate δ5% | ||||||||||||||
| Steel Thickness (Diameter), mm | Steel Thickness (Diameter), mm | |||||||||||||||
| ≤16 | 16~40 | 40 ~60 | 60 ~100 | 100~150 | >150 | ≤16 | 16~40 | 40~60 | 60~100 | 100~150 | >150 | Temperature ℃ | V-notch Impact (longitudinal) J | |||
| ≤ | ≤ | ≤ | ||||||||||||||
| Q195 | – | (195) | (185) | – | – | – | – | 315-430 | 33 | 32 | – | – | – | – | – | – |
| Q215 | A | 215 | 205 | 195 | 185 | 175 | 165 | 335-450 | 31 | 30 | 29 | 28 | 27 | 26 | – | – |
| B | 20 | 27 | ||||||||||||||
| Q235 | A | 235 | 225 | 215 | 205 | 195 | 185 | 375-500 | 26 | 25 | 24 | 23 | 22 | 21 | – | – |
| B | 20 | 27 | ||||||||||||||
| C | 0 | |||||||||||||||
| D | -20 | |||||||||||||||
| Q255 | A | 255 | 245 | 235 | 225 | 215 | 205 | 410-550 | 24 | 23 | 22 | 21 | 20 | 19 | – | – |
| B | 20 | 27 | ||||||||||||||
| Q275 | – | 275 | 265 | 255 | 245 | 235 | 225 | 490-630 | 20 | 19 | 18 | 17 | 16 | 15 | – | – |
Table 3: Steel Bending Test
| Grade | Sample Direction | Cold bending test B=2a 180° | ||
| Steel thickness (diameter), mm | ||||
| 60 | >60~100 | >100~200 | ||
| Bend Radius d | ||||
| Q195 | Vertical | 0 | – | – |
| Horizontal | 0.5a | |||
| Q215 | Vertical | 0.5a | 1.5a | 2a |
| Horizontal | a | 2a | 2.5a | |
| Q235 | Vertical | A | 2a | 2. 5a |
| Horizontal | 1.5a | 2.5a | 3a | |
| Q255 | / | 2a | 3a | 3.5a |
| Q275 | / | 3a | 4a | 4.5a |
Note: B refers to the sample width, and a refers to the thickness (diameter) of the steel.
5.4.1.1 The yield point of the Q195 grade is only for reference and should not be considered as a delivery condition.
5.4.1.2 For tensile and bending tests, steel plates and strips should use transverse samples, and the elongation rate is allowed to decrease by 1% (absolute value) compared to Table 2. Profile steel should use longitudinal samples.
5.4.1.3 Cold bending tests for all Grade A steel are conducted only if required by the buyer. When the cold bending test is passed, the upper limit of tensile strength can be disregarded as a delivery condition.
5.4.2 The Charpy (V-notch) impact test should comply with the specifications of Table 2.
5.4.2.1 The Charpy (V-notch) impact function value is calculated as the arithmetic mean of a set of three individual sample values, allowing one sample value to be lower than the prescribed value, but not less than 70% of the prescribed value.
5.4.2.2 When conducting an impact test with a small-sized sample of 5mm x 10mm x 55mm, the test result should be ≥50% of the specified value.
5.4.3 Grade B steel made from boiling steel should generally have a thickness (diameter) of ≤25mm.
5.5 Surface Quality
The surface quality of the steel should comply with the relevant standard specifications.
6. Test Methods
6.1 Inspection items, sample quantities, sampling methods, and test methods for each batch of steel should comply with the specifications of Table 4.
| Serial Number | Inspection Item | Sample Quantity | Serial Number | Inspection Item |
| 1 | Chemical Analysis | 1 (Furnace Batch Number) | GB222 | GB223.1~223.5 GB223.8~223.12 GB223.18~223.19 GB223.23~223.24 GB223.31~223.32 GB233.36 |
| 2 | Stretching | 1 | GB2975 | GB228 GB6397 |
| 3 | Cold Bending | GB232 | ||
| 4 | Room Temperature Impact | 3 | GB2106 | |
| 5 | Low Temperature Impact | GB4159 |
6.1.1 When conducting the cold bending test for steel with a thickness base diameter over 20mm, the sample should be planed on one side until its thickness reaches 20mm. The bending core diameter should be determined according to Table 3. During the test, the unprocessed surface should be on the outside. If the sample has not been planed, the bending core diameter should be increased by one sample thickness over ‘a’ than the value listed in Table 3.
6.1.2 The longitudinal axis of the impact sample should be parallel to the rolling direction.
6.1.3 When conducting the impact test for steel plates, steel strips, profiles with thickness ≥12mm, or bar steel with a diameter less than 16mm, a 5mm×10mm×55mm sample should be used. For steel plates, steel strips, profiles with a thickness of 6mm to less than 12mm, or bar steel with a diameter of 12mm to less than 16mm, a 5mm×10mm×55mm small-sized sample should be used. The impact sample can retain one rolling surface.
7. Inspection Rules
7.1 The steel materials shall be inspected and accepted by the technical supervision department.
7.2 The steel materials should be accepted in batches, each batch consisting of the same grade, same furnace mouth, same level, same type, same size, and same delivery status. The weight of each batch must not exceed 60t.
For steel or continuous casting billets smelted in steel furnaces with a nominal capacity of ≤30t, it is permissible to form a mixed batch from A-grade or B-grade steel of the same type, the same smelting and casting method, but different furnace numbers. However, each batch should not have more than six furnace numbers, and the difference in carbon content between the furnace numbers should not exceed 0.02%, and the difference in manganese content should not exceed 0.15%.
7.3 If the results of the Charpy (V-notch) impact test of the steel do not comply with the specifications of section 5.4.2, a set of three samples should be retested from the same batch of steel. The average value of the six samples before and after should not be lower than the specified value, but it is permissible for two samples to be lower than the specified value, and only one sample is allowed to be 70% of the specified value.
7.4 The re-inspection and acceptance rules for other inspection items of the steel should comply with the regulations of GB247 and GB2101.
8. Packaging, Marking, and Quality Certificate
The packaging, marking, and quality certificate of steel should comply with the requirements of GB247 and GB2101.
