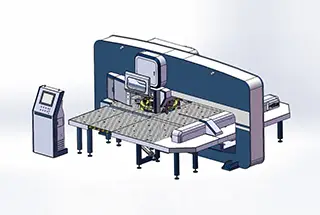
How can you ensure that your CNC turret punch press dies perform optimally and last longer? This article reveals essential usage and maintenance practices for these critical components. From choosing the right die clearance to sharpening techniques and methods to reduce adhesive materials, you’ll learn actionable tips to enhance your stamping process. Expect to gain insights into maintaining die alignment, preventing sheet deformation, and when to apply surface hardening. Dive in to master the key factors that will keep your CNC turret punch press dies in top shape.
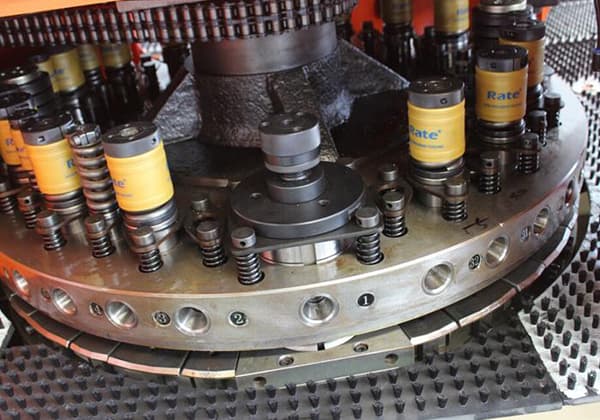
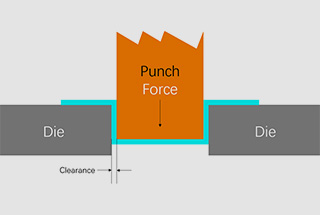
Die clearance is related to the thickness and material of the sheet, as well as the stamping process. Choosing the appropriate die clearance ensures good punching quality, reduces burrs and collapse, keeps the sheet flat, effectively prevents strip feeding, and extends the die life.
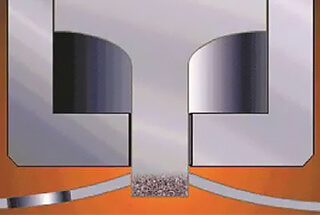
By examining the waste from the stamping process, one can determine if the die clearance is suitable. If the clearance is too large, the waste will have a rough and uneven fracture surface and a smaller bright surface.
The larger the clearance, the larger the angle formed between the fracture surface and the bright surface, leading to edge rolling and fracturing during punching, and even the formation of a thin edge protrusion.
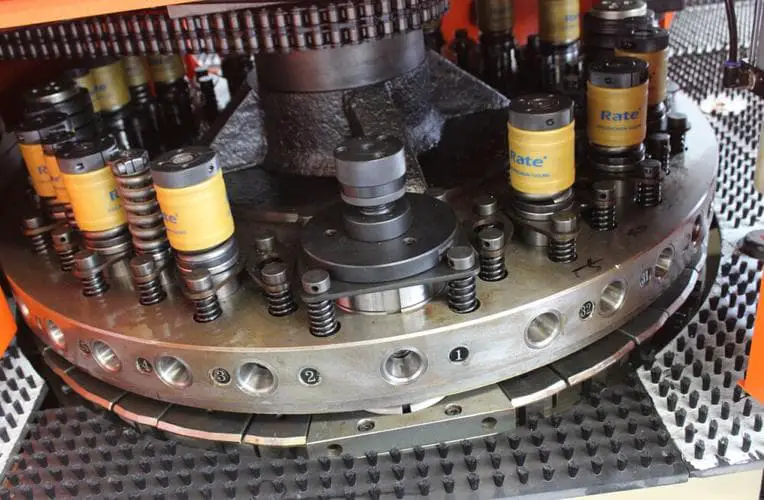
Conversely, if the clearance is too small, the waste will have a small angle fracture surface and a larger bright surface.
When performing slotting, step punching, shearing, and other local stamping operations, lateral forces will cause the punch to deflect, resulting in a single-sided, excessively small clearance. Sometimes, excessive blade offset can scratch the lower die, causing rapid wear of the upper and lower dies.
When the die punches with the optimal clearance, the fracture surface and bright surface of the waste have the same angle and overlap each other, minimizing the shearing force and producing small burrs.
If the workpiece has excessive burrs or abnormal noise during stamping, it may be due to die dulling. Inspect the punch and lower die, and when the blade edge wear produces a radius of about 0.10mm, it is time to sharpen.
Practice shows that regular, small-scale sharpening rather than waiting until it is absolutely necessary not only maintains good workpiece quality and reduces shearing force, but also extends the die life by more than double.
In addition to knowing when to sharpen the die, mastering the correct sharpening method is especially important. Die sharpening procedures are as follows:
During stamping, pressure and heat can cause small particles of the sheet material to adhere to the punch surface, leading to poor hole quality. To remove adhesive materials, use a fine oilstone for grinding, and ensure the grinding direction is the same as the punch’s movement direction.
This will prevent further adhesion. Do not use coarse cloth for grinding, as this may cause the punch surface to become rougher and more prone to adhesion.
A reasonable die clearance, good stamping process, and necessary sheet lubrication will all reduce adhesive material formation. To prevent overheating, lubrication is generally used, which reduces friction. If lubrication is not possible or waste material rebounds, consider the following methods:
Alternate the use of multiple punches of the same size in rotation for stamping, allowing for a longer cooling time before being reused. Rest overheated dies by pausing their use. Change dies using programmatic control, interrupting their long-term repetitive work, or reducing their stamping frequency.
If many holes are punched on a single sheet, the sheet cannot remain flat due to the cumulative cutting stress. With each punch, the material around the hole will deform downward, causing tensile stress on the upper surface of the sheet and compressive stress on the lower surface.
For a small number of holes, the impact is not significant, but as the number of holes increases, the tensile and compressive stresses accumulate in some areas until the material deforms.
One method to eliminate this type of deformation is to punch every other hole first, then go back and punch the remaining holes. Although this method still generates stress, it alleviates the stress accumulation that occurs when punching sequentially in the same direction.
Additionally, it allows the stresses from the two groups of holes to counteract each other, thereby preventing sheet deformation.
When the die is used for punching sheets with a width smaller than the sheet thickness, the punch may bend and deform due to lateral forces, causing one side of the clearance to be too small or experience increased wear. In severe cases, the lower die may be scratched, damaging both the upper and lower dies simultaneously.
It is recommended not to punch strips narrower than 2.5 times the sheet thickness. When cutting excessively narrow strips, the sheet tends to bend into the lower die opening rather than being completely cut, or it may even wedge into the side of the punch die. If the above situations cannot be avoided, consider using a full-guided die with support from a backing plate for the punch.
Although heat treatment and surface coatings can improve the punch surface properties, they are not general solutions for solving stamping problems and extending die life.
Generally, coatings increase the punch surface hardness and improve the lubricity of the side surfaces, but these advantages disappear after about 1,000 punches when dealing with high-tonnage and hard materials.
Surface-hardened punches can be used in the following situations:
Surface hardening usually involves methods such as titanium plating and nitriding, which create a molecular structure layer with a thickness of 12-60μm. It is part of the punch base rather than just a coating.
Surface-hardened dies can be sharpened in the usual way. Surface hardening reduces the wear of the die when punching stainless steel sheets but does not extend its service life. Proper lubrication, timely sharpening, and following standard operating procedures are effective methods.
If the alignment of the punch press die is poor, causing rapid punch dulling and poor workpiece processing quality, consider the following maintenance points:
The above content is applicable to general situations. However, considering that punch press and die types and specifications may vary, users should also combine their practical experience and understanding to fully utilize the optimal performance of the dies.

