Introduction
Sheet metal processing refers to the cold processing of metal plates below 6mm. It can be divided into two categories: stamping processing, suitable for mass production, and CNC sheet metal processing, suitable for small batch production. This post focuses on the analysis and improvement of cutting ripple during sheet metal laser cutting and blanking in small batch production.
Sheet metal processing has a wide range of applications in industries such as chassis and cabinets, home appliances, hardware products, instruments and meters, billboards, lamps, and machinery manufacturing. It is characterized by fast processing speed, short cycle, small surface deformation, and the ability to process various materials without additional tools.
In recent years, our company has developed the optical disk library industry to meet the market demand for small batch and diverse products. The core part of the optical disk library cabinet is the internal action component, which plays a crucial role in the overall mechanism’s performance. The process dimension accuracy of the core sheet metal products inside the cabinet requires ±0.1mm.
To ensure processing accuracy, our company uses Amada’s optical fiber laser stamping compound machine for laser cutting and blanking of sheet metal products, which has a processing accuracy of ±0.07mm/1000mm.
However, during the process of laser cutting and blanking, abnormal cutting phenomena, such as cutting ripple and cutting burr, may occur, leading to product defects and increased processing costs.
Through comprehensive analysis and comparison of defective products, it was found that cutting ripple mostly occurs on larger products, with a defect rate of about 10%. In contrast, smaller products have a lower defect rate of less than 1%. To reduce production losses and processing costs, it is essential to analyze and study the laser cutting blanking process.
Cutting and blanking status
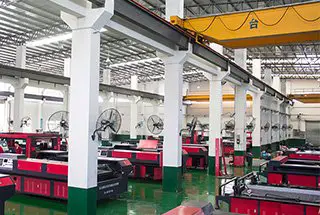
The compound machine is utilized for sheet metal laser cutting and blanking, with the machine clamp holding the sheet metal and moving along the X and Y directions, as depicted in Fig. 1, which shows the product processing equipment and processing area.
However, during continuous processing, the plate’s local stress is released, gradually weakening its strength and causing the plate to shake during movement. As a result, laser cutting ripples occur, leading to poorly processed products. The cutting ripple size is also affected by various factors, such as the processing direction of the product, initial processing position, and removal order of the product, as shown in Fig. 2 and Fig. 3.
Moreover, cutting large-size products result in a greater release of stress from the plate, causing the plate to shake even more during the remaining parts’ cutting. This results in cutting ripples, leading to higher processing costs and material waste.
To minimize such occurrences, it is crucial to ensure the plate’s stability and strength during the cutting process, particularly when dealing with large-sized products that require longer processing times.
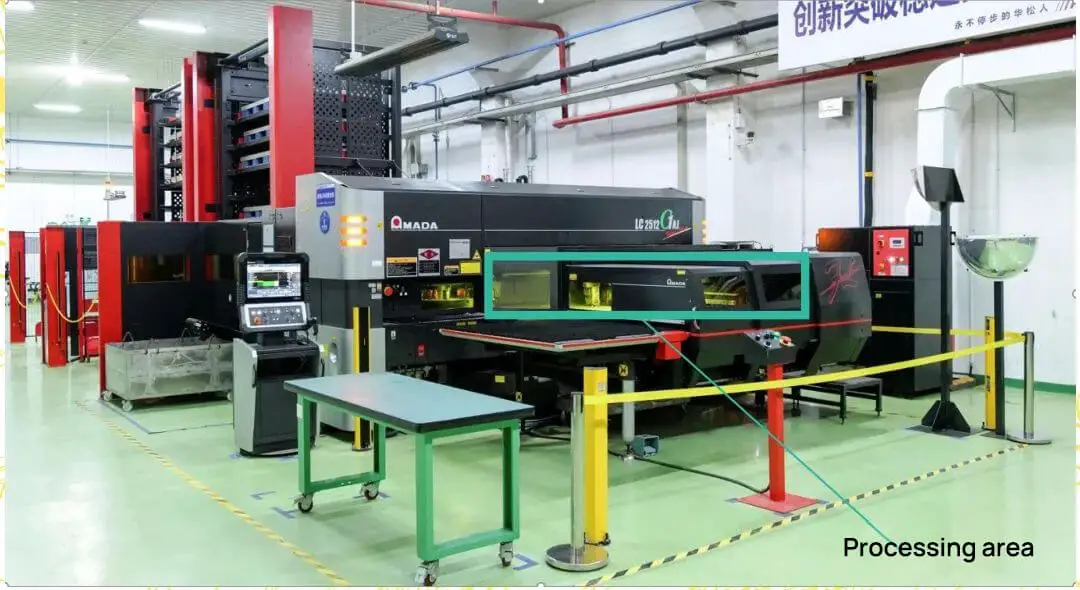
Fig. 1 processing equipment and processing area
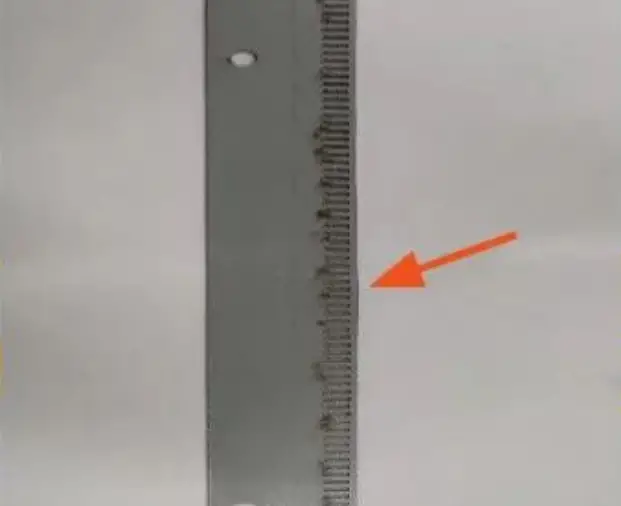
Fig. 2 cutting ripple state 1
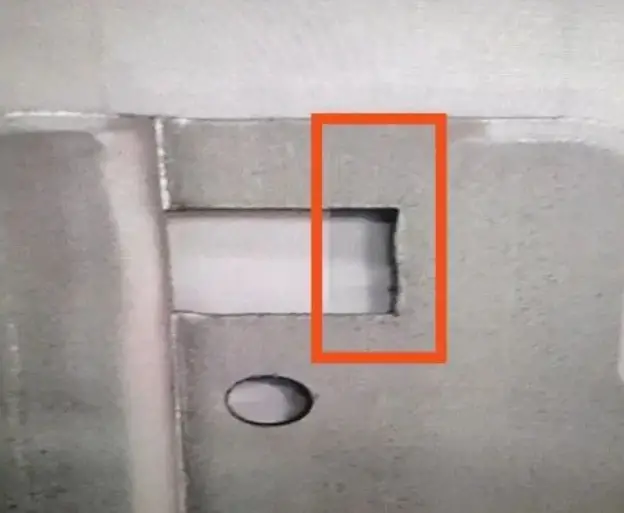
Fig. 3 cutting ripple state 2
Influencing factors of cutting ripple
Starting position of product processing
During the cutting process, the starting position of the products plays a crucial role in the generation of cutting ripples. Typically, the machining starts either from the end far away from the clamp or the end close to the clamp.
If the product is processed from a position far away from the clamp, as shown in Fig. 4, the plate at the clamp end can be cut at last. This approach can ensure that the plate stress is not released in advance, which in turn guarantees the strength and stability of the plate during movement, ultimately preventing the occurrence of cutting ripples.
On the other hand, when the product is processed from a position close to the clamp, as shown in Fig. 5, the plate stress is not significantly compromised at the beginning of processing, so the occurrence of cutting ripples is less likely. However, continuous cutting of the plate close to the clamp end will gradually release the plate stress, leading to an unstable plate during movement.
When the processing gradually moves away from the clamp, the peripheral products are likely to experience cutting ripples due to the insufficient strength of the plate. Therefore, during programming, it is crucial to ensure that the products are cut from the end far away from the clamp and then progressively towards the clamp end. This approach ensures the strength of the plate and eliminates the generation of cutting ripples.
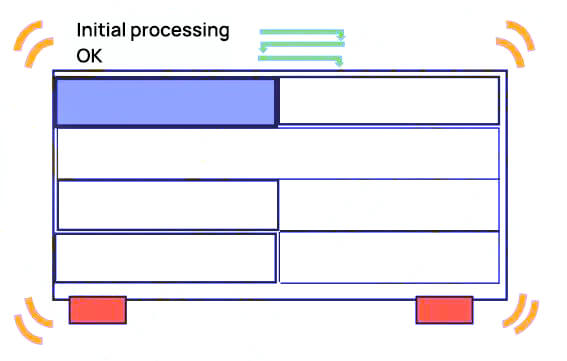
Fig. 4 good starting position of processing
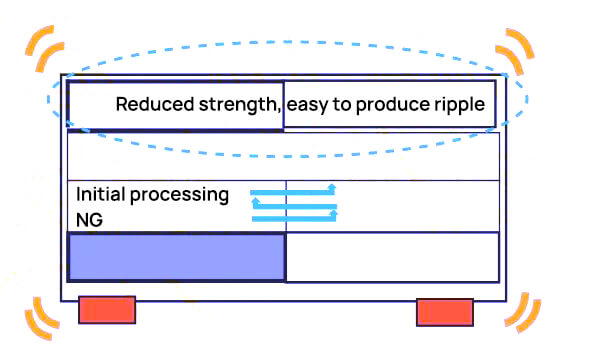
Fig. 5 processing start position is poor
Cutting point position and machining direction
During the sheet metal cutting process, the entry point where the cut is started will naturally become the exit point when the cutting is complete.
Selecting a suitable entry point can reduce the probability of cutting ripples.
At the start of the cutting process, due to the plate’s good strength, the entry point and direction of cutting do not have much impact. However, as the cutting process approaches the end, the entry point and direction of cutting become crucial in determining whether cutting ripples will be produced in the remaining products.
To prevent the generation of cutting ripples, ensure that the products close to the clamp end have enough strength.
If the entry point is selected in the middle of the product and cutting is done clockwise or anticlockwise, the bottom of the product will be cut first. This results in the stress release of the plate, which reduces the product’s strength and stability. Consequently, local cutting ripples may occur, as shown in Figure 6.
If the entry point is selected at the bottom end, the product closest to the clamp end will be cut last, which means that the plate’s stress is not released early, making the process more stable, and reducing the probability of cutting ripples occurring, as shown in Figure 7.
When programming the cutting process, ensure that the entry point and cutting direction are selected in such a way that the product is finally cut off near the clamp end.
The shorter the distance moved during the cutting process, the more cutting ripples can be avoided to a certain extent. Of course, when selecting the entry point at the bottom of the product, consider whether the cutting direction is clockwise or anticlockwise.
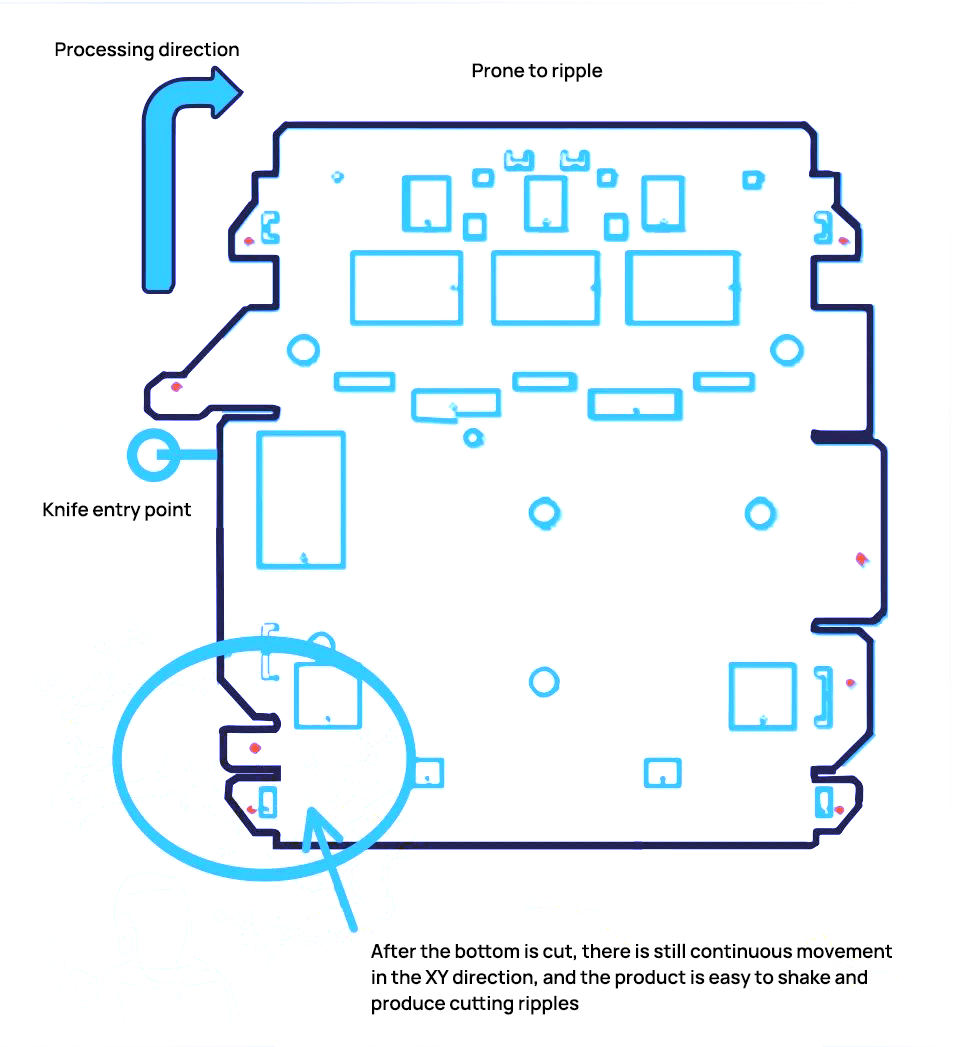
Fig. 6 The position of the cutting point is poor

Fig. 7 the position of the cutting point is good
Clamp clamping position
The function of clamps is to hold the plate in place and allow it to move in both X and Y directions according to the processing program. They ensure the stability of the plate during the processing operation. Therefore, it is essential to distribute the clamp positions evenly, which will prevent unstable shaking of the plates caused by deflection of the clamps to one side and the generation of cutting ripples.
Figure 8 shows a comparison of clamp positions.
Although the positioning of clamps can have an impact on cutting ripples, this factor can be avoided during the operation process.

Fig. 8 Clamp clamping position
Product removal sequence
During the production process, the TK manipulator is sometimes used to assist in taking out cut products, which can save human and material resources and achieve fully automated production of equipment. However, when using the TK manipulator to take out products, it’s crucial to pay attention to controlling the sequence of product removal to avoid weakening of strength and shaking of materials that can cause cutting ripples.
Taking out products from both ends of the plate first, and then from the middle can lead to a release of stress at both ends of the plate, resulting in insufficient plate strength. When the processing program reaches the middle of the plate, the plate may shake due to insufficient strength, causing cutting ripples in the products and resulting in high product defect rates and processing losses, as shown in Fig. 9.
To avoid this issue, it’s essential to take out the products successively from the side away from the clamp. This ensures that the stress concentration of the plate at the processing position is well-distributed, and the movement is stable, preventing cutting ripples from occurring, as shown in Fig. 10.
Therefore, during processing and programming, it’s important to ensure that the products are taken out sequentially from the end away from the clamp to maintain the strength of the plate and prevent shaking during movement, thereby avoiding the generation of cutting ripples.
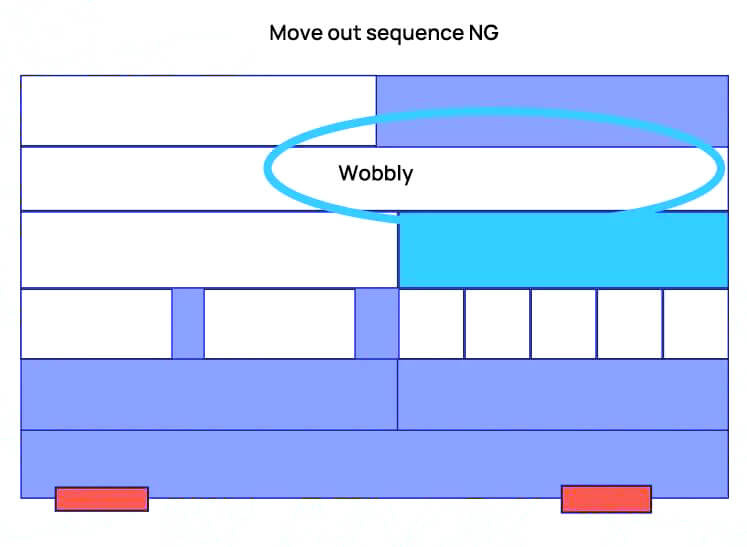
Fig. 9 poor product removal sequence

Fig. 10 good product removal sequence
Conclusion
The factors that influence the research above are based on an analysis of cutting ripples at this stage.
The generation of cutting ripples is not influenced by a single factor but by the combined effects of several factors, including size, weight, processing speed, and others.
To avoid the generation of cutting ripples, a comprehensive consideration of all factors is necessary during the programming process to minimize the possibility of cutting ripples.