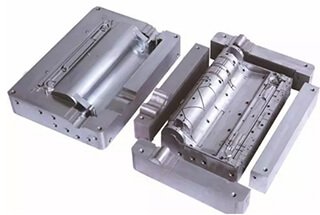
Ever wonder why some gears fail despite meticulous grinding? This article dives into the hidden hazard of grinding burn in transmission gear teeth. It explains how high temperatures during grinding can alter the metal’s structure, leading to cracks and reduced performance. You’ll discover practical detection methods, including a comparative analysis of acid etching techniques, to ensure gear reliability and longevity. Read on to learn how to protect your gear systems from these unseen threats and improve your manufacturing processes.
Grinding burn is the biggest hazard in gear grinding after heat treatment.
On the basis of practice, this paper puts forward an acid etching method to detect grinding burns, and makes a comparative demonstration.
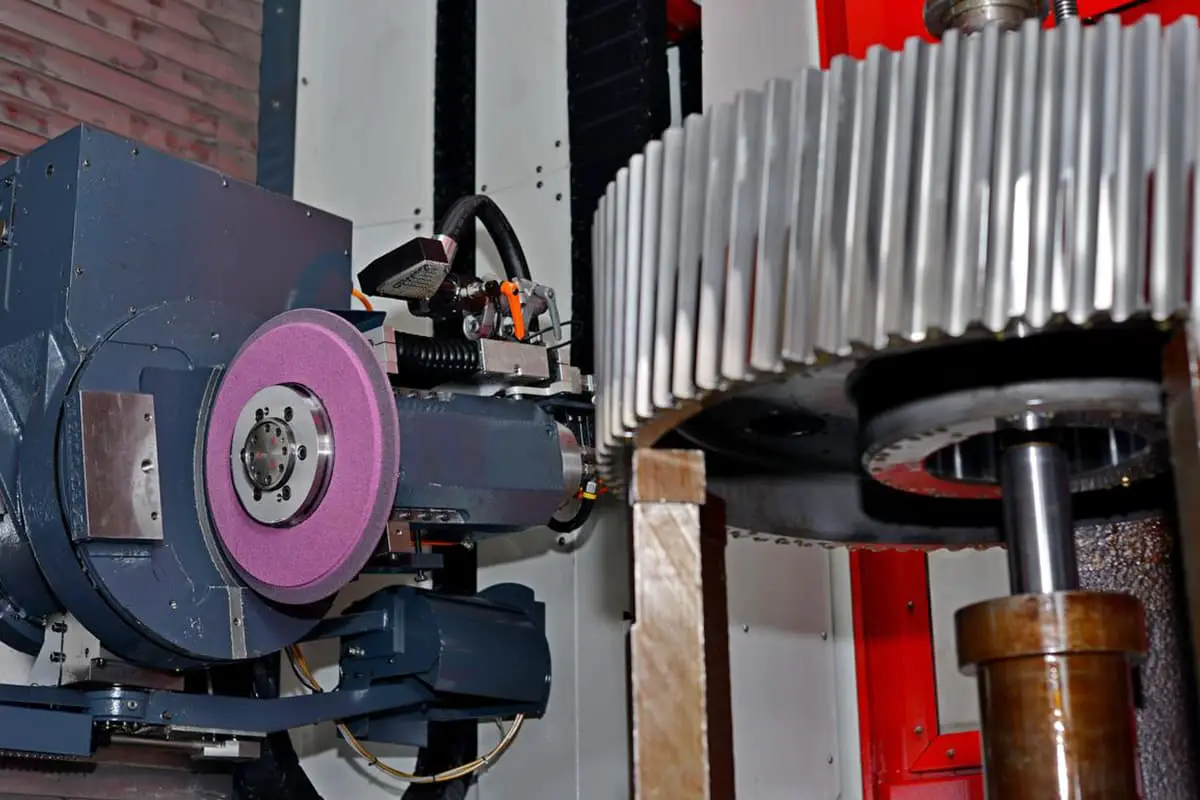
The purpose of gear grinding after heat treatment is to correct the deformation during heat treatment, improve gear accuracy and reduce noise.
The fatigue performance of gears is related to the surface hardness, surface stress distribution and surface microstructure of the tooth surface.
The contact stress during gear operation and the improvement of contact accuracy between meshing teeth after grinding reduce the possibility of contact fatigue stress concentration, which is conducive to the improvement of contact fatigue life.
The surface layer of gear parts will burn in the grinding process, which will greatly reduce the product performance and service life, or even can not be used, causing serious quality problems.
Therefore, on the one hand, production enterprises should reduce and avoid grinding burn by implementing correct and scientific process specifications;
On the other hand, it is necessary to strengthen the process inspection of parts and components, find unqualified workpieces in time, and monitor the process conditions of the grinding process in real time.
During grinding with a grinding wheel, when the instantaneous high temperature (generally 900~1500 ℃) in the grinding area reaches above the phase change temperature, the metallographic structure of the surface of the part will change, and some parts of most surfaces will be oxidized and discolored.
This reduces the strength and hardness of the surface metal, accompanied by residual stress, and even micro cracks.
This phenomenon is called “grinding burn”, and the process is shown in Fig. 1.
When the grinding surface produces high temperature, if the heat dissipation measures are not good, it is easy to have secondary quenching and high temperature tempering on the workpiece surface.
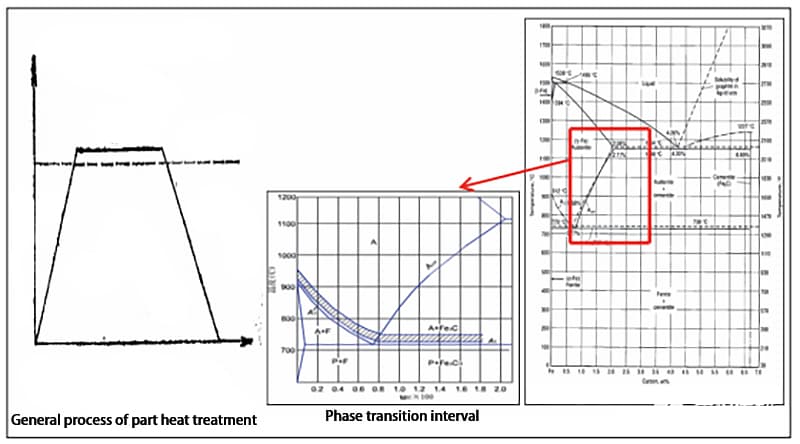
Fig. 1 Grinding burn
After grinding burn, the metallographic structure of gear surface will change and produce some adverse consequences.
Quenching cracks:
The instantaneous temperature of the surface layer of the grinding workpiece exceeds AC1 727+(30~50) ℃ of the steel grade, and secondary quenching martensite is formed under the action of the coolant.
Under the surface layer, due to the large temperature gradient and short time, only high temperature tempering structure can be formed, which will generate tensile stress between the surface layer and the subsurface layer, while the surface layer is a thin and brittle secondary quenching martensite.
When the surface layer cannot bear the tensile stress, cracks will be generated.
Quenching burn:
When the temperature in the grinding area exceeds the phase transformation temperature AC1 727+(30~50) ℃, local areas on the surface of the workpiece will become austenite, and then secondary quenched martensite will appear in the surface extremely thin layer due to the rapid cooling effect of the coolant and the workpiece’s own heat conduction.
The secondary surface layer is tempered sorbite with greatly reduced hardness, which is called secondary quenching burn.
Annealing burn:
If the temperature in the grinding area exceeds the phase change temperature and there is no coolant entering the grinding area, the surface metal will have annealed structure and the surface hardness will drop sharply.
This kind of burn is called annealing burn.
Temper burns:
When the temperature in the grinding zone is significantly higher than the tempering temperature of the steel but still lower than the phase transformation temperature, the workpiece surface appears tempered troostite or tempered sorbite softening structure.
At present, the detection methods of grinding burn include: color observation method, acid etching method, microhardness method, metallographic detection method and magnetoelastic method (Barkhausen noise method).
According to the actual demand and the processing process, our company selects the acid etching method to detect grinding burns.
Acid etching method 1 (nitric acid solution acid etching method) includes 11 steps: pre cleaning → pre heating → acid leaching corrosion (nitric acid+methanol solution) → flushing → dehydration → bleaching (hydrochloric acid+methanol solution) → flushing → neutralization → flushing → dehydration → rust prevention.
Method 1 The acid etching solution shall be prepared before each acid etching test for grinding burn.
After the solution is prepared, the volume percentage concentration of acid in the acid etching solution shall be measured by acid-base neutralization titration.
The color of the secondary tempering area is light brown to black, that is, the color is darker than the uniform gray of the normal acid etching surface;
The re-quenching area is light gray to white with light brown to black boundary around;
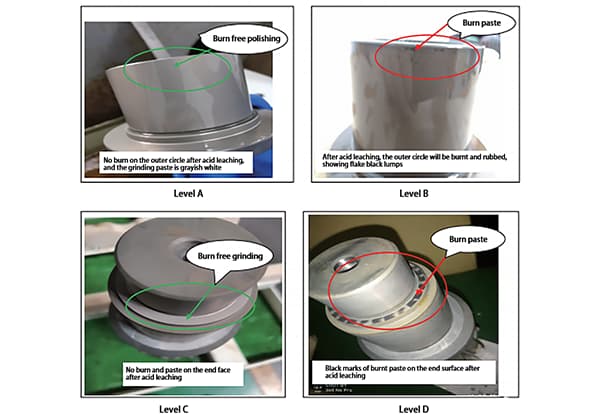
Finally, the burn grade was evaluated.
Burn rating is based on the area and degree of grinding burn.
It is divided into 4 grades, namely A, B, D and E, as shown in Fig. 2-5.
Recently, the customer recommended using method 2 slag inhibitor technology for acid corrosion.
The slag inhibitor solution acid corrosion method includes six steps: pre-cleaning → pre-heating → nitric acid solution corrosion (nitric acid+water+slag inhibitor solution) → drying → washing → rust prevention.

Acid etching process:
Put the cleaned parts into nitric acid solution for corrosion (nitric acid+water+slag inhibitor solution), shake the parts continuously for a certain period of time, require the surface to form a uniform black oxide film, take out the parts and wash them, dehydrate them, put the parts into bleach solution (hydrochloric acid+methanol solution) for bleaching after dehydration, shake them continuously for several seconds, and the surface will get a uniform gray color, wash them after taking out.
After neutralization, rinsing, dehydration and drying, the surface of parts shall be inspected visually to judge whether there is grinding burn.
The evaluation method is the same as method 1.
The above two inspection methods are comprehensively compared.
Step comparison: method 2 has fewer steps, is simple and fast, and method 1 has more steps.
When the same part is acid soaked to detect burns, method 2 is significantly more convenient than method 1.
Economic comparison: the chemical reagents nitric acid, hydrochloric acid and methanol used in method 1 are cheap.
The anti Smut 100 anti slag additive used in method 2 is 25 kg per barrel, with a cost of about 30000 yuan.
See the table for its characteristics.
Table Anti Smut100 Features
|
Anti Smut100 is an anti slag additive for nitric acid etching solution |
|
|
Product feature |
Restrain the adhesion of residue on the part surface during nitric acid etching; Very stable in nitric acid; Easily soluble in solution; Very good wettability. |
|
Application |
Anti Smut100 is recommended for various nitric acid etching solutions (such as etching inspection of high-strength alloy steel parts); Anti Smut100 slag inhibitor should be dissolved in the etching solution at room temperature and slightly stirred manually to make it mix evenly; Typical compositions of the tempering etching solution are as follows: 03%~5% V/V nitric acid; 3%~5% slag inhibitor; The rest is water. |
According to the annual usage, the cost of method 2 is still much higher.
To sum up, it is concluded that the method has fewer steps, shortens the detection process, saves detection time, improves detection efficiency, has higher acid etching sensitivity, and uses fewer chemicals.
As the nitric acid aqueous solution is used, the solution is used for a long time, and the solution can be used for 4 to 6 months once it is prepared.
It is recommended to use this method for products with strict inspection requirements in aerospace industry.
Method 1 has a little more processes, a little longer detection time, and a short service time of the solution.
After a period of time, the solution becomes turbid and needs to be replaced frequently.
In addition, the volume percentage of the solution needs to be detected each time, and the sensitivity is not as high as Method 2.
It is generally suitable for routine inspection of automobile gear parts enterprises.
Grinding burn is the biggest hazard in gear grinding after heat treatment, which must be overcome to avoid after-sales quality problems.
The acid etching method is a relatively simple, scientific and standardized method to detect grinding burns.
Compared with the detection steps, the method is labor-saving, fast and more sensitive;
From the perspective of economy, method 1 is economical and practical.
Each enterprise can select according to its own actual needs.
