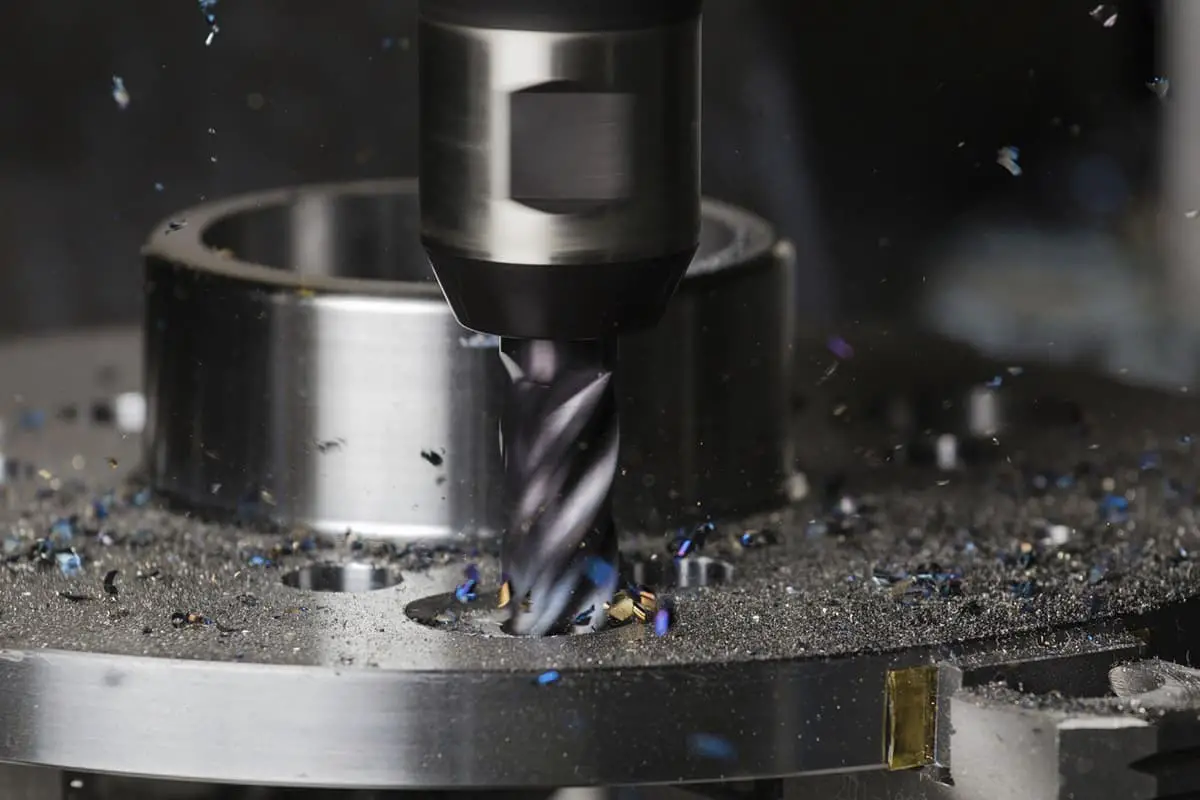
Ever wondered how machinists achieve those perfectly flat surfaces on metal workpieces? This article unveils the secrets of face milling cutters, exploring their selection, tooth number, tool angles, and milling inserts. Discover how these tools transform raw materials into precision-engineered components, ensuring top-notch quality and efficiency in manufacturing. Dive in to learn the essentials that can elevate your machining skills!
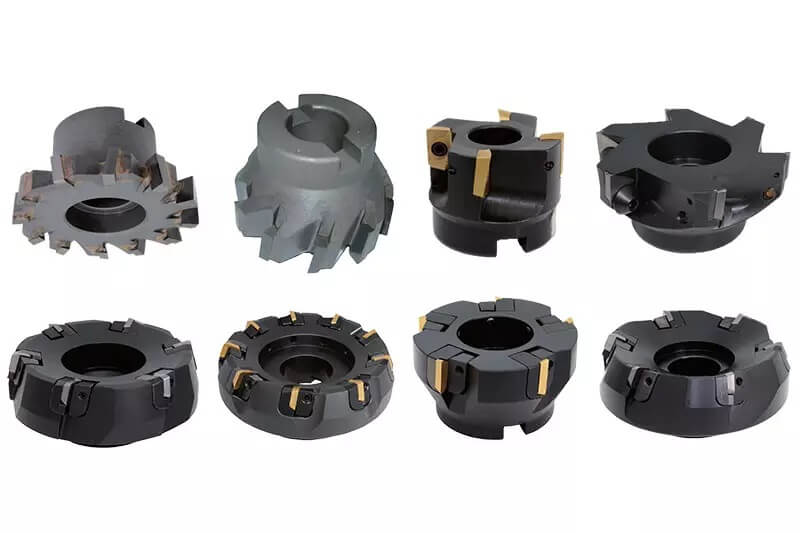
The primary tool for machining flat workpieces is a face milling cutter, which has cutting edges along its circumference and end face. The end face cutting edge is considered a secondary cutting edge.
The face milling cutter typically has a large diameter, so when selecting the cutter, it’s common to separate the cutter teeth and body to ensure long-term use.
(1) For machining small planar surfaces, select a tool or milling cutter with a diameter exceeding the plane width to achieve single-pass milling. Optimal results are obtained when the face milling cutter diameter is 1.3 to 1.6 times the machining surface width. This range ensures efficient material removal while minimizing tool deflection and vibration.
(2) When processing large planar areas, multiple passes with an appropriately sized milling cutter are required. The cutter diameter is constrained by machine tool specifications, desired cutting depth and width, as well as insert and tool holder geometries. Consider factors such as machine power, rigidity, and coolant delivery capabilities when selecting the optimal cutter size for multi-pass operations.
(3) For small, scattered workpiece surfaces, opt for a smaller diameter end mill. To maximize material removal rate and tool life, aim for 2/3 of the cutter diameter to engage with the workpiece. This translates to a milling cutter diameter approximately 1.5 times the milled width, ensuring efficient chip formation and evacuation.
When employing conventional (up) milling, the proper ratio of tool diameter to cutting width ensures an advantageous cutting angle as the milling cutter enters the workpiece. This approach minimizes the risk of work hardening and improves surface finish quality.
If machine tool capabilities cannot maintain the ideal cutting ratio consistently, consider dividing the axial cutting depth into multiple passes. This strategy helps preserve the optimal ratio between milling cutter diameter and cutting width, enhancing process stability and tool life while maintaining dimensional accuracy.
The number of teeth on a milling cutter is a critical factor in optimizing machining processes, directly impacting production efficiency, surface finish quality, and overall cutting performance. For example, a 100mm diameter sparse tooth milling cutter typically features 6 teeth, while a dense tooth variant of the same diameter may have 8 or more teeth. This tooth density variation significantly influences chip formation, evacuation, and cutting dynamics.
Milling cutters are generally classified into three categories based on tooth density:
The selection of tooth density involves a careful balance of several factors:
Tooth pitch, which determines the number of teeth engaged in cutting simultaneously, is a crucial consideration. To maintain cutting stability and prevent detrimental milling impacts, it’s imperative to ensure that at least one tooth is engaged in the cut at all times. This continuous engagement mitigates the risk of tool damage and machine overload.
Furthermore, the tooth pitch must allow for proper chip formation and evacuation. Insufficient chip space can lead to chip packing, potentially damaging both the cutting edges and the workpiece surface. Conversely, excessively sparse tooth arrangements may result in increased cutting forces per tooth and reduced surface quality.
The cutting angle of the tool can be positioned as a positive rake angle, negative rake angle, or zero rake angle relative to the radial plane and axial plane. Zero rake angle, where the entire cutting edge impacts the workpiece at the same time, is generally not used.
The choice of face milling cutter angle affects the mode of plane milling contact. To minimize impact on the cutter, reduce cutter damage, and avoid the stuv face contact mode, it’s important to consider both the cutting angle of the cutter and the geometric angle of the face milling cutter.
The cutting angle is determined by the combination of radial and axial rake angle.
Tools with negative axial and radial forward angles (referred to as “double negative”) are mainly used for rough machining of cast iron and cast steel, but the machine tool must have high power and sufficient rigidity. The “double negative” blade has a strong cutting edge and can handle large cutting loads, but the machine tool, workpiece, and fixture must also have high rigidity.
Tools with positive axial and radial forward angles (referred to as “double positive”) increase the cutting angle, making cutting lighter and chip removal smoother, but the cutting edge strength is weak.
This combination is ideal for processing soft materials and materials such as stainless steel, heat-resistant steel, ordinary steel, and cast iron. It should be used when the machine tool has low power, the process system has insufficient rigidity, and chip accumulation tumors occur.
The combination of radial negative rake angle and axial positive rake angle enhances the cutting edge strength with the negative radial rake angle and produces a shearing force with the positive axial rake angle. This combination has strong impact resistance and a sharp cutting edge, making it suitable for heavy milling of steel, cast steel, and cast iron.
The radial positive rake angle and axial negative rake angle cause broken chips to move below the center, causing the chips to scratch the machined surface and leading to poor chip removal.
The selection of milling insert preparation is a critical factor in plane milling operations. The choice between pressed and ground inserts depends on the specific machining requirements, with each type offering distinct advantages for different applications.
Pressed inserts are more cost-effective for roughing operations and exhibit superior edge strength, making them resistant to impact and capable of handling high feed rates and large depths of cut. These inserts feature engineered chip-breaking geometries on the rake face, which effectively reduce cutting forces, minimize friction between the tool, workpiece, and chips, and lower power consumption. The robust nature of pressed inserts makes them ideal for heavy material removal in less demanding accuracy applications.
However, pressed inserts have limitations in surface finish quality and dimensional accuracy. The variation in insert height when mounted on the milling cutter body can be significant, potentially affecting the uniformity of the machined surface. Despite these drawbacks, pressed inserts remain widely used in production environments due to their cost-effectiveness and durability in rough machining scenarios.
For finish milling operations, ground inserts are the preferred choice. These inserts offer superior dimensional accuracy, resulting in precise positioning of the cutting edge, enhanced machining accuracy, and lower surface roughness values. Modern grinding techniques allow for the creation of optimized chip-breaking geometries and positive rake angles on ground inserts, enabling efficient chip evacuation and reduced cutting forces even at lower feed rates and depths of cut.
Recent developments in insert design for finish machining focus on creating large positive rake angles combined with precision-ground chip-breaking grooves. This configuration allows for effective cutting with small feed rates and shallow depths of cut, crucial for achieving high-quality surface finishes. However, it’s important to note that when using carbide inserts with very small feed rates and depths of cut, there’s a risk of tool tip rubbing against the workpiece if the rake angle is insufficient. This can lead to premature tool wear and reduced insert life.
To optimize the performance of milling inserts, consider the following factors:

