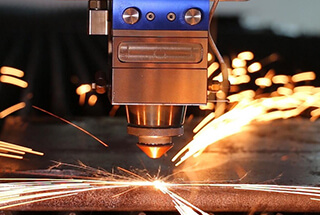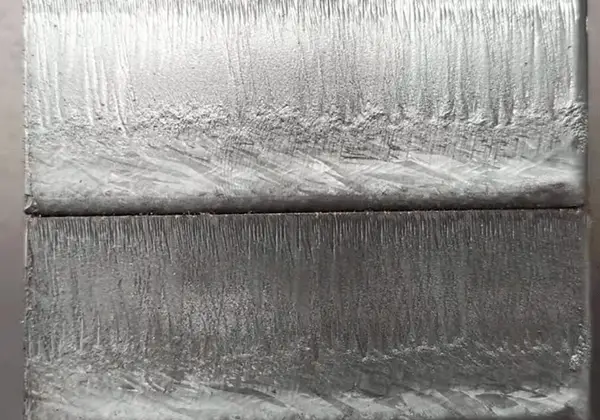
Ever wondered how to achieve perfect laser cuts on thick stainless steel? This article delves into essential tips for laser cutting plates over 25mm thick. It covers crucial factors like nozzle selection, gas purity, and laser frequency adjustments to ensure high-quality cuts. By the end, you’ll understand how to optimize your laser cutting process, minimize defects, and enhance efficiency. Dive in to discover how to make precise and clean cuts on robust stainless steel plates.
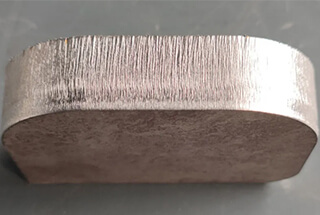
With the growth of the economy, the use of stainless steel plates has become increasingly widespread. They are now commonly utilized in the construction industry, machinery manufacturing, container production, shipbuilding, bridge building, and other fields.
At present, laser cutting is the primary method for cutting thick stainless steel plates. The technology for laser cutting thick stainless steel plates is becoming increasingly advanced, gradually replacing traditional cutting techniques.
To achieve a high-quality cutting result, it’s crucial to have a mastery of the process techniques.
In terms of thickness, medium plates refer to steel plates that are 10.0-25.0mm thick, plates that are 25.0-60.0mm thick are referred to as thick plates, and plates thicker than 60.0mm are referred to as extra thick plates.
For the purpose of cutting high-quality thick stainless steel, it’s essential for stainless steel product manufacturers to have a complete understanding of the laser cutting process.
Criteria for laser cutting thick plate
1. Roughness
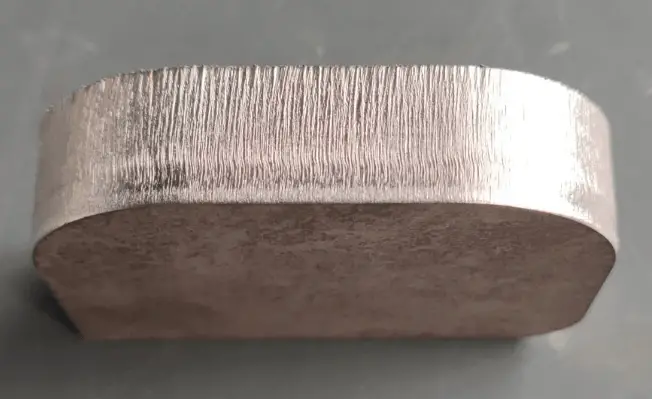
The laser cutting process results in vertical lines on the cut section. The roughness of the cut surface is dependent on the depth of the grain. A shallower grain results in a smoother cut section, whereas a deeper grain leads to a coarser cut surface. Furthermore, a shallower grain results in a higher quality cut.
For thick sheet metal, the perpendicularity of the cutting edge is of utmost importance. If the laser beam is too far from the focus, it becomes divergent, which can result in uneven widths at the top and bottom of the slit.
If the cutting edge deviates significantly from a vertical line, the workpiece will not meet standards and can be difficult to use. The closer the cutting edge is to a vertical line, the higher the quality of the cut.
3. Cutting width
The width of the cut determines the inner diameter of the profile. During the actual cutting process, it’s necessary to adjust parameters and compensate for the material being cut to ensure that the workpiece meets the desired size specifications.
4. Grain
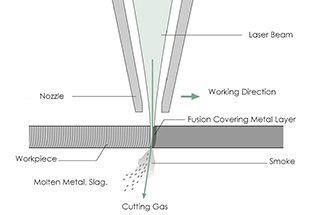
When cutting thick plates at high speed, the molten metal is expelled at the back of the laser beam instead of being ejected from the notch below the vertical laser beam. This results in a curved pattern at the cutting edge.
To resolve this issue, it’s necessary to decrease the feed rate towards the end of the cutting process, which can effectively eliminate the formation of this curved pattern.
5. Burrs
Burr is a crucial factor in determining the quality of laser cutting. Removing burr requires additional effort, which results in increased time and labor costs. As a result, the presence or absence of burr is the primary criterion for determining if a laser cut is considered to be of acceptable quality.
6. Heat affected area
The heat-affected area refers to the depth of the region where the internal structure has undergone changes. During laser cutting, the metal near the notch is heated, which can result in alterations to the metal’s structure. For instance, some metals may become harder.
7. Deformation
Rapid heating during the cutting process can cause deformation, which is particularly critical in precision machining. To avoid this, it’s necessary to control the laser power and utilize short laser pulses, which reduces component heating and prevents deformation.
Nozzle diameter
The diameter of the nozzle determines the shape of the gas flow, the size of the gas diffusion area, and the rate of gas flow into the notch, which influences the stability of melt removal and cutting. A larger air flow into the notch results in faster speeds and improved ability to remove the melt, provided that the workpiece is positioned correctly within the air flow.
For thicker stainless steel, it’s recommended to use a larger nozzle. To increase the pressure and ensure a normal cutting result, the proportional valve setting can be increased, resulting in a higher flow.
Nozzle specifications
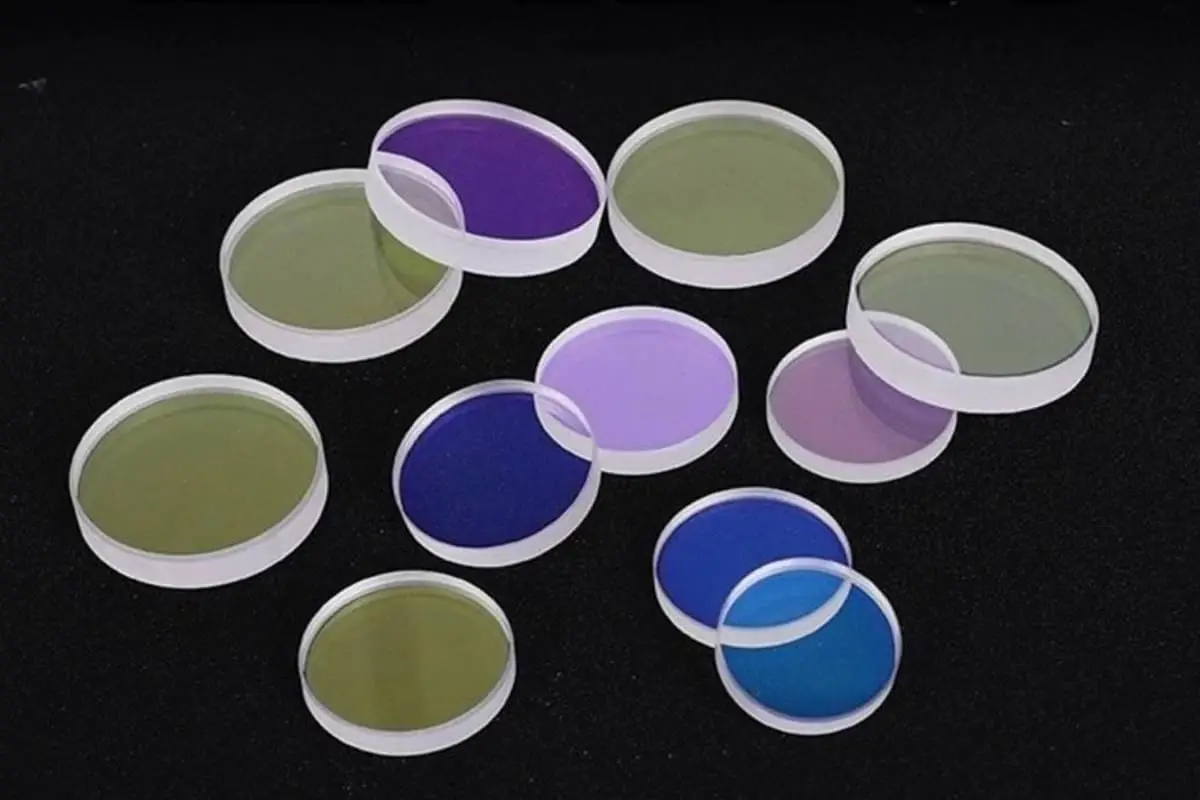
The nozzle specification primarily refers to the end aperture. For example, the cutting nozzle made by Precitec has an aperture that ranges from 1.5mm to 5.0mm. The selection of the aperture is primarily based on the cutting power. The higher the power, the more heat generated and the greater the amount of gas required.
When cutting plates below 3mm, a nozzle with a 2.0mm aperture is usually used. For cutting plates that are between 3mm and 10mm, a 3.0mm nozzle is selected. When cutting plates that are thicker than 10mm, nozzles with apertures of 3.5mm or greater are necessary.

△3.5 aperture single layer nozzle
Single-layer nozzle or double-layer nozzle?
Typically, double-layered nozzles are utilized for oxidative cutting (where oxygen is used as the auxiliary gas) and single-layered nozzles are used for melt cutting (where nitrogen is used as the auxiliary gas). However, some lasers have specific instructions regarding the use of single or double-layered nozzles. In these cases, it’s important to follow the instructions provided by the laser.
A variety of auxiliary gases, including oxygen, nitrogen, and air, are frequently used in laser cutting of stainless steel. Different gases have varying effects on the cutting process. Oxygen results in black sections, air results in light yellow sections, while nitrogen helps to prevent oxidation and maintain the original color of the stainless steel. As a result, nitrogen is the preferred auxiliary gas for cutting stainless steel.
Recommended oxygen and nitrogen purity:
| Oxygen | Nitrogen | |
| Advantages | High cutting speed, able to cut thick plates | Avoid oxidation of the cutting edge, so the workpiece does not need to be reworked |
| Recommended purity | ≥99.999% | ≥99.995% |
The test data of nitrogen flow, nozzle diameter and gas pressure are shown in the figure below.

The vertical axis represents the gas flow test values, while the horizontal axis represents the adjustment setting. Different gas pressure changes are shown and different colors represent the test conditions of different nozzle diameters.
The graph shows that the flow is determined by the set gas pressure and the diameter of the nozzle, with a linear positive correlation.
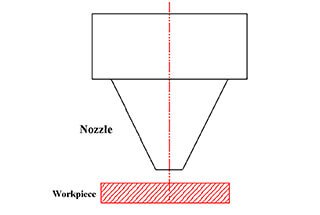
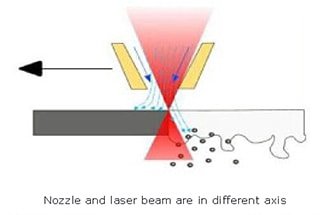
To guarantee the cutting effect and protect the nozzle from damage, it’s necessary to conduct a coaxial test before cutting. This test ensures that the nozzle is aligned with the laser output beam.
Focus position test method
To perform the coaxial test, stick a piece of transparent tape paper to the end face of the nozzle outlet. Adjust the laser output power for drilling and observe whether there is a central hole on the tape paper and its position. Adjust the adjusting screw on the mirror cavity handle until the laser-punched hole on the tape paper aligns with the center of the nozzle.
The focus affects the thickness, material, and quality that can be cut. Different materials and thicknesses require different focus adjustments. Before cutting, measure the actual zero focus and use it as a basis for testing and analyzing the cutting process parameters.
In stainless steel cutting, negative defocus is the preferred direction for process selection.
| Location of focus | Cutting material and section features |
| Zero focal length: the laser focus is on the surface of the cutting workpiece
| This method is suitable for cutting thin carbon steel with a thickness of less than 1mm. The focus is placed on the surface of the workpiece, resulting in a smooth upper surface and a rough lower surface. |
| Negative focal length: the laser focus is below the surface of the cutting workpiece
| This is the cutting method for stainless steel. The focus is placed below the surface of the board, which results in a wider smooth surface area, a wider slit compared to a zero focal length slit, a larger gas flow during cutting, and a longer piercing time than with a zero focal length. |
| Positive focal length: the laser focus is above the surface of the cutting workpiece
| When cutting carbon steel, oxygen is used as the auxiliary gas. This results in a blackened surface and a rough cut section. |
Influence of frequency change on the cutting of stainless steel thick plate:
As the frequency decreases from 500 to 100Hz, the quality of the cut section improves and the layering becomes finer. However, if the frequency is set to 100Hz, cutting is not possible and blue light is reflected. To determine the best frequency range, it’s necessary to experiment with frequency changes.
For optimal cutting results, it’s important to ensure a perfect match between pulse time and single pulse energy.

Influence of pulse duty cycle change on stainless steel thick plate cutting:
The critical value for the pulse duty cycle is 45%. If the duty cycle is further reduced, an undercut mark will appear on the lower surface. Conversely, if the duty cycle increases to 60%, the cut section becomes rough, with clear layering and a yellow cutting surface.
The pulse duty cycle represents the proportion of time that the beam is irradiated in each pulse. The frequency is the number of times that peak power occurs in a pulse, while the duty cycle refers to the ratio of peak power to low power in a pulse.

