How do you measure the intricate curves and grooves of a complex workpiece? Standard tools fall short, making precise measurement difficult. This article delves into specialized instruments designed for these unique shapes, explaining their applications and benefits. By reading, you’ll gain insights into the tools that ensure accuracy in even the most challenging measurements.
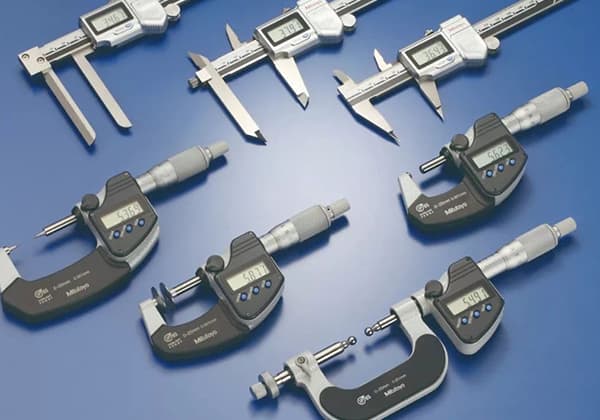
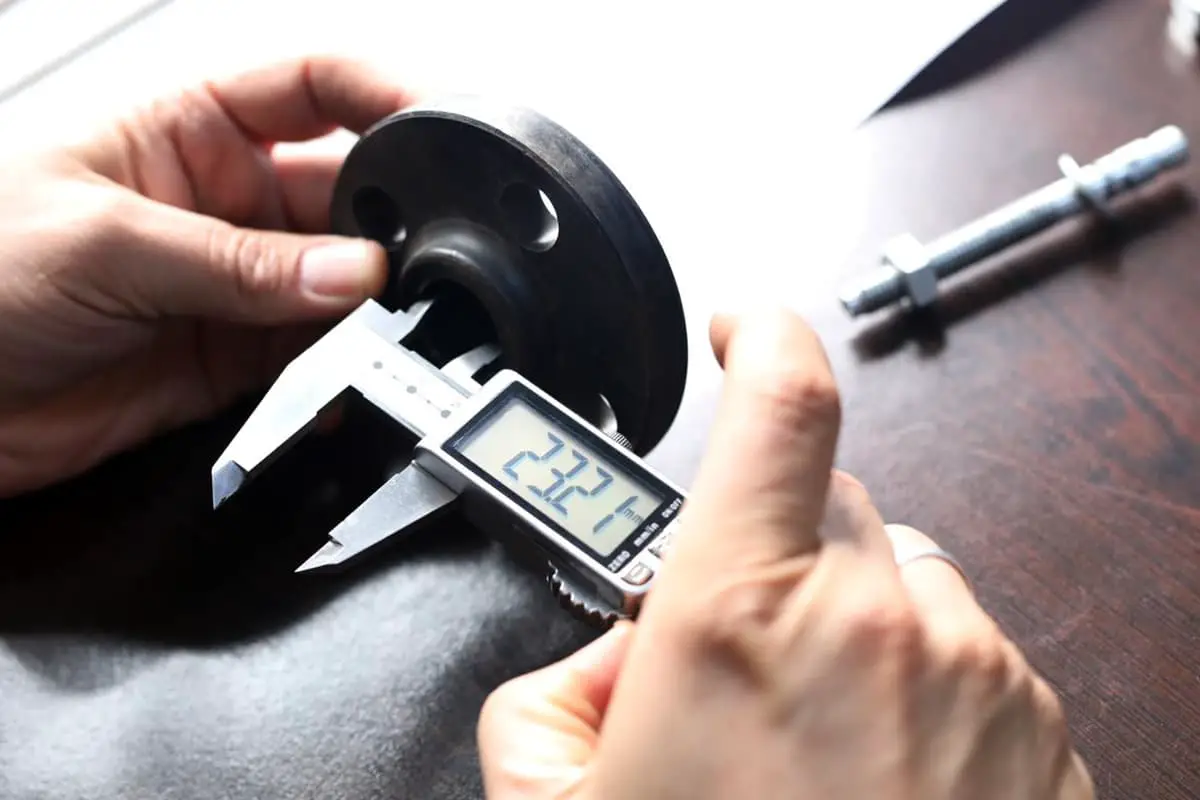
Micrometers and calipers are standard measuring tools commonly used as “sharp tools” to measure the plane and parallel features of workpieces or inner/outer diameters. However, when measuring workpieces with complex shapes, such as curved surfaces or narrow grooves, it may be challenging for standard universal measuring tools to accurately measure the required position.
To measure workpieces with complex shapes, it is more effective and economical to choose a special non-standard measuring tool.


Reason: The cylindrical anvil can be used to measure the wall thickness in the pipe.

Reason: The measuring claw of the main ruler is cylindrical, which can accurately measure the pipe wall thickness.

Reason: The anvil is at a 90 ° angle, which can measure the thickness of pipe wall or bending plate.


Reason: The measuring claw is a knife edge type, which is used to measure the inside position that is difficult to measure.
The measuring jaws of the same series also have sharp claw type and internal groove type.

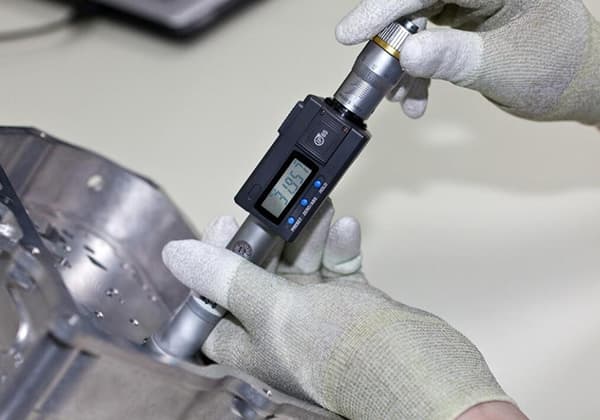
Reason: The caliper shaped measuring surface can realize the inner diameter measurement that cannot be realized by the universal micrometer.
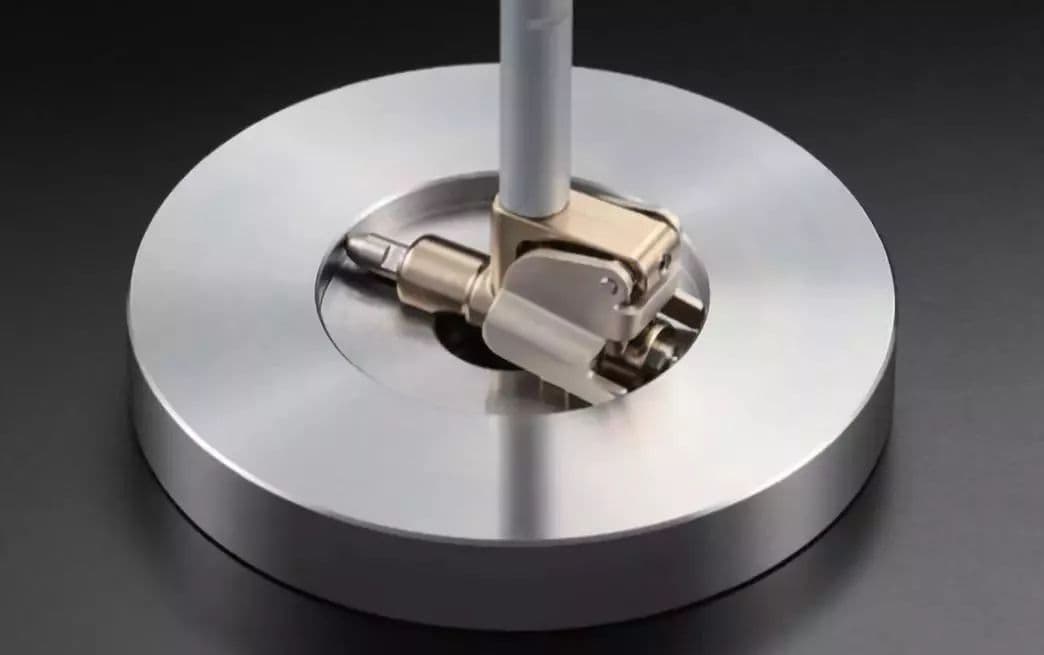
Reason: The diameter of the bottom surface of the inner hole can be measured, and the inner diameter of the deep hole can be measured by connecting the extension rod.


Reason: The measuring surface is thin, which can easily and accurately measure the diameter of narrow groove.

Reason: The front end of the measuring claw is thin, which can easily reach the measuring position of the narrow groove to complete the measurement.

Reason: The front end of the measuring claw is in sheet shape, which can easily reach the measuring position of the narrow groove to complete the measurement.


Reason: The micrometer screw and anvil with flange can measure the relationship between the inner diameter of the groove and the depth and position of the groove in the pipe.


Reason: Small diameter anvil is convenient for measuring the diameter of spline shaft and groove.


Reason: V-shaped anvil is suitable for measuring the outer diameter of taps, reamers and milling cutters with odd slots. A single needle can be used to measure the pitch diameter.


Reason: The oversized ruler frame can easily measure the thickness of plates.


Reason: The disc anvil can go deep into the root of the tooth root, and is suitable for measuring the tangent length of the tooth root of straight cylindrical gears and helical gears.


Reason: Different replaceable spherical anvils – micrometer screw measuring surfaces can be selected to measure gears with different modules (0.5 – 5.25).


Reason: The fixed anvil can measure 60 ° threads.
The effective diameter of the thread is read directly without calculation.

The measuring surface of the optional replaceable anvil/micrometer screw corresponds to different thread measurements. This allows the effective diameter of the thread to be read directly, without requiring any calculations.


Reason: With the offset value setting function, you can directly read the distance measurement value.

Reason: With the offset value setting function, you can directly read the distance measurement value.


Reason: The edge center measuring claw is suitable for measuring the distance between single holes, and there is a measuring claw on the back of the ruler frame to facilitate reading the measurement results.


Reason: The pointed claw type measuring claw can go deep into very small grooves or tracks, and easily measure the outer diameter, inner diameter, depth and segment difference.


Reason: The tip radius of the anvil is about 0.3mm, which can be used to measure the wall thickness of drilling holes, small grooves, keyways and other dimensions that are difficult to measure.


Reason: The design of measuring claw with height difference is suitable for measuring step difference section and workpiece size that is difficult to measure.


Reason: The two measuring surfaces are spherical and can measure the wall thickness of the concave wall.
