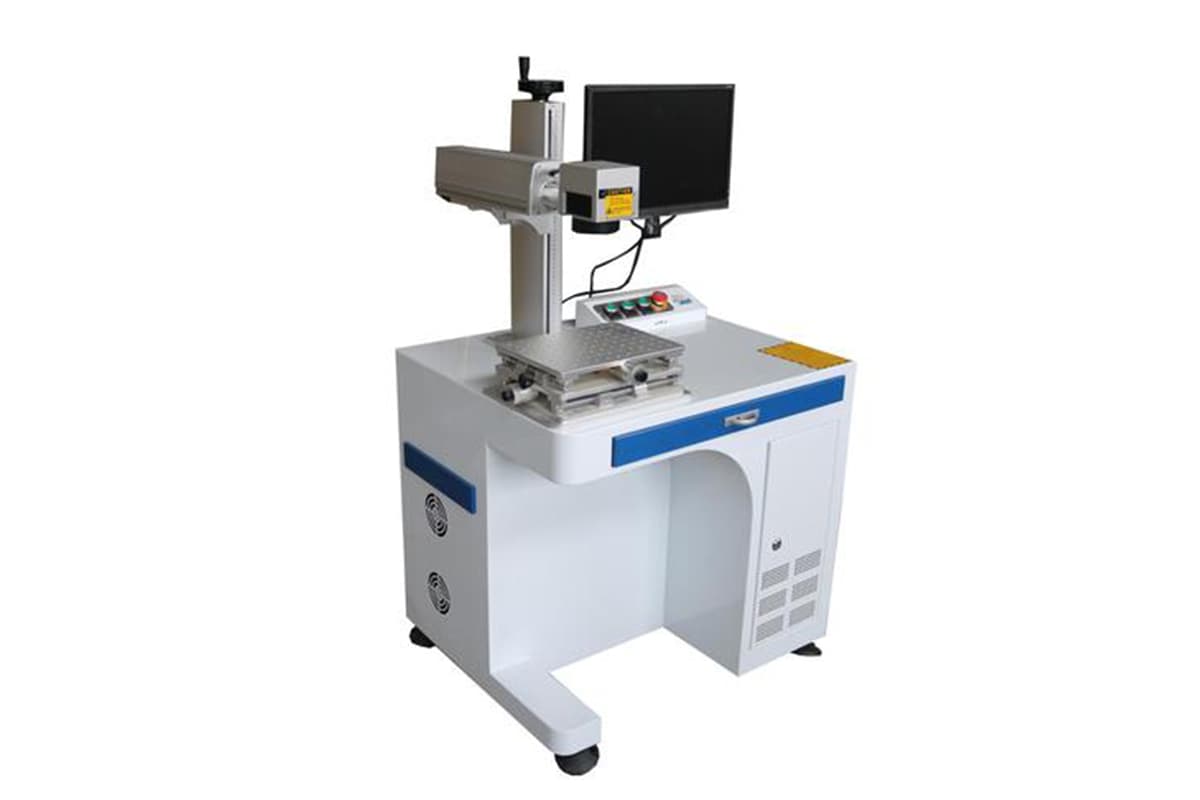
Problem 1: Laser intensity decreases, marking is not clear enough
Solution for the marking machine:
① Check if the laser resonator has changed; fine-tune the resonator lens to achieve the best output light spot.
② Acousto-optic crystal is off-center or the output energy of the acousto-optic power supply is too low; adjust the position of the acousto-optic crystal or increase the working current of the acousto-optic power supply.
③ The laser entering the galvanometer deviates from the center: adjust the laser;
④ If the current is adjusted to around 20A and the light intensity still feels insufficient: The krypton lamp has aged, replace it with a new one.
Problem 2: Krypton lamp cannot be triggered
Solution for the marking machine:
① Check all power connection lines;
② High-voltage krypton lamp aging, replace the krypton lamp.
Precautions for operating a laser marking machine
① It is strictly forbidden to start the laser power supply and Q-switch power supply under the condition of no water or abnormal water circulation;
② Q-switch power supply is not allowed to work unloaded (that is, the output end of the Q-switch power supply is suspended);
③ In case of any abnormality, first turn off the galvanometer switch and key switch, then check;
④ It is not allowed to start other components before the krypton lamp is ignited to prevent high voltage from damaging components;
⑤ Pay attention to the laser power output end (anode) suspension, to prevent sparking and breakdown with other electrical appliances;
⑥ Keep the internal circulating water clean. Regularly clean the water tank and replace it with clean deionized water or pure water.
Use and replacement of krypton lamp in the marking machine
Turn off the water chiller and laser power supply. Open the three cavity covers at the top, take out the lamp or crystal to be replaced, replace it, put it in, and install the cavity cover.
Turn on the water chiller and laser power supply, and adjust the current of the laser power supply to about (15~20)A. Place a small piece of wood or black paper between the front film and the expander, and you should see the light spot formed by laser ablation.
If not, slightly adjust the three knobs of the front film holder until the light spot appears. After the laser is adjusted, you should repeatedly adjust the three knobs of the front film holder to make the light spot strongest. If the laser is too strong and the brightness is too high to observe, you can reduce the power supply current. Turn off the laser power supply.
Special attention:
The time to replace the krypton lamp. The factory instructions of the krypton lamp in the laser indicate that the service life of the krypton lamp is 300 hours.
However, due to different user conditions, the above time cannot be used as the only basis for replacing the krypton lamp. As the use time increases, the luminous efficiency of the krypton lamp decreases, and the laser output also decreases.
Many users increase the current of the laser power supply in order to obtain sufficient laser output, which enhances the luminescence of the krypton lamp, accelerates the aging of the krypton lamp, forms a vicious cycle, and sometimes causes the lamp to explode.
To prevent this phenomenon, we suggest users decide whether to replace the krypton lamp according to the following method. When a new krypton lamp is replaced, record the value of the laser power supply current meter when normal marking, as the standard current value.
As the krypton lamp gradually ages and the output current of the laser power supply is increased, the current meter value should not exceed 1.25 times the standard current value.
For example: If the current value of the new krypton lamp is 20A when marking, and after a period of use, if the current value is adjusted to 22.5A and it still cannot mark normally, the krypton lamp should be replaced.
Precautions for Using Laser Marking Machines
How much do you know about the precautions for using a laser marking machine? Have you delved into daily work and maintenance? Have you used a laser marking machine? Do you know the principle of the laser marking machine? These questions, here is my summary, I hope it can help you understand the laser marking machine more deeply.
1. Precautions and daily maintenance:
1) Do not touch or collide with the active crossbeam of the scanning workbench when the light pen is working;
2) Lasers and optical lenses are fragile, should be handled gently during transportation, and avoid vibration;
3) When a fault occurs in the machine, stop working immediately and let professional personnel handle it;
4) It is strictly forbidden to start the laser power supply without water or when the water circulation is abnormal;
5) Pay attention to the order of turning on and off the machine. When shutting down, the current must be adjusted to about 5A;
6) Pay attention to not exceeding the working area of the marking machine;
7) Keep the room and machine surface clean;
8) Keep the internal circulating water clean, regularly clean the water tank and change to clean deionized water or pure water;
2. Environmental requirements:
1) Temperature: 5~40℃;
2) Relative humidity: 30~80% (no condensation);
3) Ventilation equipment is available, no strong vibration, and no heat sources around;
4) Clean and dust-free.
3. Whole machine maintenance:
1) The cooling water should be pure, non-sticky, frequently replaced, and it is best to use distilled water;
2) Keep the workbench and workbench surface tidy;
3) Keep the guide rail of the scanning workbench clean, and use a soft brush to remove dust regularly;
4) When the slide rod of the scanning workbench runs unevenly, you can apply some lubricating oil on the wheel axle;
5) Reflective mirrors and transmission mirrors should be gently wiped regularly with cotton fiber dipped in alcohol;
6) The cover of the power supply part is best to be locked to prevent metal objects from falling in and damaging the circuit.
This machine is a high-tech product of lasers. The scanning workbench used is a precision instrument. Pay attention to keeping the work environment clean; before turning on the laser, check whether the water cooling system is normal to ensure the safety of the laser; after the laser is turned on, do not approach the optical path.
If there is a circuit failure or a laser power supply failure, please ask a professional to repair it. If it is found that the laser attenuation cannot be used, the krypton lamp needs to be replaced; the YAG krypton lamp can generally be used for three months, if it is found to be aging or bursting, please ask a professional to replace it.
4. Troubleshooting common faults
(1) The scanning workbench does not move, check in sequence:
1) Is the power supply connected properly;
2) Is the transmission line connected properly.
(2) The krypton lamp can be triggered but does not output laser, check in sequence:
1) Is the power supply connected properly;
2) Is the power switch pressed;
3) Is the current adjusted too small;
4) Does the resonator need adjustment;
5) Is the optical system damaged.
(3) There is a laser output, but even if the current is adjusted to a larger value, the engraving is still very shallow, check:
6) Is the focus adjustment accurate;
7) Is the water pump working normally;
8) Is there a water leak in the water pump’s inlet and outlet pipes;
9) Is the optical system offset;
10) Is there dirt on the surface of the reflective mirror or transmission mirror.
(4) The krypton lamp cannot be triggered, check:
1) Is the krypton lamp electrode reversed;
2) Has the krypton lamp electrode turned black, try a new lamp;
3) Is the laser power supply normal.
(5) The laser-engraved line is not straight, check:
1) Is the screw of the light pen head loose;
2) Is the guide belt too loose or too tight.