Winter can wreak havoc on your laser equipment, but what if there were simple steps to prevent it? This article highlights practical methods to protect your laser from freezing, such as draining water, using antifreeze, and adjusting water chiller temperatures. By following these guidelines, you can ensure your laser operates smoothly through the coldest months, avoiding costly damage and downtime. Read on to discover how to keep your laser equipment safe and functional this winter.
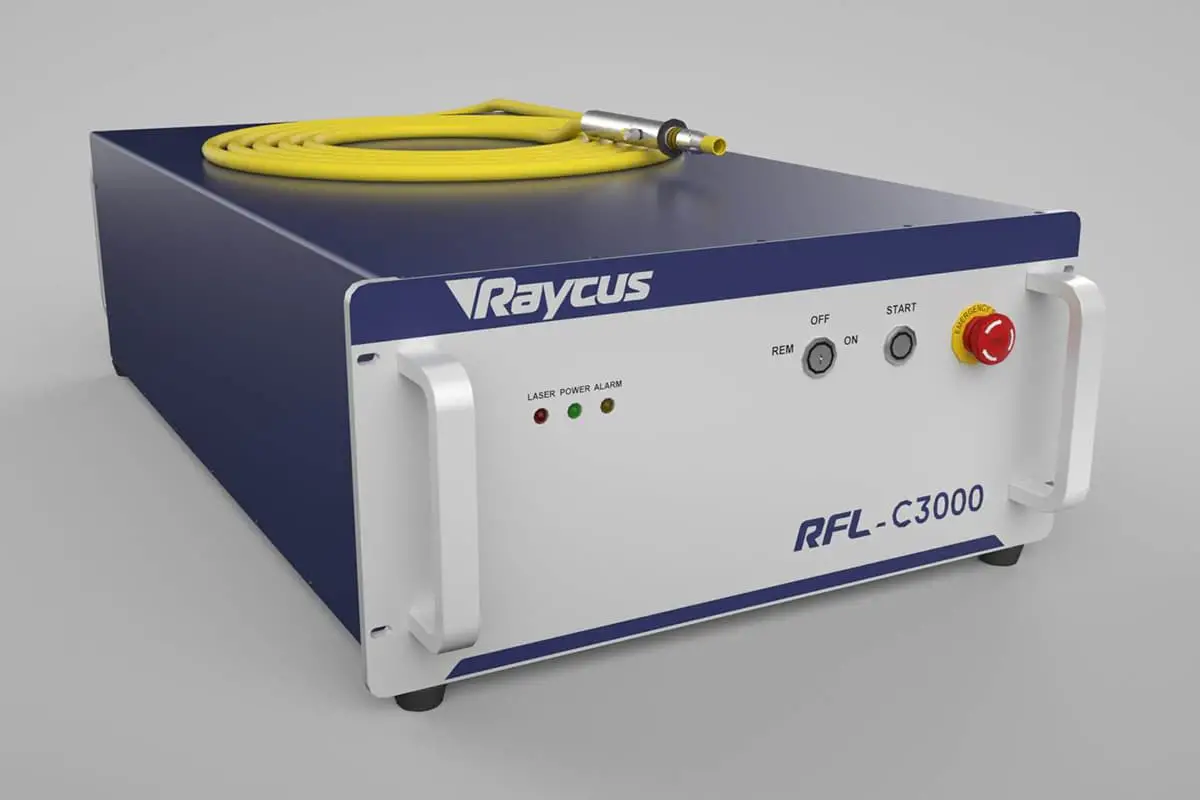
As the seasons change, there’s now a hint of winter in the air. With the weather growing colder (especially in the north), when the ambient temperature starts to drop below 0°C, the water channels in the equipment may freeze, leading to damage.
This is a challenge for fiber lasers and laser equipment…

When the water inside the laser freezes into ice, its volume expands, causing pipeline blockages, cracks in the internal water cooling plates of the laser, cracks in QBH fasteners and crystals, and cracks in the water pipes and water pipe joints of the laser waterway.
This can lead to damage or water leakage short-circuits, damaging fiber lasers and other laser device components, among other issues. In severe cases, it could even render the laser unrepairable, causing work stoppages and significant losses for customers. Below are some damages caused by not implementing anti-freeze measures in time:

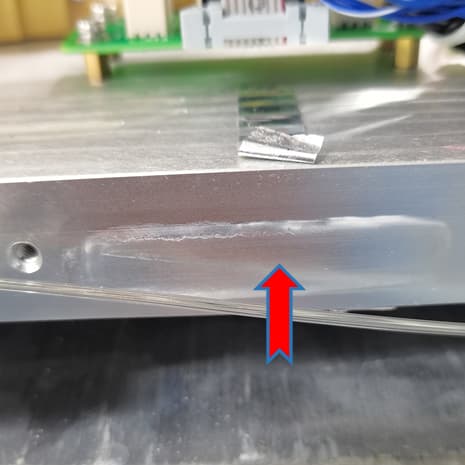
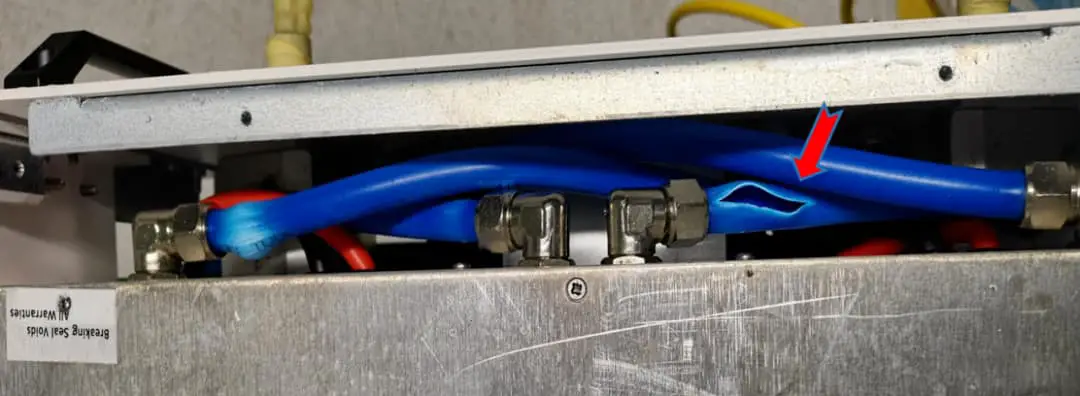
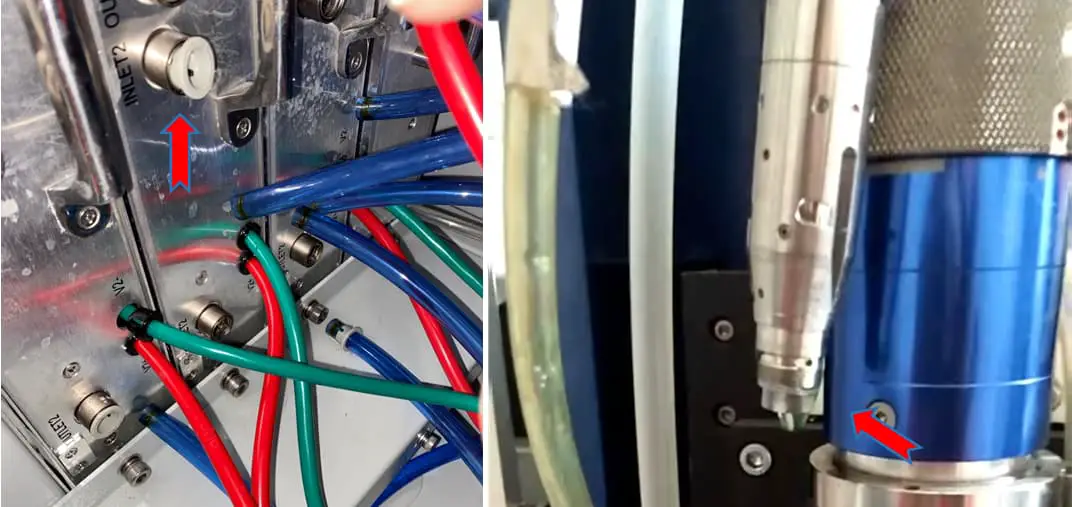
The harm caused by a laser freezing is significant, and damage caused by freezing is not covered by the laser warranty. It’s clear how important it is to protect lasers and laser equipment from freezing in the harsh winter.
There are three anti-freeze measures for lasers: adding antifreeze; draining the water inside the laser and output head; keeping the water cooler running at all times (not recommended).
Based on different practical situations and the principle of economic applicability, I will explain the following two operations in detail:
1. Disconnect the water pipe at the rear of the laser and open the ball valve to let the water inside the laser flow out.
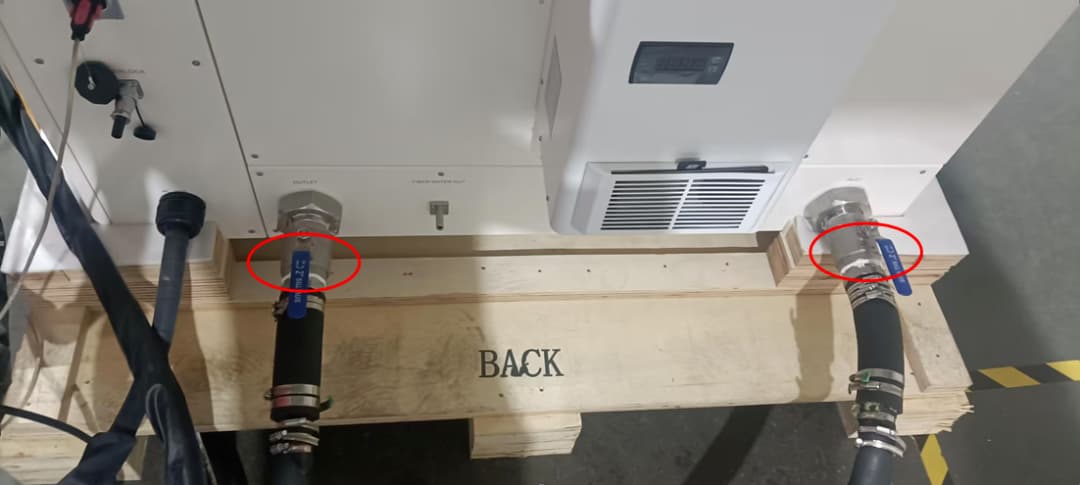
2. Blow clean compressed air or nitrogen at 0.5MPA (5 kilograms) into the main circuit water outlet. Blow for 3 minutes, pause for 1 minute, and repeat this 4-5 times, observing the changes in the water mist at the drain outlet. The absence of water mist at the drain indicates that the drainage step is complete. Finally, close the ball valve of the laser and seal the water pipe connection with a plug or tape to prevent dust accumulation.
3. Remove the Φ6 inlet and outlet water pipes of the QBH output head from the machine tool.
4. Blow clean compressed air or nitrogen at 0.2MPA (2 kilograms) into one Φ6 thin water pipe, with the other Φ6 thin water pipe facing downwards, until there is no water mist in the downward-facing water pipe. Then, seal the inlet and outlet water pipes with tape. During this operation, be careful to prevent water from dripping onto the laser head and other circuits.
Add antifreeze to the cooling water in different proportions. We recommend using the standard American Koolance antifreeze; poor or inferior antifreeze will not only fail to serve its purpose but will also corrode the internal water pipes of the laser.
The antifreeze addition ratio can be referred to the following table, and the specific ratio can be adjusted according to actual conditions.
| Antifreeze Mixture Ratio (Antifreeze: Cooling Water) | Operating Ambient Temperature |
| 2:8 | -2~5°C |
| 3:7 | -12~15°C |
| 4:6 | -22~25°C |
| 5:5 | -32~35°C |
| 6:4 | -42~45°C |
| Clariant antifreeze ratio | |
| Local temperature -42 ℃~-45 ℃ | 6: 4 (60% antifreeze, 40% deionized water) |
| Local temperature -32 ℃~-35 ℃ | 1: 1 (50% antifreeze, 50% deionized water) |
| Local temperature -22 ℃~-25 ℃ | 4: 6 (40% antifreeze, 60% deionized water) |
| Local temperature -12 ℃~-15 ℃ | 3: 7 (30% antifreeze, 70% deionized water) |
| Shell OAT-45 ℃ antifreeze ratio | ||
| Environmental temperature (℃) | Shell OAT-45 ℃ (liters) | Deionized water (liters) |
| -5 | 0.5 | 1 |
| -10 | 0.8 | 1 |
| -15 | 1 | 1 |
| -20 | 1.5 | 1 |
| -25 | 2.2 | 1 |
| -30 | 4.1 | 1 |
| -35 | 5.8 | 1 |
| -40 | 1 | 0 |
| -45 | 1 | 0 |
The operation to add antifreeze is as follows:
1. Shut off the water cooler, disconnect its power supply, and open the drain valve to empty the water.
2. Pour the antifreeze and clean cooling water into the same container according to the reference table’s ratio.
3. Stir the two solutions in the container evenly. Please mix the antifreeze in another container before pouring it into the water cooler. Do not directly add the antifreeze to the water cooler.
4. Add the mixed solution to the water tank of the water cooler, power it up and let the water circulate until the fluid level reaches the requirement.
Note:
Step 1: Turn off all power supplies before draining, open the drain valve behind the water chiller, and empty the accumulated water;
Step 2: Remove the water inlet and outlet pipes behind the chiller and label them for accurate reinstallation;
Step 3: Unscrew the filter element of the chiller to drain the water inside;
Step 4: Connect 0.2MPA (2KG) of compressed air to one end of the water pipe to drain the accumulated water in the laser.
Note
If using an air gun to blow out the water, open all ports (including the water addition port) beforehand. Blow air in from the water inlet, not from the outlet, and ensure that the air pressure is not too high to avoid damaging the laser. Make sure all the water is completely drained to prevent any residual liquid from freezing and damaging the cooling pipes and components.
Refer to suggested mixing ratios for antifreeze usage.

