Have you ever wondered how the strength of stainless steel is measured so precisely? This article explores the fascinating world of stainless steel hardness testing. You’ll learn about the different methods used, including Brinell, Rockwell, and Vickers tests, and discover why hardness testing is becoming the go-to method over traditional tensile testing. Get ready to uncover the secrets behind the durability of stainless steel!
(National Standard, United States, Japan)
Stainless steel products can be classified by delivery shape into stainless steel plates, strips, pipes, rods, wires, and so forth.
If classified according to metallographic structure, they can be divided into the following five types: austenitic stainless steel, ferritic stainless steel, austenitic-ferritic stainless steel, martensitic stainless steel, and precipitation-hardened stainless steel.
Various stainless steel materials are supplied in different heat treatment states such as annealing, tempering, solution treatment, quenching, or tempering.

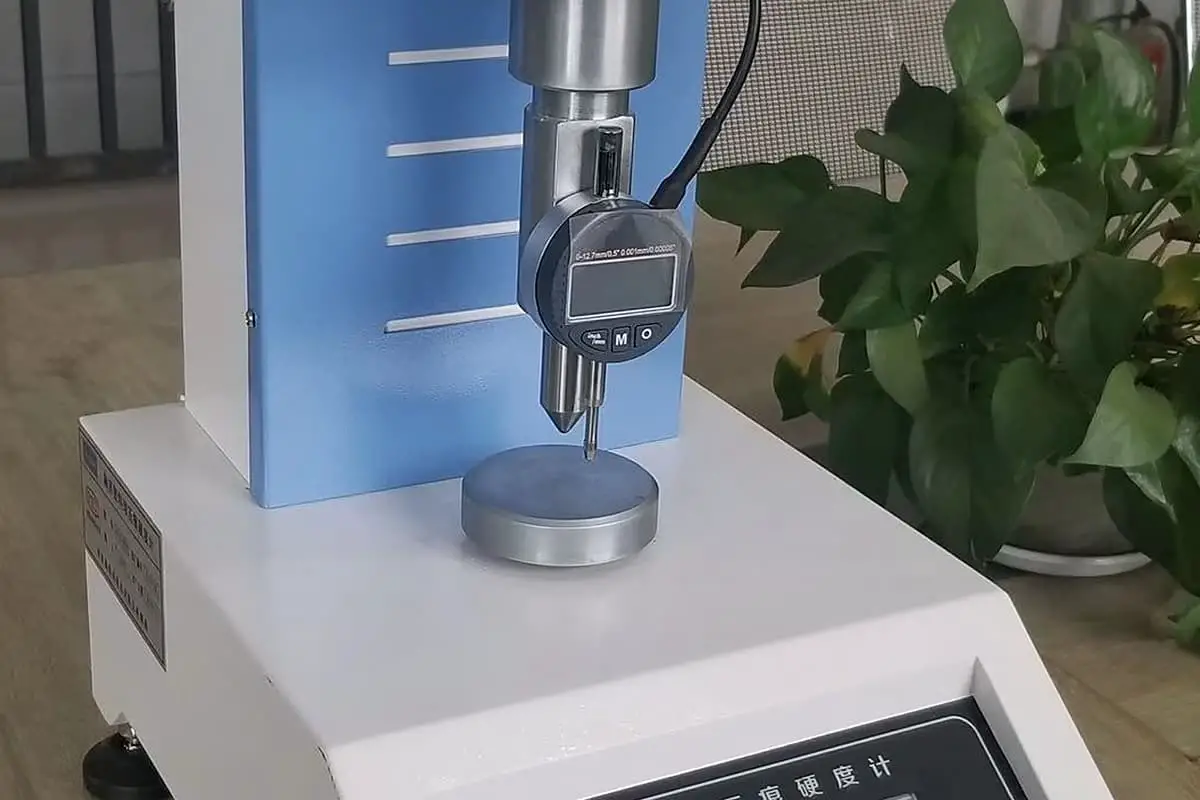
Hardness testing involves slowly pressing a hard indenter into the surface of a sample under specified conditions and then measuring the depth or size of the indentation to determine the hardness of the material.
It is the simplest, quickest, and most easily implemented method in material mechanical property testing.
Hardness testing is non-destructive, and there is an approximate conversion relationship between hardness values and tensile strength values.
Due to the inconvenience of tensile testing and the ease of converting hardness to strength, people are increasingly testing material hardness and less frequently testing its strength.
Especially with the continuous progress and innovation in hardness testing technology, some materials that could not be directly tested for hardness in the past, such as stainless steel pipes, stainless steel wire, extremely thin stainless steel plates, and stainless steel strips, can now be directly tested for hardness.
Therefore, there is a trend for hardness testing to gradually replace tensile testing.
In stainless steel standards, three hardness testing methods, Brinell, Rockwell, and Vickers, are typically stipulated, measuring HB, HRB (or HRC), and HV hardness values respectively.
It is specified that just one of the three hardness values needs to be measured for stainless steel hardness testing.
In the American metal material standards, a prominent feature regarding hardness testing is the preference for the Rockwell hardness test, supplemented by the Brinell hardness test, and seldom using the Vickers hardness test.
The American view is that the Vickers hardness test should mainly be used for metal research and testing of thin, small parts.
Both Chinese and Japanese standards simultaneously use three hardness tests. Users can choose one of these tests based on the thickness and condition of the material, as well as individual circumstances, to test stainless steel materials.
The Japanese stainless steel standards regarding tensile testing and hardness testing align closely with the corresponding Chinese standards in both methodology and numerical values, indicating that the Chinese standards have been influenced by those of Japan.
The Rockwell hardness tester is an exceptionally suitable instrument for stainless steel hardness testing.
Its simplicity and ease of use make it an efficient tool that does not require a professional inspector and can directly read hardness values, making it highly suitable for factory use.
The Rockwell hardness tester is typically used for testing the hardness of stainless steel, with the standards generally only specifying the HRC and HRB scales.
For annealed stainless steel materials, each type of stainless steel grade is expected to have a hardness value not exceeding a certain HRB value, typically within the range of 88-96 HRB.
For quenched and tempered martensitic stainless steel, each grade’s hardness value should not be less than a certain HRC value, typically within the range of 32-46 HRC.
While only the HRB and HRC scales of the Rockwell hardness tester are specified in the stainless steel standards, the surface Rockwell hardness tester can also be effectively used for testing stainless steel.
Its principle is identical to the Rockwell hardness tester, but it exerts lesser force. Its hardness values can conveniently be converted to HRB, HRC, Brinell hardness HB, or Vickers hardness HV.
The conversion tables can be found on our company’s website, sourced from the American Standard ASTM or International Standard ISO.
The surface Rockwell hardness tester is particularly handy for testing thin-walled stainless steel pipes, thin stainless steel plates, thin stainless steel strips, and thin stainless steel wires.
Especially, our company’s latest development, the portable surface Rockwell hardness tester and pipe Rockwell hardness tester, can perform rapid and accurate hardness testing on stainless steel plates and strips as thin as 0.05mm and stainless steel pipes as slender as 4.8mm, solving issues that were previously difficult to overcome domestically.
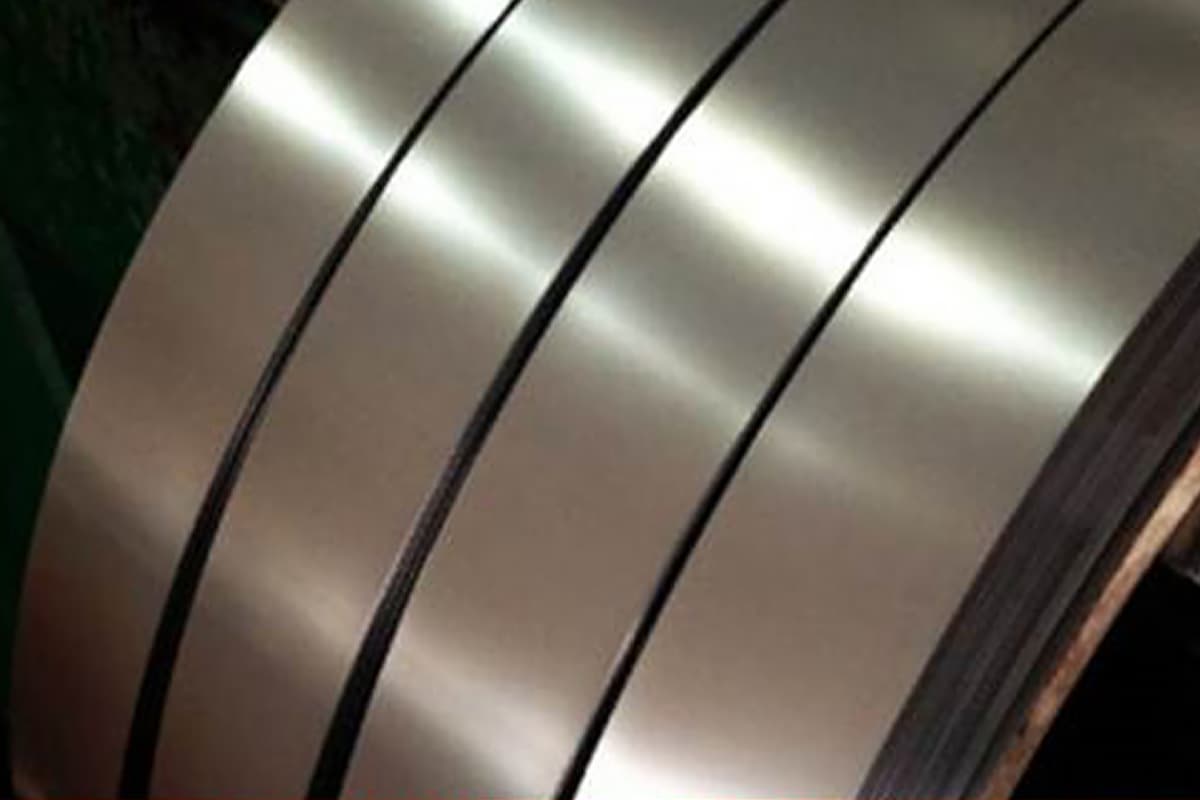
Stainless steel plates, encompassing both hot-rolled and cold-rolled varieties, require precise hardness testing to ensure quality and performance. The testing method and scale employed are contingent upon the material thickness and processing state.
For stainless steel plates or strips exceeding 1.2mm in thickness, the Rockwell hardness test is the preferred method. This test utilizes either the HRB scale (with a 1/16-inch steel ball indenter) for softer grades or the HRC scale (with a diamond cone indenter) for harder grades. The Rockwell test offers rapid results with minimal surface preparation, making it ideal for production environments.
When dealing with thinner materials, between 0.2mm and 1.2mm, a surface Rockwell hardness tester is employed. This specialized equipment uses either the HRT scale (with a 1/16-inch steel ball indenter) or the HRN scale (with a 1/8-inch steel ball indenter), depending on the material’s hardness range. These scales are specifically designed to provide accurate readings on thinner specimens without influence from the underlying support.
For ultra-thin stainless steel plates or strips below 0.2mm, the HR30TM scale is utilized with a surface Rockwell hardness tester equipped with a diamond indenter. This method ensures precise measurements on extremely thin materials by applying a lower test force and using a more sensitive indenter, thus preventing the underlying support from affecting the results.
Alternatively, for annealed stainless steel plates and strips ranging from 0.3mm to 13mm in thickness, the Vickers hardness test presents a viable option. This method employs a diamond pyramid indenter and offers excellent resolution across a wide range of hardness values. The Vickers test is particularly advantageous for annealed materials due to its ability to accurately measure softer structures without excessive indentation.
The Vickers hardness tester excels in rapidity and simplicity of operation, making it highly suitable for efficient quality control in production settings, especially for annealed stainless steel materials. Its versatility allows for testing of both macro and micro hardness, depending on the applied load, providing comprehensive material characterization.
To ensure reliable results, it’s crucial to adhere to relevant standards such as ASTM E18 for Rockwell testing and ASTM E92 for Vickers testing, considering factors like minimum thickness requirements, surface preparation, and proper calibration of testing equipment.
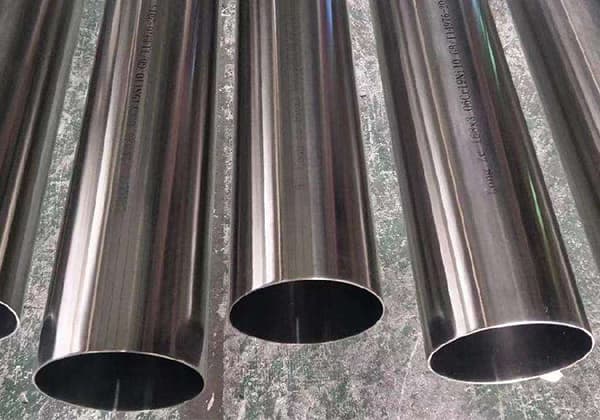
Hardness testing is a critical quality control measure for stainless steel pipes, encompassing both welded and cold-drawn varieties. The testing methodology varies based on pipe dimensions and processing conditions to ensure accurate results.
For pipes with an inner diameter exceeding 30mm and wall thickness greater than 1.2mm, standard Rockwell hardness testing is employed. This method utilizes either the HRB scale (for softer stainless steels) or the HRC scale (for harder grades), providing a comprehensive assessment of the material’s resistance to indentation.
When dealing with thin-walled pipes (wall thickness <1.2mm) that still maintain an inner diameter above 30mm, superficial Rockwell hardness testing is the preferred approach. This method, using HRT or HRN scales, is specifically designed for thin materials, offering precise measurements without compromising the pipe’s structural integrity.
For smaller diameter pipes (4.8mm < ID < 30mm), a specialized Rockwell hardness tester for pipes is utilized. This equipment, typically employing the HR15T scale, is engineered to accommodate the curved surfaces of smaller pipes, ensuring accurate readings despite the challenging geometry.
In cases where the pipe inner diameter exceeds 26mm, inner wall hardness testing becomes feasible. This can be accomplished using either standard Rockwell or superficial Rockwell testers, depending on the wall thickness. This capability is particularly valuable for assessing the uniformity of hardness across the pipe’s cross-section, which can be indicative of the heat treatment efficacy or potential microstructural variations.
Annealed stainless steel pipes present a unique case. For pipes with an inner diameter greater than 6.0mm and wall thickness less than 13mm, the W-B75 Webster hardness tester offers an efficient solution. This portable instrument provides rapid, non-destructive testing, making it ideal for on-site quality checks or high-volume production environments. The Webster tester’s ability to quickly qualify annealed pipes is particularly valuable, as it can detect any inconsistencies in the annealing process that might affect the pipe’s formability or corrosion resistance.
It’s important to note that while these testing methods provide valuable data, they should be complemented by other quality assurance measures such as microstructural analysis, corrosion testing, and mechanical property evaluations to ensure comprehensive characterization of stainless steel pipes for their intended applications.
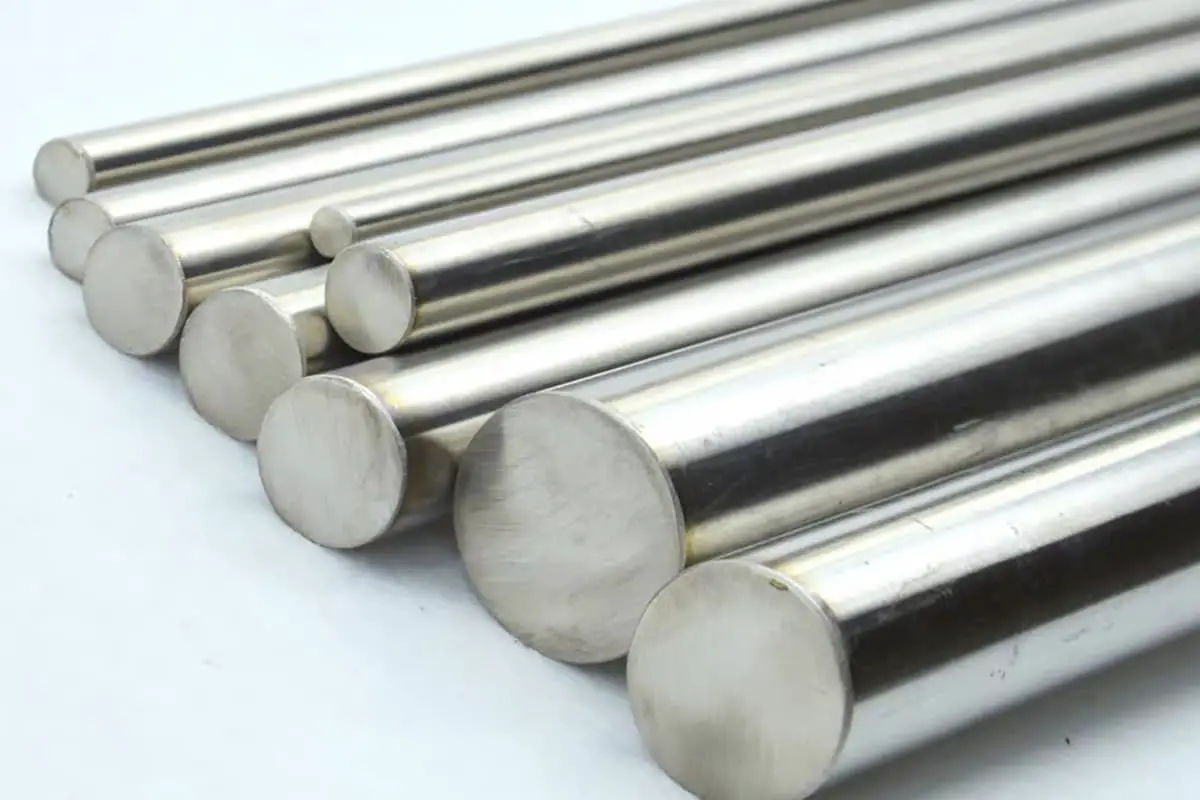
For stainless steel rods with diameters up to 50mm, Rockwell hardness testing is the preferred method for determining surface hardness. The Rockwell B (HRB) scale is typically used for austenitic and ferritic stainless steels, while the Rockwell C (HRC) scale is more suitable for martensitic grades or heavily cold-worked austenitic stainless steels.
The testing procedure involves applying a minor load followed by a major load, and then measuring the depth of indentation. For HRB, a 1/16-inch diameter steel ball indenter is used with a 100 kgf major load. For HRC, a diamond cone indenter is employed with a 150 kgf major load. The resulting hardness value is automatically calculated and displayed on modern Rockwell testers.
It’s crucial to ensure that the rod surface is properly prepared – clean, smooth, and free from oxide layers or decarburization. For accurate results, multiple measurements should be taken at different points along the rod’s length and circumference, with the average value reported. ASTM E18 standard provides detailed guidelines for Rockwell hardness testing of metallic materials, including specific requirements for stainless steel rods.
For rods exceeding 50mm in diameter, alternative methods such as portable hardness testers or sectioning for standard bench testing may be necessary. In cases where non-destructive testing is required for larger diameter rods, ultrasonic hardness testing can be considered as a viable option.
For stainless steel wire with a diameter greater than 2.0mm, a superficial Rockwell hardness tester is typically employed to measure HRT (Rockwell 30T) or HRN (Rockwell 30N) hardness. This non-destructive testing method is particularly suitable for thin materials and provides quick, accurate results without significant surface preparation.
The HRT scale uses a 1/16-inch diameter steel ball indenter with a 30 kg load, while the HRN scale utilizes a 1/8-inch diameter steel ball indenter with the same load. The choice between HRT and HRN depends on the wire’s expected hardness range and surface condition. HRT is generally preferred for slightly softer materials, while HRN is better suited for harder stainless steel grades.
For wires with diameters between 2.0mm and 6.0mm, multiple measurements should be taken at different points around the wire’s circumference to ensure representative results. For diameters exceeding 6.0mm, surface curvature effects become negligible, allowing for more straightforward testing procedures.
It’s important to note that for wires smaller than 2.0mm in diameter, alternative microhardness testing methods such as Vickers or Knoop may be more appropriate to obtain accurate and reliable hardness measurements.
