What should be done if the internal hexagon screw slips? And why do hexagon screws slip? Many people are asking about the knowledge related to the slipping of internal hexagon screws. Based on my experience, I would like to share some information about the slipping of internal hexagon screws.
What should be done if the internal hexagon screw slips?
Firstly, check if the nut is protruding. If it is, use a diamond file to file two flat surfaces on the nut and then use an adjustable wrench to remove it. Next, find a hexagonal head one or two sizes larger, and hammer it into the stripped hexagon. Then, remove it.
To remove a stripped internal hexagon screw, create an opening at the end using a screwdriver. Then, use a square piece of white steel that is slightly larger than the internal hexagon wrench to hammer it into the opening using a hammer.
While hammering, use an adjustable wrench to turn the screw. This method is very effective, and it is possible to prepare two wrenches, one for 6mm and the other for 8mm screws, which can be used repeatedly.
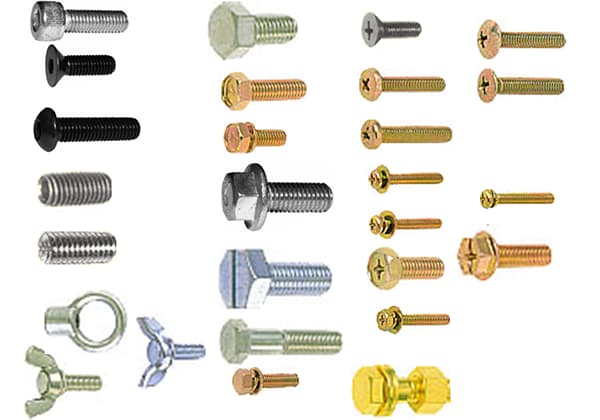
The head of an internal hexagon screw is circular on the outside and hexagonal in the middle, while a hexagon screw has a six-sided head. The internal hexagon screwdriver looks like a “7” shape, and it can be made by cutting a hexagonal steel bar into two sections and bending it at a 90-degree angle.
When using internal hexagon bolts, it is important to use the appropriate tools properly. Do not use inappropriate tools to force the removal of the bolt, as this may cause damage. Communicate with the customer and use appropriate force when removing the internal hexagon screw.
M2.5 internal hexagon bolts should be able to withstand a torque of 2N.m or more, so it is important to use the correct amount of force and avoid using excessive force.
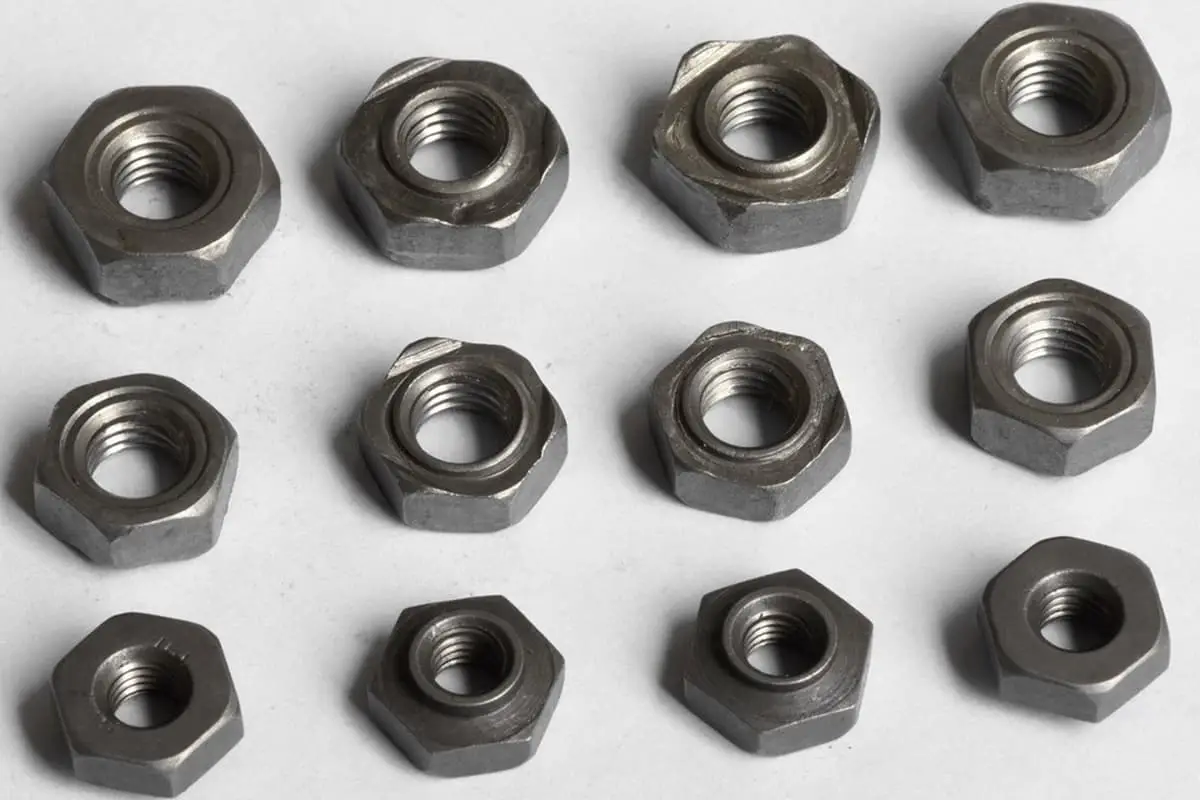
Locking state and solutions for stainless steel standard fasteners.
Stainless steel standard fasteners are prone to locking, and when this occurs, we must first identify the cause of the locking. What are the reasons for the locking of stainless steel standard fasteners?
We need to analyze and handle the locking cause specifically. Based on my experience, I have summarized some solutions to help solve the locking problem of stainless steel standard fasteners in a reasonable and effective manner.
- When using stainless steel standard fasteners, is a fixed tightening speed always used to secure the nuts?
If you are a first-time user or unfamiliar with the use of stainless steel standard fasteners, it is recommended to consult with your supplier about the relevant characteristics of stainless steel.
Generally, slowing down the tightening speed can significantly reduce (or even completely avoid) the chance of locking.
Since thermal energy often occurs during tightening, the chance of locking increases as the thermal energy increases. When using stainless steel fasteners, the tightening speed should be slower than that of carbon steel fasteners.
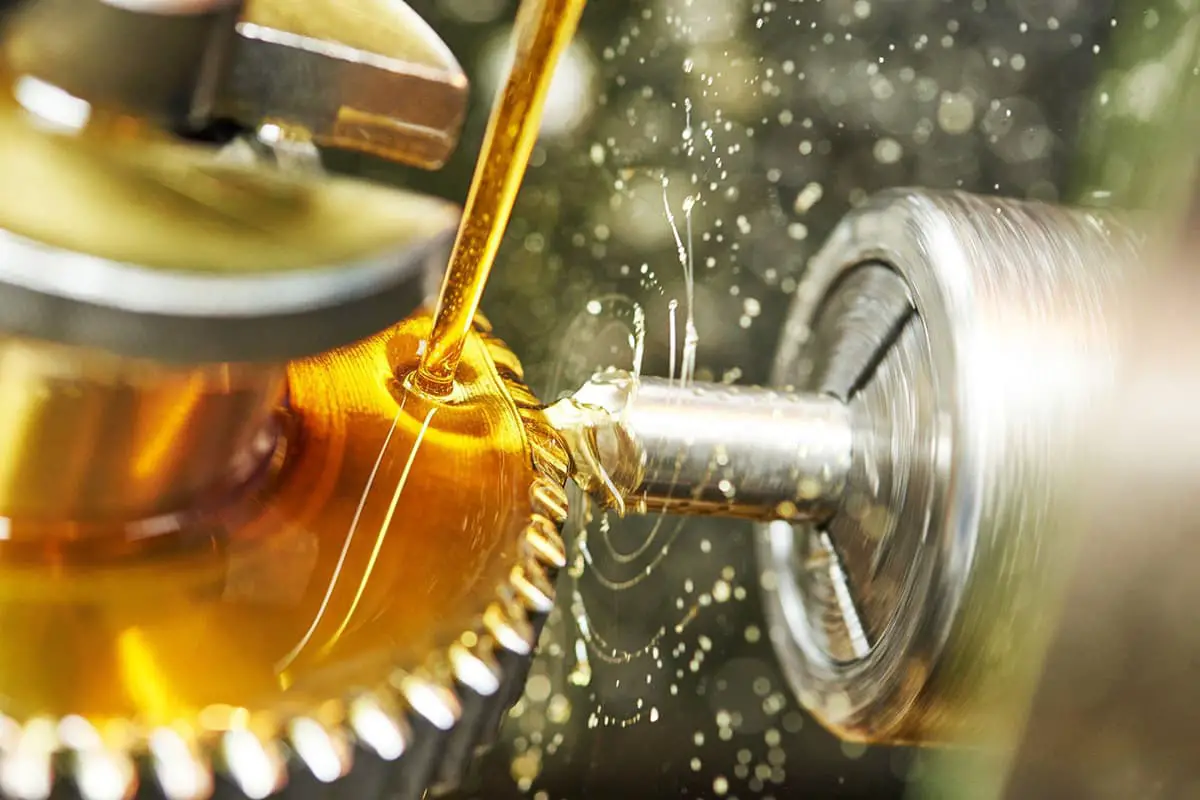
- Is lubricating the screws or nuts before tightening them recommended?
If the answer is “no”, it is recommended to use grease, molybdenum disulfide, graphite, mica, or talcum powder to lubricate the internal and external threads to reduce the chance of locking.
Coating is also an effective lubrication method. A nut treated with coating will have an extra layer of lubrication film between the nut and the screw.
- Should screws and nuts of the same material grade be used?
If the answer is yes, it is recommended to use screws and nuts of different grades, such as 304 paired with 316, etc. However, the selected stainless steel grade should still meet the needs of rust and corrosion resistance.
Additionally, when tightening flanges, locking often occurs.
If you have followed the above points, including using washers, coating nuts (or using longer nuts like GB6170 or DIN934), tightening diagonally, and tightening gradually to the appropriate tension, but still cannot solve the problem, you may temporarily use carbon steel nuts when pre-locking the flange device, and use stainless steel nuts when officially tightening to find a balance between aesthetics, rust resistance, and locking prevention.
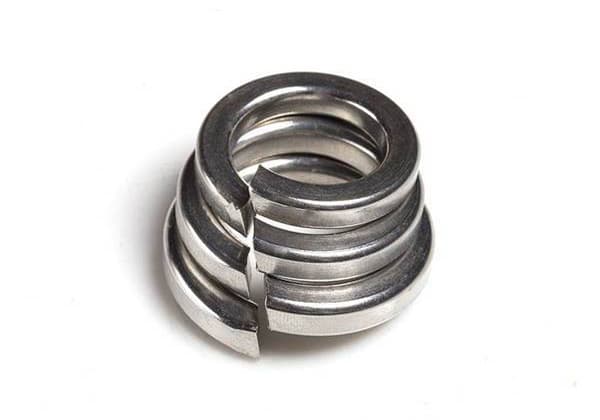
The safe installation method of anti-loosening washers can ensure the safety of fasteners.
Anti-loosening washers are not only a locking device for preventing loosening, but also a high-load locking device that can be used in all strong vibration environments.
If anti-loosening washers are used and installed correctly, the nuts and bolts do not need to be tightened again, ensuring the safety of the fasteners.
So, what is the safe installation method of anti-loosening washers? Let me explain:
- Installing anti-loosening washers is simple. Just place the two inner sloping tooth surfaces of the washers opposite each other, between the nut and the connecting material.
- After the nut is tightened, the radial convex surface of the anti-loosening washer on the outside contacts both ends, forming an engagement state, and the slope angle of the inner sloping tooth surface of the washer is greater than the thread angle of the bolt.
- When the bolt is elongated due to mechanical vibration, the nut will rotate and loosen. However, the friction force between the outer radial convex surface of the anti-loosening washer and the inner sloping tooth surface is greater than that between the inner sloping tooth surfaces, allowing only relative movement and lifting tension between the inner sloping tooth surfaces. This prevents the bolt from elongating further.
- When the bolt contracts, the sloping tooth surface of the washer will make the nut return to its original position.
- Anti-loosening washers are only suitable for flat and relatively smooth metal surfaces.
- If the connecting material is non-metallic, a metal plate can be fixed to the connecting material to use a locking washer.
- A torque wrench is not needed when installing anti-loosening washers.
- Pneumatic tools can also be used for installing or removing anti-loosening washers.
The reasons why flat head screws cannot be tightened and the precautions to be taken
Flat head screws, also known as countersunk screws or flat machine screws, have a head that is a 90-degree cone, and the installation hole surface on the connecting part is also machined with a 90-degree conical recess to ensure that the screw head and the connecting part surface are parallel.
They are used for places where the surface can allow slight protrusion. However, during use, why do we always encounter the phenomenon of not being able to tighten them?
Reasons why countersunk screws cannot be tightened and precautions to take
Reason 1: The thickness of the fastened part is greater than the thickness of the head of the countersunk screw. When the screw is tightened, there is still a part of the thread that has not entered the threaded hole. In this case, the countersunk screw can be tightened.
Reason 2: The thickness of the fastened part is less than the height of the head of the countersunk screw. This is common in sheet metal parts, such as the connection between the hinge and the door of the chassis, and the connection between the sheet metal outer casing of equipment and the equipment. When the thickness is small, the through hole becomes a conical hole. When the countersunk screw is tightened, the bottom of the screw head is squeezed against the top of the threaded hole, rather than the conical surface pressing against the sheet metal part. In this case, although the screw feels tightened, the sheet metal part is not actually tightened.
Reason 3: The top angle of the countersunk screw head is 90°, but the top angle of a new drill bit is usually 118°-120°. Some untrained workers may not be aware of this difference and directly use a 120° drill bit to enlarge the hole. This can cause the countersunk screw to tighten along a line at the bottom of the screw head, rather than the conical surface being forced, which can lead to the screw not staying tight.
Precautions:
- The taper of the countersunk hole should be 90°, and this must be ensured. It is better to have a smaller angle than 90° than a larger one. This is a crucial method.
- If the thickness of the sheet metal is less than the thickness of the countersunk screw head, a smaller screw can be used, or the hole can be drilled slightly smaller.