Have you ever wondered what makes the surface of a mirror stainless steel plate so smooth and reflective? The secret lies in its surface roughness. This article breaks down the different grades of mirror stainless steel, such as 8k and 12k, explaining how each grade’s unique surface roughness affects its appearance and performance. You’ll learn about the measurement of roughness and the significance of these grades in various applications. Dive in to discover the details that make mirror stainless steel an essential material in precision industries.
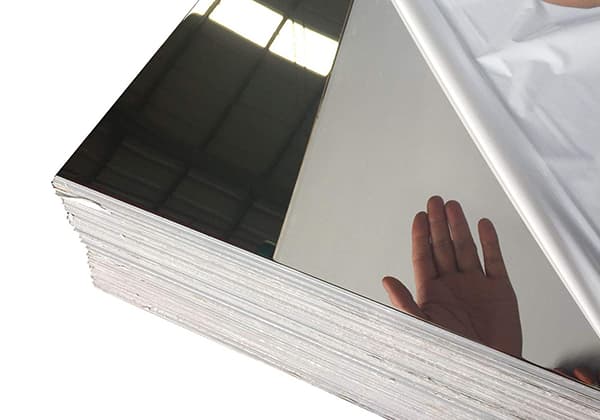
The term “mirror stainless steel plate” indeed refers to the surface finish of stainless steel, but it encompasses a range of grades with varying degrees of reflectivity and smoothness. These grades are typically defined by their surface roughness, measured in microinches (μin) or micrometers (μm), and correspond to different surface finishes achieved through specific polishing processes.
The “K number” system, while commonly used in the industry, is not a standardized measurement and can lead to inconsistencies in interpretation. For more precise differentiation, it’s beneficial to use internationally recognized standards such as the ASTM A480 or EN 10088-2, which provide more accurate and consistent descriptions of surface finishes.
For example:
However, these values can vary between manufacturers and specific polishing techniques employed. To ensure precise specification and quality control, it’s recommended to:
For critical applications, it’s advisable to request sample plates or perform on-site inspections to verify the exact surface finish meets the required specifications. This approach ensures clarity in communication between suppliers and end-users, reducing the potential for misunderstandings often associated with the less precise K number system.
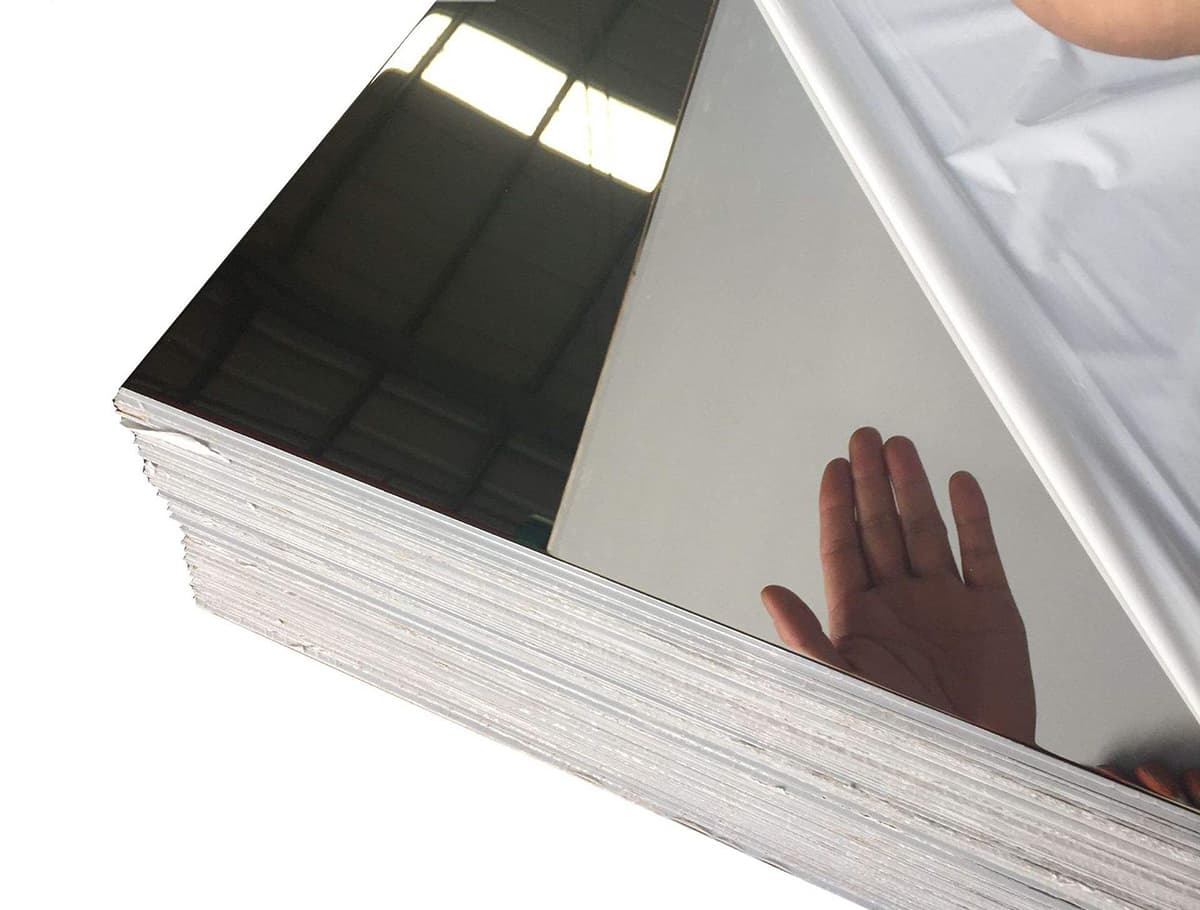
We have created a list to help identify different grades of stainless steel.
| Surface grade | Surface roughness | Surface effect |
| Stainless steel surface finish Grade 14 | Ra 0.012~0.03μm | 14k mirror stainless steel with excellent surface effect (ultra-fine polished stainless steel) |
| Stainless steel surface finish Grade 13 | Ra 0.015~0.02μm | 12k mirror stainless steel with excellent surface effect (ultra-precision polished stainless steel) |
| Stainless steel surface finish Grade 12 | Ra 0.02~0.16μm | 10k mirror stainless steel with excellent surface effect (fine polished stainless steel) |
| Stainless steel surface finish Grade 11 | Ra 0.1 ~0.2μm | 8k mirror stainless steel with good surface effect (fine polished stainless steel) |
| Stainless steel surface finish Grade 10 | Ra 0.2 ~0.3μm | 6k mirror stainless steel, BA stainless steel, original state of steel factory shipment |
| Stainless steel surface finish Grade 9 | Ra 0.4 μm | There is almost no brightness at 4k, also known as no brightness at 2B (fog) |
| Stainless steel surface finish Grade 8 | Ra 0.8 μm | No mirror effect, can slightly identify the processing trace, and the unpolished surface |
| Stainless steel surface finish Grade 7 | Ra 1.6 μm | No mirror effect, able to identify the direction of processing traces, unpolished surface |
| Stainless steel surface finish Grade 6 | Ra 3.2 μm | No mirror effect, no visible processing trace, unpolished surface |
| Stainless steel surface finish Grade 5 | Ra 6.3 μm | No mirror effect, slight machining trace, unpolished surface |
| Stainless steel surface finish Grade 4 | Ra 12.5 μm | No mirror effect, visible processing trace, unpolished surface |
| Stainless steel surface finish Grade 3 | Ra 25 μm | There is no mirror effect, the surface is very rough, there are very obvious machining marks, and the surface is unpolished |
