Ever wondered why laser-cut metal sometimes has rough edges? This article dives into the causes of burrs in laser cutting and offers practical solutions to achieve smoother, high-quality cuts. Learn how to optimize your laser cutting process and elevate your workpiece quality!

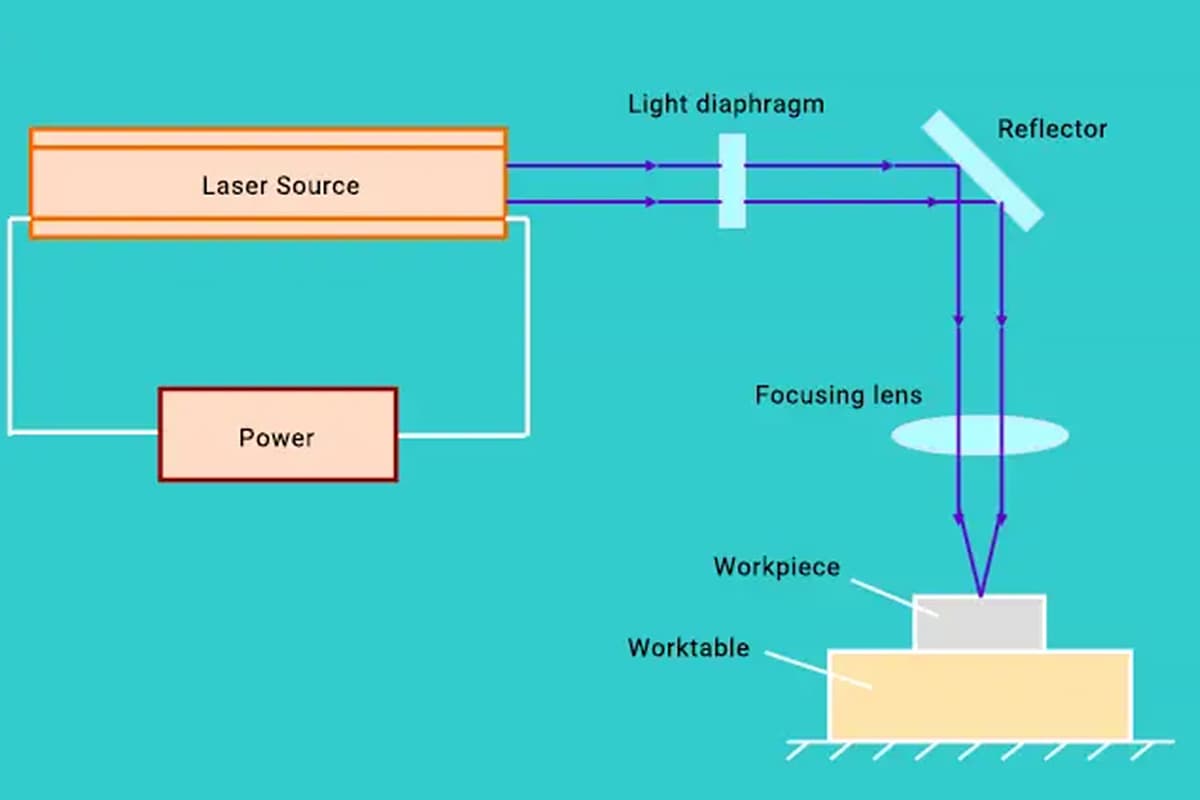
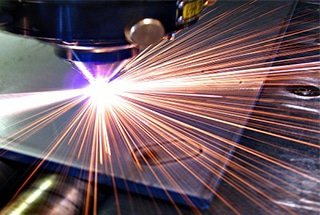
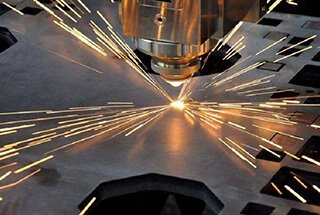
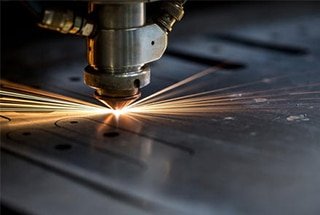
Laser cutting focuses a laser beam onto the surface of a material using a focusing lens. This causes the material to melt, vaporize, and burn.
Concurrently, a compressed gas coaxial with the laser beam blows away the molten material.
By moving the laser beam relative to the material along a specific trajectory, a cut with a specific shape is made, achieving material cutting.
Laser cutting offers advantages such as high precision, narrow kerf, smooth cut surfaces, fast speeds, and superior processing quality across a wide range of materials.
Currently, laser cutting technology is extensively applied in various sectors. Due to its low processing cost, high efficiency, and versatility in processing materials, laser cutting has become a common method in the sheet metal industry.
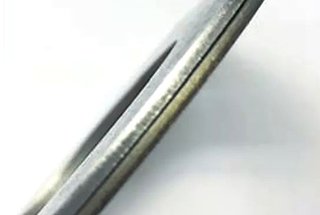
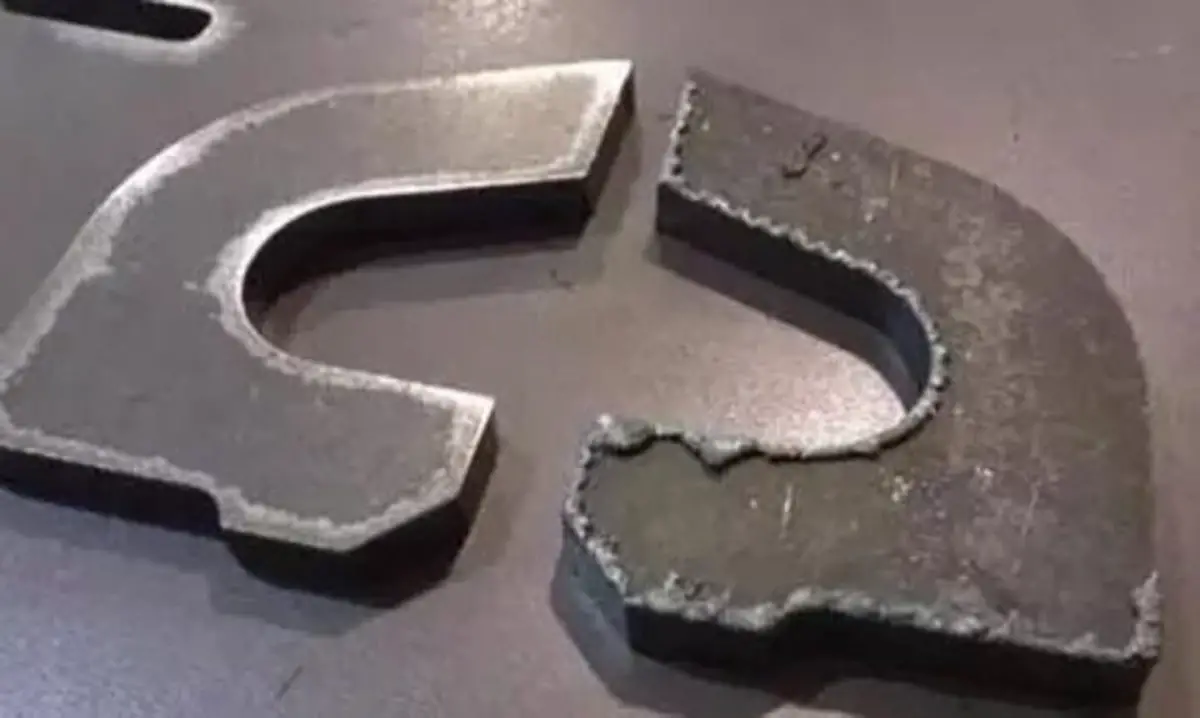
However, there are challenges such as molten slag and burrs adhering to the material during processing, causing issues for on-site managers. Workpiece burrs are illustrated in Figure 1.
Burr formation remains a persistent challenge in laser cutting processes, significantly impacting the quality and precision of metal components. This phenomenon, still not fully resolved in metal cutting theory, can compromise the dimensional accuracy, geometrical integrity, and surface finish of machined workpieces.
The occurrence of burrs during laser cutting is influenced by a complex interplay of factors, including laser parameters, material properties, and cutting conditions. These protrusions or irregularities along the cut edge can lead to increased post-processing requirements, reduced part functionality, and potential assembly issues.
Understanding the root causes of burr formation and implementing effective mitigation strategies is crucial for optimizing laser cutting operations. This article delves into the common factors contributing to burr development and explores innovative solutions to minimize their impact, enhancing overall part quality and manufacturing efficiency.
Key aspects we’ll examine include:
Cause 1: Offset Position of Laser Beam Focus
Cause 2: Insufficient Output Power
Cause 3: Slow Cutting Line Speed
Cause 4: Impure Auxiliary Gas
Cause 5: Extended Operating Time
Cause 6: Shortcomings With Laser Cutting Equipment
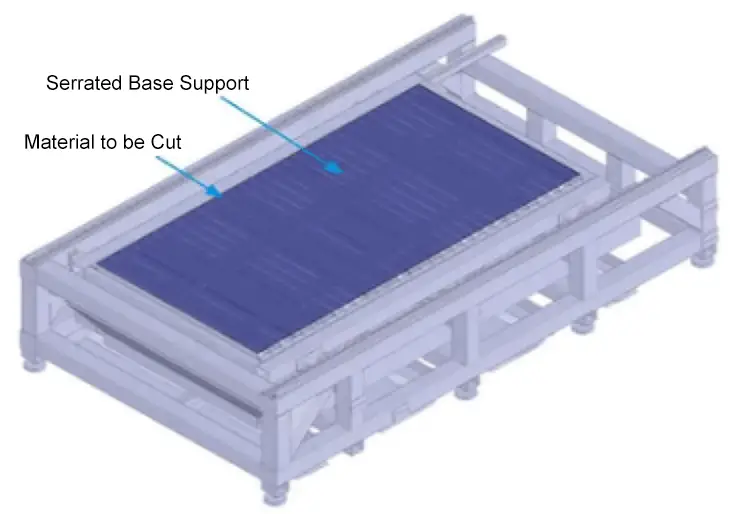
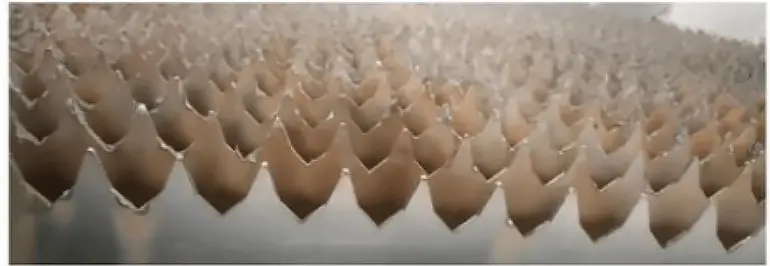
For instance, the sawtooth depth of the laser base’s sawtoothed tray is shallow, and its taper is insufficient, leading to excessive contact with the sheet metal.
This results in obstacles during laser piercing and blocked gas flow, causing molten slag to adhere, rebound, and create burrs, as shown in Figure 2.
Burrs on workpiece edges can seriously affect subsequent bending, welding, and assembly precision. They also pose potential safety hazards to operators.
Workpieces with burrs applied on gas cabinets in ring networks can significantly impact airtightness.
In electrical systems, burrs can cause circuit shorts or damage the magnetic field, affecting the system’s regular operation or causing other damages.
1. Adjust Equipment Parameters:
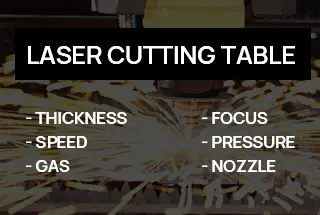
Depending on the material being processed, repeatedly adjust power, air pressure, flow rate, focal length, and feed speed to achieve optimal conditions.
Save the data for batch processing in the future. Relying solely on machine-provided parameters won’t produce quality workpieces.
2. Select Auxiliary Gas:
The choice of auxiliary gas affects processing quality. Different materials require different gases.
For instance, when cutting stainless steel, nitrogen is recommended. Nitrogen, often called an inert gas, not only prevents explosive points during laser cutting but also ensures the heated end doesn’t oxidize instantly, resulting in a smoother and brighter cut.
Gas purity is also essential; always opt for high-purity gases.
3. Inspect Equipment Components:
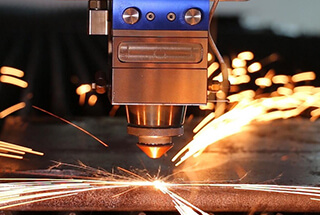
Older equipment might produce burrs due to wear and tear or contamination of key components. Issues like lenses contaminated with oil stains, tiny cracks, and damaged cutting nozzles can affect laser power transmission.
You can judge this by observing if the formed light spot is rounded. A rounded light spot indicates even energy distribution and high cutting quality.
Regularly inspecting key components can ensure cutting quality.
4. Optimize Equipment Structure:
Depending on the workpiece being processed, you can improve equipment structure.
For example, if the laser base’s sawtoothed tray contacts the sheet metal over a large area and produces burrs, you can adjust based on specific circumstances by reducing the taper or increasing tooth depth, as shown in Figure 3, to avoid interference in processing.

The improved base is shown in Figure 4.
5. Optimize Workpiece Edges:
In actual production, it’s observed that overly structured workpiece edges affect processing quality. Square transitions, compared to rounded or beveled ones, are more prone to burrs, as shown in Figure 5.
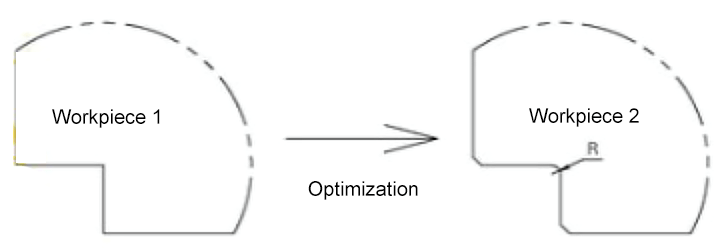
It’s advised to use rounded or beveled transitions when possible to reduce stress concentrations.
In fact, burrs are the excessive residual particles on the surface of metal materials.
When the laser cutting machine processes a workpiece, the energy generated by the laser beam irradiating the workpiece surface causes the surface to vaporize and evaporate, achieving the cutting purpose.
If a material has burrs, it can be considered substandard; the more burrs there are, the lower the quality.
Therefore, we must pay extra attention to this issue during future processing!

