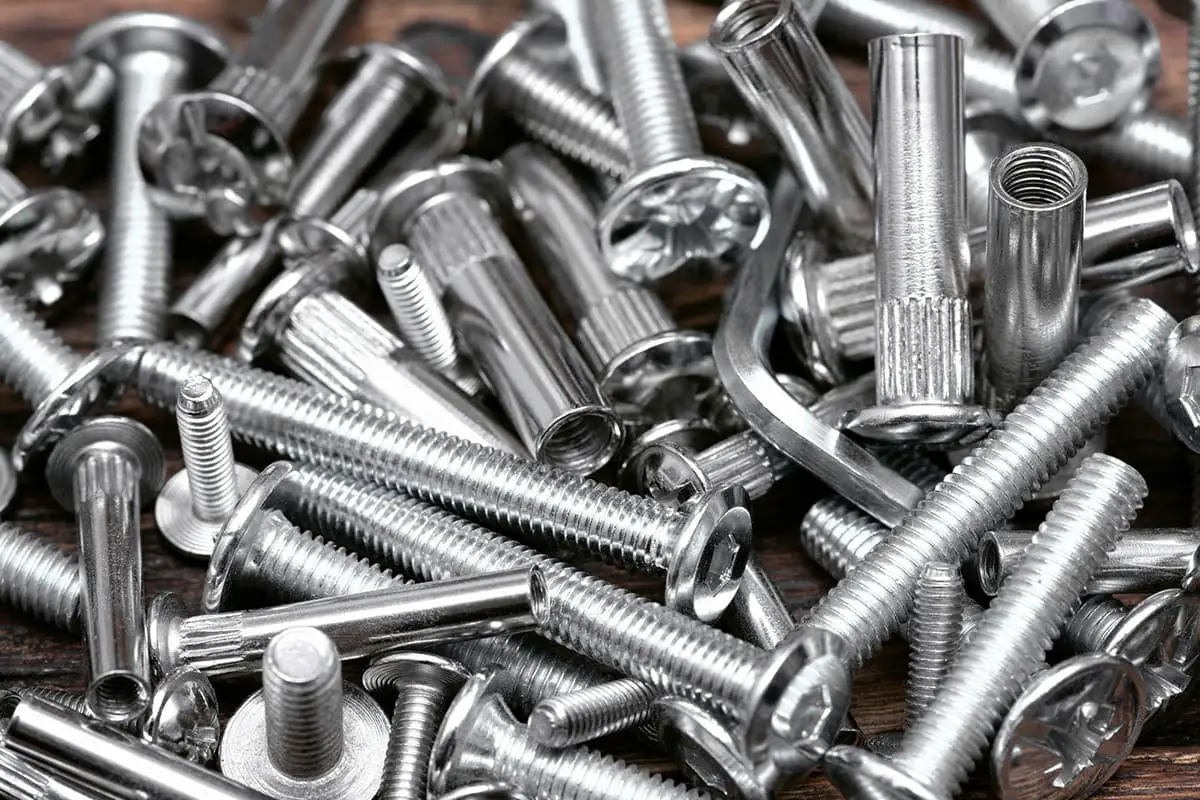
Have you ever wondered why some screws seem to last forever while others loosen and fail? This article explores the fascinating world of screws, from tiny fasteners in gadgets to robust bolts in construction. Learn about the diverse types of screws and the secrets behind their effective tightening methods. Discover how choosing the right screw and tightening technique can ensure durability and reliability in your projects. Whether you’re a DIY enthusiast or a professional, this guide provides essential insights to prevent screw failure and achieve perfect tightening every time.
Large and Small Screws
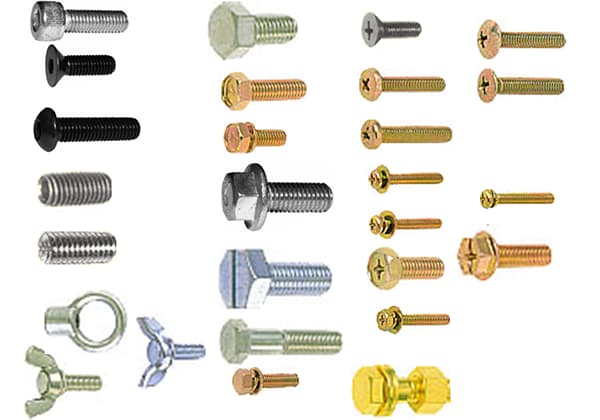
Screws are known by various names such as screws, bolts, rivets, screw rods, screws, small screws, screws with small nails, and others. They come in different sizes, and with modern technology, screws can be made in sizes of 1 millimeter or even smaller.
Small screws with sizes of 0.5 millimeters or less are commonly used in wristwatches, computers, and mobile phones. On the other hand, large screws are generally used in construction or bridge-building and can be as thick as 50 millimeters, or even as wide as 100 or 200 millimeters depending on the requirements.
Types of Screws
Screws are integral fastening components in various industries, with an ever-expanding range of designs developed by manufacturers worldwide to meet specific application needs.
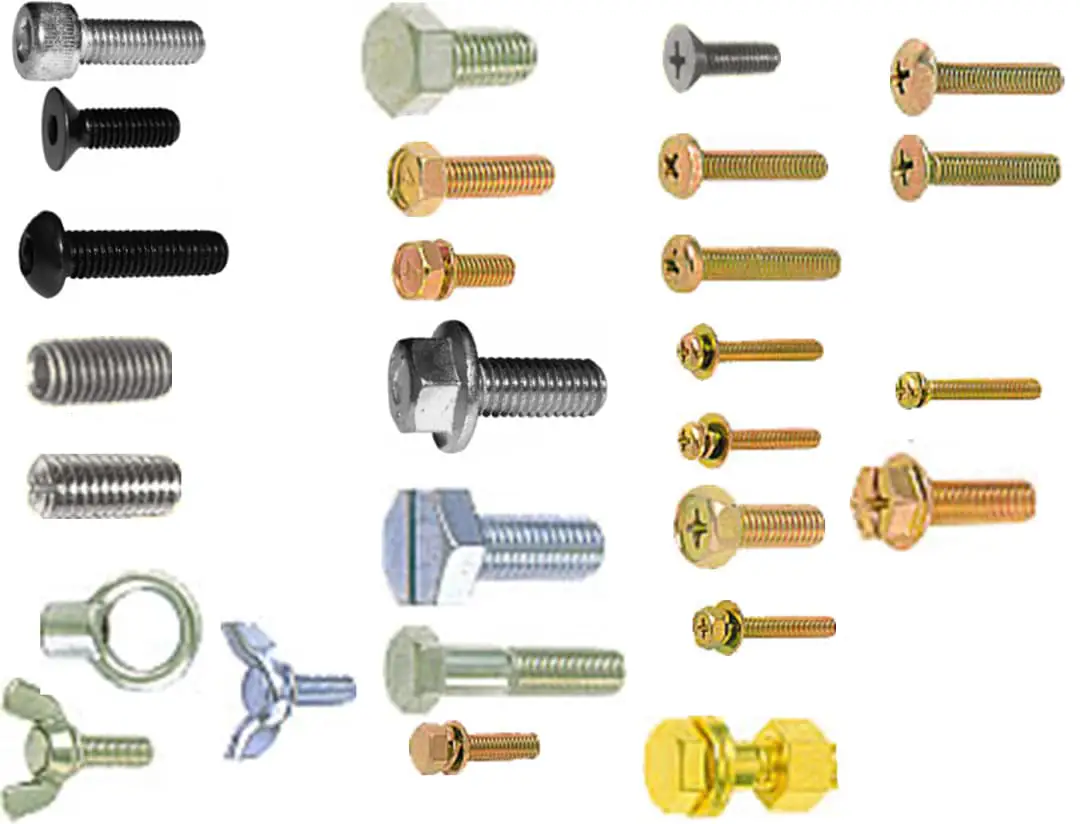
They are generally classified into two main categories: female screws (which include nuts) and male screws (encompassing screws, machine screws, set screws, lead screws, wood screws, and others). This classification is based on their engagement method and load-bearing characteristics.
Machine screws can be further categorized according to their head configurations, which include pan head, round head, oval head, flat head, fillister head, and socket head. These variations serve different functional and aesthetic purposes. Additionally, drive types such as slotted, Phillips, Pozidriv, Torx, and hex socket are designed to accommodate specific tooling and torque requirements.
Bolts, while similar to screws, are typically designed for higher load-bearing applications. They commonly feature hexagonal heads for increased torque application, but square-headed, carriage-headed (round with square neck), and T-headed bolts are also utilized in specific scenarios. The choice of bolt head depends on factors such as installation method, load distribution, and accessibility.
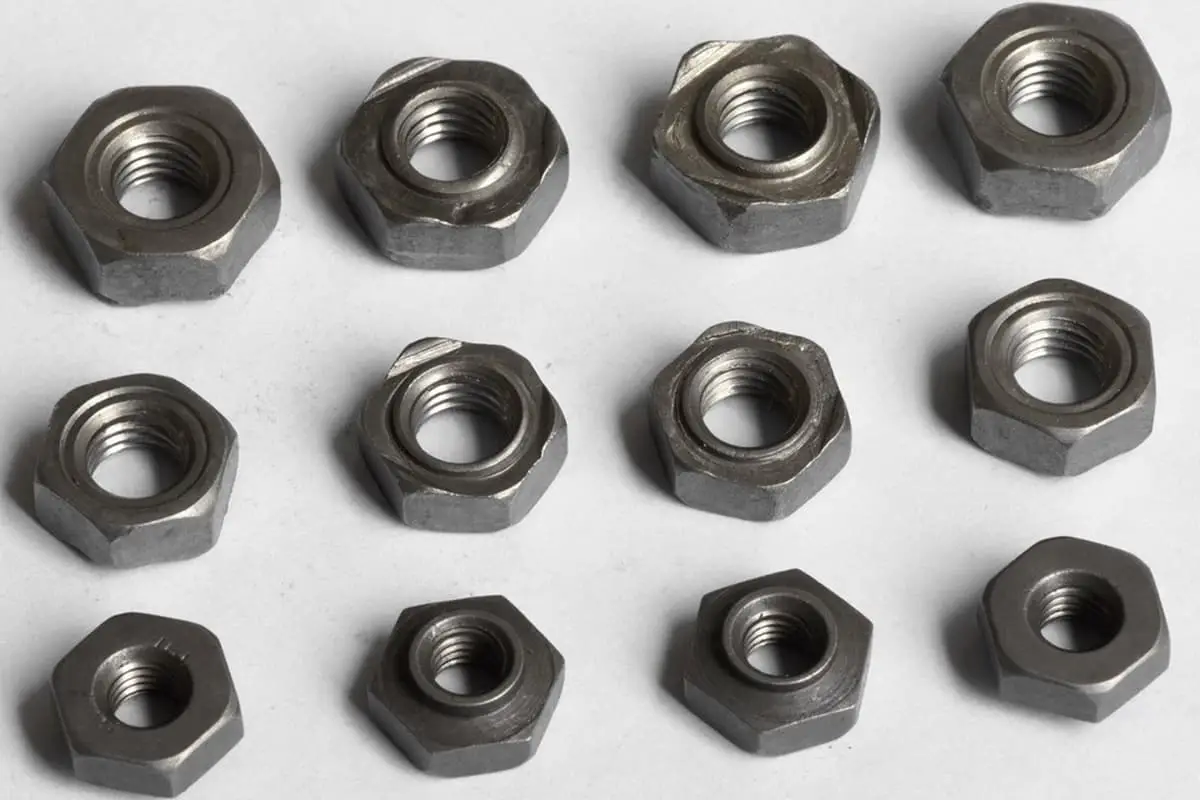
Correspondingly, nut designs vary to complement different screw and bolt types. Common configurations include hexagonal, square, wing, cap, and flange nuts. The selection of nut type is influenced by factors such as load distribution, vibration resistance, and ease of installation or removal.
Screws are further differentiated based on their intended application across various industries. For example:
The materials, coatings, and specific design features of these screws are tailored to meet the performance requirements, regulatory standards, and environmental conditions of their respective industries.
Screw Specifications
In Japan, screw sizes adhere strictly to ISO (International Organization for Standardization) regulations, ensuring uniform dimensions nationwide. This standardization was initially implemented to promote global consistency in fastener specifications.
However, these ISO specifications are not universally adopted in other regions, such as Europe and the United States. Consequently, when repairing imported goods, technicians must often work with diverse screw specifications from overseas. Common screw standards encountered include the Unified Thread Standard (UTS), SAE (Society of Automotive Engineers) specifications, inch-based systems, and various bolt standards.
Historically, Japan predominantly utilized British thread screws. However, the country is currently undergoing a transition to ISO standards. British thread screws still find application primarily in civil engineering and construction projects. The depth of screw penetration per revolution is determined by the thread pitch, which is the axial distance between adjacent thread crests.
While the standard pitch is often 1.0 mm, smaller pitches, such as 0.8 mm, are commonly employed for automotive components and other high-stress applications. These fine-pitch screws, characterized by shallower thread angles, require careful handling during installation to prevent thread damage or cross-threading.
In precision electronics, such as cameras and mobile devices, extremely fine-pitch screws are prevalent. Even with short overall lengths, maintaining precise thread pitch is crucial for these miniature fasteners. The use of small-pitch screws significantly contributes to product miniaturization, as their reduced thread height and pitch allow for smaller overall fastener dimensions without compromising holding strength.
Fine-pitch screws offer several advantages in specialized applications:
As global manufacturing continues to evolve, understanding and adapting to various screw standards remains essential for engineers and technicians working across international supply chains and repair services.
(1) Small Screws
Small screws are screws with small diameters and come with a head. According to the ISO standard, small screw heads can have flat, pan-shaped, countersunk, or adherent head shapes, whereas the JIS standard also includes flat-round, threaded, round, flat, and rounded-flat head shapes. Small screws serve as a way to tighten, and normally come with spiral slots or cross-holes to assist in turning them.
 |  |
| Slotted round head small screw | Cross recessed flat head small screw |
(2) Positioning screw
It is used to fix the moving mechanical parts together through the tip of the screw. The tip of the screw can be flat, pointed, cylindrical, concave, round, etc. It is commonly used as a means of tightening, with slots, hexagonal socket, square head, etc.
 |  |
| Slotted positioning screw | Hexagonal socket positioning screw |
(3) Machine screw
It refers to a screw that can tap its own threads. The head shape can be round, flat, countersunk, hexagonal, etc. It is commonly used as a tightening device, with slots, cross recesses, hexagonal sockets, etc.
 |  |
| Cross recessed machine screw with a hole | Cross recessed machine screw with 3 slots and a hole |
(4) Wood screw
It is a screw with a pointed tip and threading used to screw into wood. The head shape can be round, flat, or oval. It is commonly used as a means of tightening and has slots, cross recesses, etc. as tightening methods.
 |  |
| Cross recessed wood screw | Threaded wood screw |
(5) Bolt
It is a general term for bolts that are combined with nuts. There are various types depending on shape, performance, and usage.
 |  |
| Nominal hex bolt (Part grade A) | Effective diameter hex bolt (Part grade B) |
(6) Nut
It is a general term for female screw components.
 |  |
| Hex nut type 1 (Part grade A) | Hex nut with slot |
(7) Washer
It is a component used between the seat surface of small screws, bolts, nuts, and the tightening parts. There are many types depending on shape, performance, and usage.
 |  |
| Flat washer with ground edges | Spring washer |
(8) Pin
It is a rod or cylinder-shaped component used for fixing joints, positions, fixing screw rotation, etc. into a hole. The pin may also have a head.
| Taper pin | Spring pin with slot |
The following tools can be used to machine approximately M2 to M12.
1. Tap
It is used for drilling holes and machining internal threads on the inside of the hole. This process is called “tapping”.
2. Die
It is used to machine external threads on the periphery of a cylindrical object.


The manufacturing process for screws is roughly carried out according to the above procedures. In addition to these, processes such as pickling, annealing, piercing, etc. are also required.
The methods for forming threads include cutting and rolling. Cutting forms the threads one by one, which is not suitable for mass production.
On the other hand, rolling uses steel dies arranged on a guide to apply pressure and roll the threads into the required shape.
There are various types of screws with different sizes, shapes of heads, threads, materials, lengths, and ease of removal, each with its own purpose. We use many screws in our daily work, mainly for fixation. Here, we will explain the general method of tightening screws.
When assembling machinery, there are two types of operations: “fixed” and “movable”. Therefore, it is important to understand the composition of the equipment and how to fix and move it.
Let’s think about it together.

Generally, people think that they should tighten the screw as much as possible, but they may not know the condition of the connection between the screw neck and the material being fastened.

The blue and red parts are stretched by the rotation of the screw like a fishing net, which allows them to be tightly secured together when tightened.
The screws in mobile devices are live and may naturally loosen over time. During the tightening process, the screw extends forward, which cannot be seen but it is certainly happening. This is when the screw is working the hardest, providing the necessary fixing force.
If it is overtightened, it will relax and the fixing force will sharply decrease. If the screw is tightened too much beyond this point, it will break and the task, which was almost completed, will fail.
Regarding the question of “what is the appropriate tightness,” it is difficult to reach a conclusion on the appropriate numerical value as it depends on the screw size, material, purpose, etc. I will explain the general distance of tightening later.
First, both the screw and the material it will be fastened to should be clean. Foreign objects can prevent the screw from turning smoothly and being firmly secured.
Inspect the screw for scratches, burrs, and dust, and confirm that the tightening tool is being used correctly. Similarly, check the nut, if using one, for scratches, burrs, and dust, and remove them if found.
When tightening, try to use a body posture that makes it easy to apply force, even when using a small handle. Operating with incorrect posture can easily twist the screw and reduce its lifespan with each subsequent tightening. Also, pay attention to the pressure, which should generally be “press: tighten = 7: 3”.
When tightening, start by hand to confirm that the screw can turn smoothly. Even if there are issues, it is easier to confirm them at this stage than when using a tool. Pay attention to the effective tightening size on the nut side as well; if the screw is longer than the effective length, the screw cannot move.


Special screws used in semiconductor equipment.

Use vacuum screws to fix components in the vacuum chamber. The purpose of the opening is to shorten the time for vacuuming the chamber and to reduce the effect of external air. The model with opening is weaker than the one without, so pay attention to the tightening torque!
When using multiple screws to fix components, it is also important to pay attention to the sequence of tightening. The basic sequence should start from the shape shown as follows: tighten the one that is farthest first, and then proceed to the next one.

The basic order for temporary fixation, when there are tightening screws at both top and bottom, is to first tighten the top, then the bottom, and then the rest in a particular order. To reinforce and tighten the screws, follow the method described above. Once all the screws are temporarily fixed, they should be reinforced and fully tightened in order.
Moreover, when reinforcing and tightening the screws, it should be done gradually and with repetition, until the necessary torque is achieved. It is important to ensure that all the screws are placed in before doing temporary tightening, and putting screws in from the top is done to ensure safety.

Before tightening all the screws, it is necessary to confirm the combination of the female and male screws that are inserted. At this point, the position of the fixture must be confirmed. This is a professional practice in the industry.

Selecting and Using a Cross-Shaped Tap
Can a tap that does not match the “+” slot of a screw be used?
Insert the tap into the “+” slot of the screw and observe it horizontally. For example, for screws with a length of 1 cm or less and a diameter of less than φ4 mm, the tip of the tap should fit smoothly. If the tap falls out or wobbles, it will cause wear on the tip of the tap and will not match the size of the tap. Of course, damages to the screw slot will also affect the tightening torque.
Should the tap be tilted when turning the screw?
From the wrist to the tap to the screw, it is important to maintain consistency. Twisting the tap too hard into the screw slot can cause abrasion on both the screw slot and the tap.
The expert approach

Select the appropriate screwdriver to match the screw. Place the screwdriver head onto the screw and make sure it fits snugly into the slot horizontally, or even if it has to be placed downwards, make sure it can be inserted into the screw hole.
Then, keeping the screwdriver in a straight line from the screw to your wrist, tighten the screw with ease. Use the screwdriver to keep the screw level, without the use of magnets or adhesives.
The amateur approach
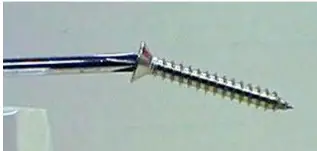
Using a high-quality screwdriver but with the wrong size. The tip of the screwdriver cannot fit into the screw and cannot be kept level, making it tempting to apply adhesive to the tip of the screwdriver.
As a result, the screw cannot be kept straight and is tilted. The screwdriver slot and the screw are unstable, causing damage to the screw slot. When turning, wrist movement causes friction in the slot and damages the screw hole.
Torque of hex key wrench (Allen wrench)

| Dia. | N·m (kgf·cm) |
| 0.7 | 0.08(0.82) |
| 0.9 | 0.18(1.84) |
| 1.3 | 0.53(5.4) |
| 1.5 | 0.82(8.36) |
| 2 | 1.9(19.4) |
| 2.5 | 3.8(38.7) |
| 3 | 6.6(67.3) |
| 4 | 16(163) |
| 5 | 30(306) |
| 6 | 52(530) |
| 8 | 120(1,224) |
| 10 | 220(2,244) |
| 12 | 370(3,775) |

The torque of a hex key wrench is roughly 1/2 the size of the wrench.
There are two types of hex keys. Regardless of the model, the shorter end is referred to as the “A” side and the longer end is referred to as the “B” side. The “B” side is for temporary fixation, while the “A” side is for reinforcement and tightening. Of course, using only the “A” side to tighten is also acceptable.
Do not use the “B” side for reinforcement and tightening, especially for models with a ball end, as the ball portion is weak and may break easily. Please be careful.
Then why have a ball end? Due to consideration of work efficiency, the ball-end allows for easy rotation.
Compared to models without a ball-end, it is easy to understand how to use it. Single-handed tightening is not easy with models that do not have a ball-end.


In general, the rotation direction for tightening a screw is clockwise (CW). Of course, there is also a counterclockwise (CCW) rotation for unscrewing the screw, which is used for specific purposes. Therefore, not all screw tightening directions are clockwise.
The counterclockwise (CCW) rotation is mainly used to prevent loosening and adjust length. Have you ever used a screw that requires a counterclockwise rotation? Like on a bicycle?

Screws that are installed for left or right use are not the same. The right-side pedal cannot be installed on the left side, and vice versa.

“Screws” are metal components that we often use around us. If used improperly, screws may loosen or fall off. Screw tightening also requires a certain level of technique and related knowledge.
Here are some tips on screw tightening:
1. When a screw is not tightened enough, it may loosen and become undone.
When a screw is rotated (referred to as tightening torque), it generates a tightening force on the part being tightened. Proper tightening produces the best tightening force. When a screw becomes loose, it may be due to insufficient tightening.
2. Screws can also loosen if they are overtightened.
Overtightening not only makes screws loose, but when tightening a soft material, it may cause screws to become loose. In this case, please retighten.
3. Over-tightening screws can sometimes cause damage.
Generally, if bolts are tightened too tightly, the bolts themselves will be damaged, and the tips of the cross-hole screws of the bolts will also be damaged.
When normal nuts (such as soft steel and brass) are used as nut components for objects with high-strength bolts (such as hexagonal socket bolts), the nuts may be damaged when the bolts are tightened too tightly.
At this time, the operator may not notice the damage to the nuts. Be careful not to over-tighten and damage the screws. If other loads are applied after tightening, the screw and surrounding parts may be deformed and the screws may become loose.
4. Please tighten properly.
As mentioned earlier, if screws are not tightened, they may become loose. In addition, screws that are overtightened may also become loose. Proper tightening is necessary, and proper tightening guidelines are the most important.
The target tightening force is determined by the type of screw, the strength of the screw, the friction between the screw and the base surface, and the tightening method. The tightening method is specified by JIS standards.
The formula for the target tightening force of the tightening operation is also specified in the JIS standards.
5. Recommended tightening torque is not absolute.
There are various methods for tightening management, including torque method, angle of rotation method, and bolt inclination method.
Among these, the torque method is the most widely used. Therefore, the recommended tightening torque in various data and sample books is only suitable for use under certain limited conditions and is not absolute.
It can be roughly used without any problem, but it should not be over-relied upon.
6. Calculation method of target tightening torque:
Tfa = 0.001kdFf / (1 + 0.01m)
For example, when the bolt strength grade is 8.8 and the bolt size is M10, and assuming k = 0.195 and m = ±5%, the target tightening torque (Tfa) is calculated using the following formula: Tfa = 0.001 × 0.195 × 10 × 0.9 × 640 × 58 / (1 + 0.05) = 63(N・m)
7. Screws can become loose due to various factors:
a. Rapid changes in temperature. When screws are combined with parts made of materials with different coefficients of thermal expansion and the temperature changes rapidly, the screws may become loose. It is necessary to use rivets for connection or replace the screws with the same material as the parts.
b. Severe vibrations. Screws may become loose due to vibration at the fixed screw positions.
c. Forces around the shaft and perpendicular to the axis. The force of rotating screws and the force applied perpendicular to the screw can easily cause the screws to become loose and damaged. In this case, it is important to carefully consider the direction of screw installation and the force applied.
d. When the joint surface being tightened has paint. If the surface of the part being tightened has paint, screws may become loose very quickly.
e. When the rigidity of the part being tightened is low. The part tightened using fastening screws is called the part being tightened. If this part is deformed, not only plastic deformation but also elastic deformation can cause screws to become loose.
f. When light alloys and plastics are tightened. Even if the temperature changes only slightly, screws may become loose if the part being tightened is made of aluminum alloy and plastic.
g. Other factors:
There are various methods to prevent screws from becoming loose, but “reinforcement tightening” is the most effective method to prevent loosening. Regardless of the type of screw, they will have initial looseness. After a period of time, the degree of looseness and tightening force may decrease. After tightening, if screws are retightened again after some time, it can significantly prevent screws from becoming loose.

