Have you ever wondered why a perfectly machined component suddenly fails without warning? This mystery often traces back to residual stress. Residual stress, the unseen force within materials, can drastically affect performance and longevity. This article explores the causes, consequences, and methods to measure and mitigate residual stress, giving you the tools to understand and manage these hidden stresses in your engineering projects. Discover how to ensure your components maintain integrity and reliability throughout their lifecycle.
Let’s start with a formal definition of residual stress:
Residual stress refers to the impact and influence of various factors in the manufacturing process. When these factors are removed and the component cannot completely lose the effects and influences, the remaining impact and influence is known as residual stress.
Still a bit confusing? Let’s simplify it.
For instance, consider a person who was once skinny and bought L-sized jeans. After a year, the person becomes overweight. When they wear the jeans again, they will feel that the pants are too tight as they have gained weight but the jeans haven’t changed.
At this point, there is a strong force between the body and the pants, and if the force is too strong, it’s easy to tear the pants. This destructive force is an example of residual stress.
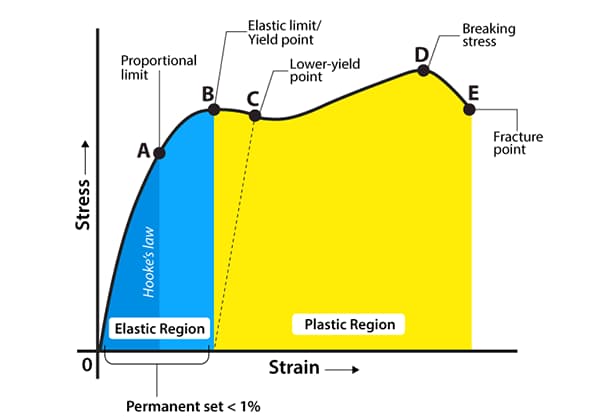
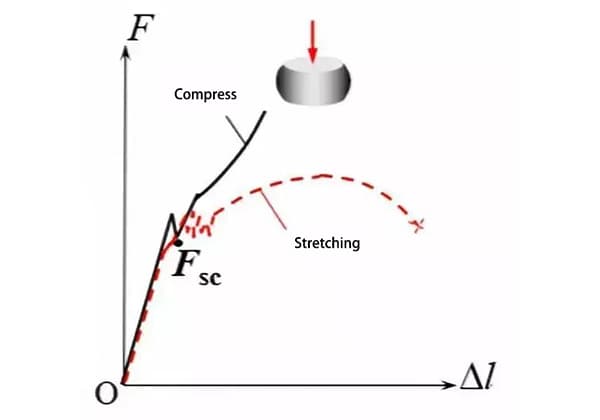
From an energy perspective, when an external force causes the object to undergo plastic deformation, it creates internal deformation, which accumulates some energy. When the external force is removed, the energy with uneven internal stress distribution is released.
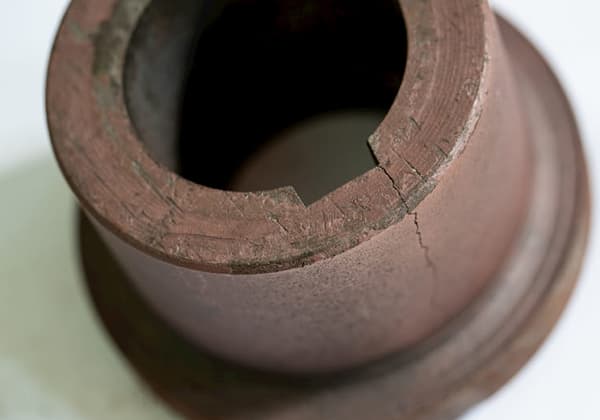
If the object is not very brittle, it will deform slowly, but if the brittleness is high, cracks will form.
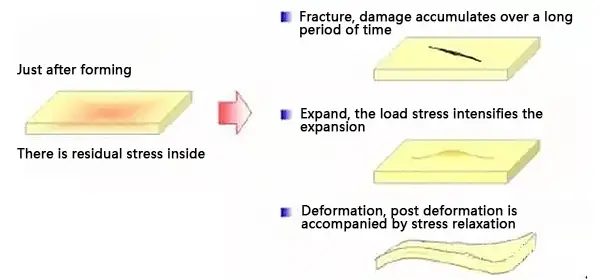
Fig. 1 Effect of residual stress
Residual stress is a prevalent issue in mechanical manufacturing and occurs in nearly every process.
However, the root causes of residual stress can be classified into three main categories:
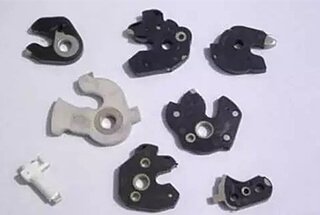
From the categorization of residual stress, it’s evident that it can cause slow deformation and alter the size of the object. This can result in an unqualified size of machined workpieces, loss of precision in the instrument, and cracking or even breakage in cast or forged workpieces.
Additionally, residual stress has a significant impact on the fatigue strength, stress corrosion resistance, dimensional stability, and service life of the object.
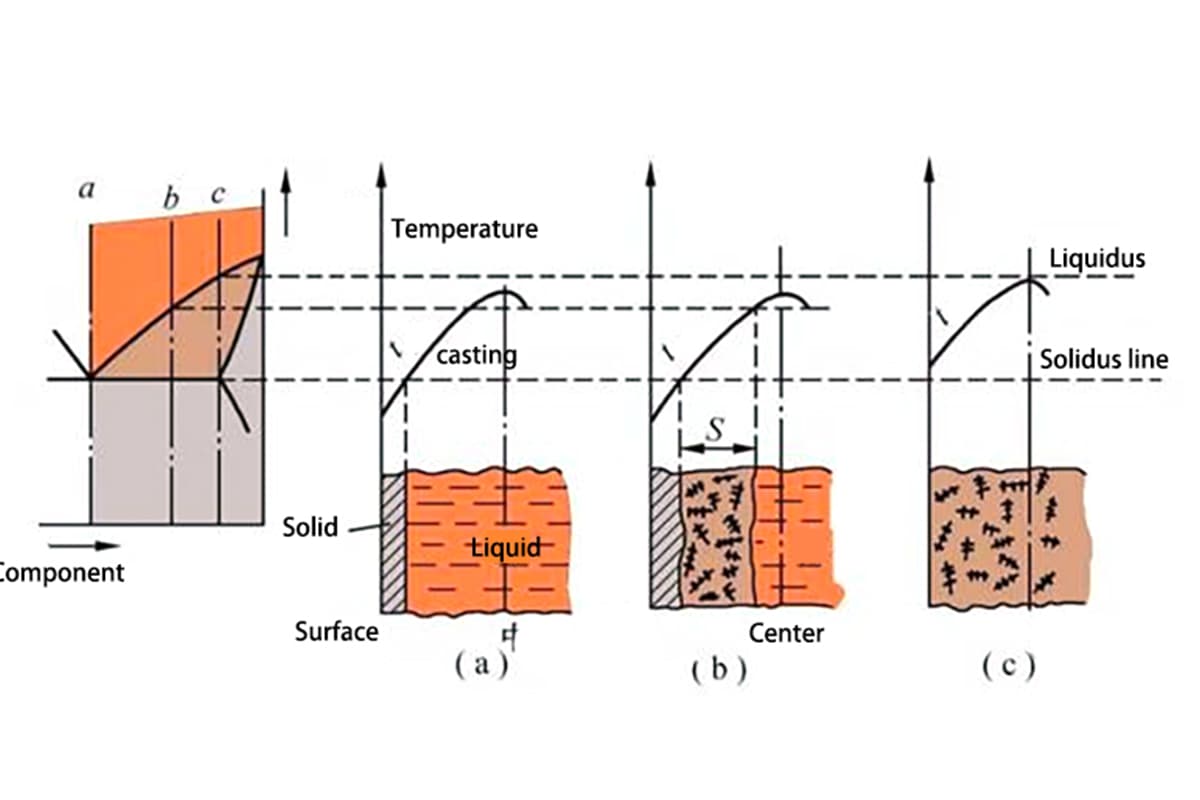
During the cooling process, residual thermal stress can be generated due to uneven cooling caused by inadequate processes, leading to casting fractures.
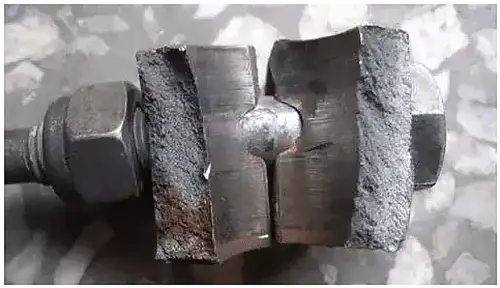
Fig. 2 fracture of casting during cooling
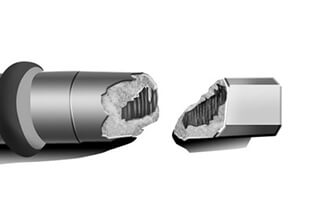
During the heat treatment quenching process, the material is prone to fracture due to the martensitic transformation of undercooled austenite.
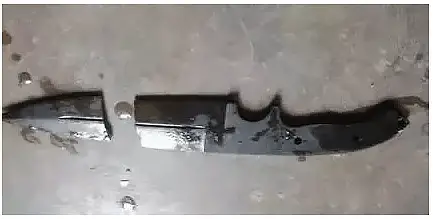
Fig. 3 metal fracture during quenching
The methods of measuring residual stress can be classified into three categories: mechanical, chemical, and X-ray methods.
The most widely used mechanical method is the drilling method, also known as the blind hole method.
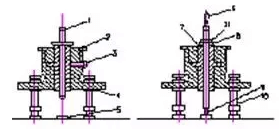
Fig. 4 Schematic diagram of drilling method
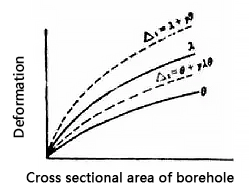
Figure 5 drilling method
During the drilling method, a section of a bar or pipe that is three times its diameter is cut from the object. A through-hole is drilled in the center, and then a thin layer of metal is removed from the inside using a bore rod or drill bit, with each removal being about 5% of the cross-sectional area.
After the removal, the elongation of the sample’s length and diameter is measured. A relationship curve between these values and the borehole section area is created, and the derivative of any point on the curve is calculated to determine the rate of change in elongation and borehole section. The residual stress value can then be obtained by using the appropriate stress formula.
The chemical method has two concepts.
One concept involves immersing the sample in a suitable solution and measuring the time from the start of corrosion to the appearance of cracks, then determining the residual stress based on that time. The solutions used can include mercury and mercury-containing salts for tin bronze and weak bases and nitrates for steel.
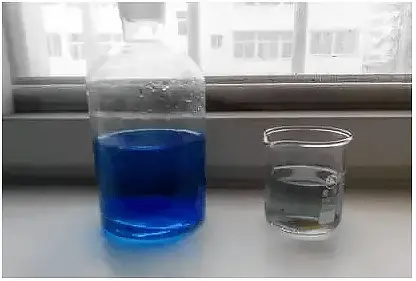
The second concept of the chemical method involves immersing the sample in a suitable solution and regularly weighing it. This process creates a curve of weight reduction versus time, which can then be compared to a standard curve to determine the residual stress. The higher the position of the curve, the greater the residual stress is.
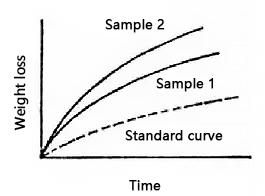
Fig. 7 weighing curve of chemical method
The X-ray method involves using X-rays to penetrate metal parts, and the Laue method can qualitatively determine residual stress by analyzing the changes in the shape of the spots caused by the interference of the X-rays.
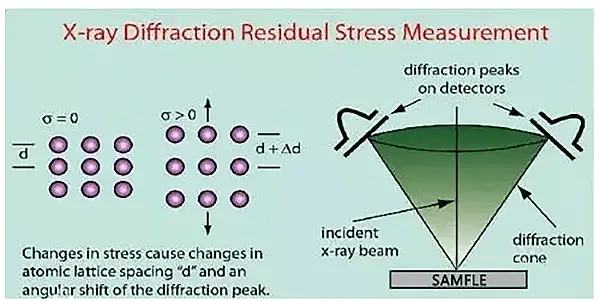
Figure 8 principle of X-ray method
When there is no residual stress, the interference patterns appear as dots. On the other hand, the presence of residual stress causes the interference patterns to elongate and resemble a “star” shape.

(a) No residual stress (b) residual stress exists
Fig. 9 measurement results of Laue method
The Debye method is capable of quantifying residual stress by analyzing the position, width, and intensity of the diffraction lines on the Debye diagram.

(a) transmission method (b) back reflection method
Fig. 10 schematic diagram of Debye method
The mechanical and chemical methods are considered destructive testing methods as they require taking a local sample of the object being tested and result in irreversible damage. In contrast, the X-ray method is a non-destructive testing method that preserves the integrity of the object.
The mechanical method is particularly suitable for bar or tube-shaped objects and is capable of accurately determining the size and distribution of residual stress. On the other hand, the chemical method, which is suitable for objects of wire and sheet type, only provides a qualitative judgment and is difficult to make a quantitative determination.
While the X-ray method is non-destructive, it is only applicable to materials that produce clear and sharp diffraction lines. Additionally, its limited projection ability restricts its usage to only detect residual stress close to the surface of the object.
Due to the potential dangers associated with residual stress, it is crucial to have effective methods for its elimination. There are four commonly used elimination methods: heat treatment, static load pressurization, vibration stress relief, and mechanical treatment.
Heat treatment is a method that utilizes the thermal relaxation effect of residual stress to reduce or eliminate it. This method typically involves the use of annealing or tempering processes.
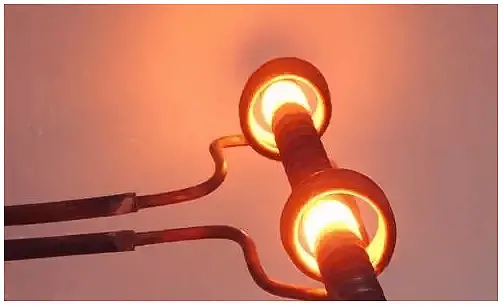
Fig. 11 annealing treatment of heat treatment
Static load pressurization involves modifying the residual stress in a workpiece through plastic deformation, either on a whole or a partial or even a micro scale.
For instance, after welding, large pressure vessels may undergo “bulging,” a process in which they are pressurized from the inside, resulting in a small amount of plastic deformation in the welding joint and a reduction of welding residual stress.
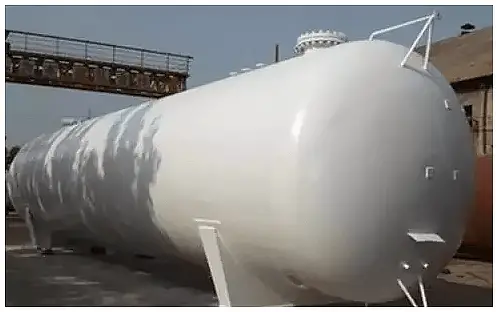
Fig. 12 large oil tank after bulging
Vibration stress relief (VSR) is a commonly used method for eliminating internal residual stress in engineering materials.
In this method, the workpiece is subjected to vibrations, and if the sum of the residual internal stress and the additional vibration stress exceeds the material’s yield strength, it leads to a small amount of plastic deformation, thereby relaxing and reducing the internal stress in the material.
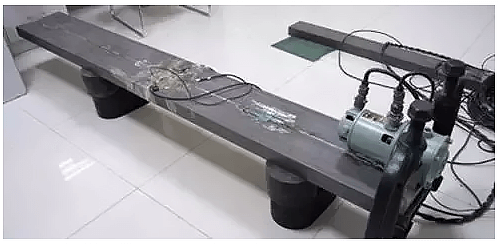
Fig. 13 strain quantifiable VSR system
Mechanical treatment involves reducing residual stress through small plastic deformation on the surface of an object. This can be achieved through methods such as parts colliding with each other, surface rolling, surface drawing, surface sizing, and fine pressing in a mold.
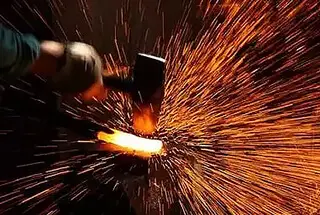
For instance, ironing is one example of a process that effectively eliminates residual stress.
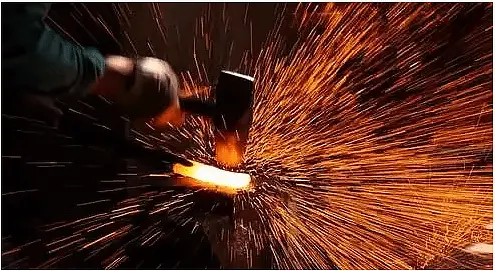
Fig. 14 forging with iron
